
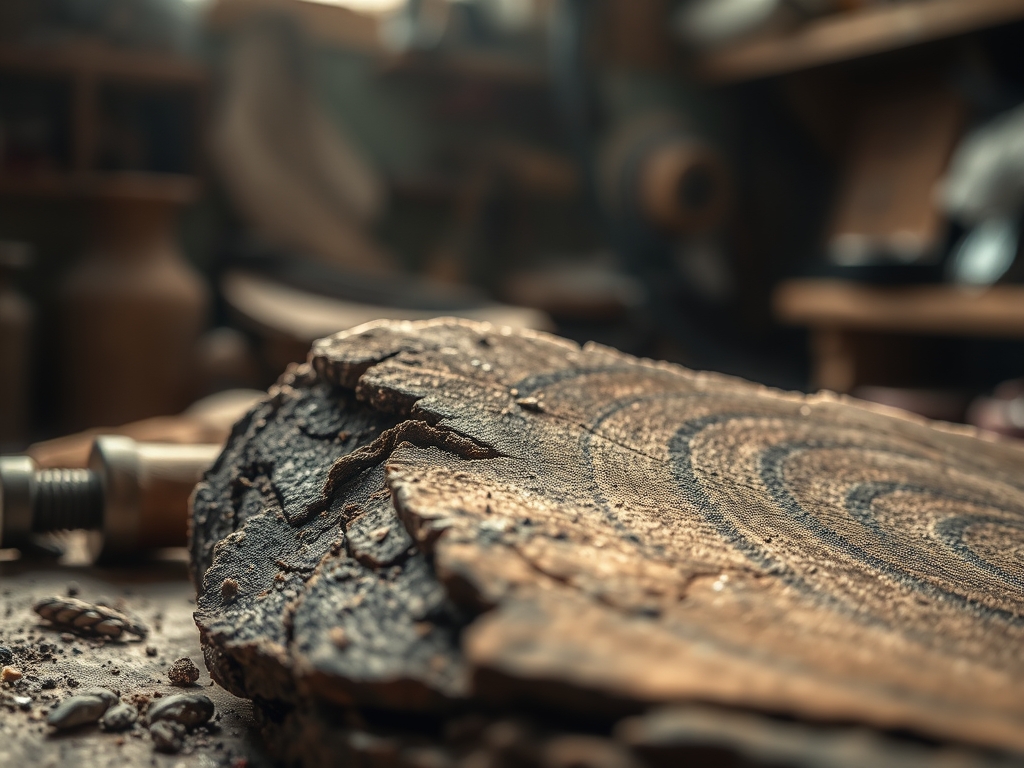
Imagine standing at a heavy cast iron lathe with the scent of fresh walnut shavings filling the air while the motor hums a steady bass note against your palms. This is not just about making a bowl; it is about Healing The Body With Craft through active meditation and physical engagement. My muscles find a rhythm that no gym treadmill could ever replicate. Every fiber of my being aligns with the spinning timber as I prepare to transform a raw log into a delicate piece of art. The vibration travels through the tool rest and into my forearms; it creates a feedback loop that tells me exactly how the grain is responding to the steel. It is a visceral experience where physics meets sweat; and it is honestly the best therapy I have ever found.
THE STUDIO KIT
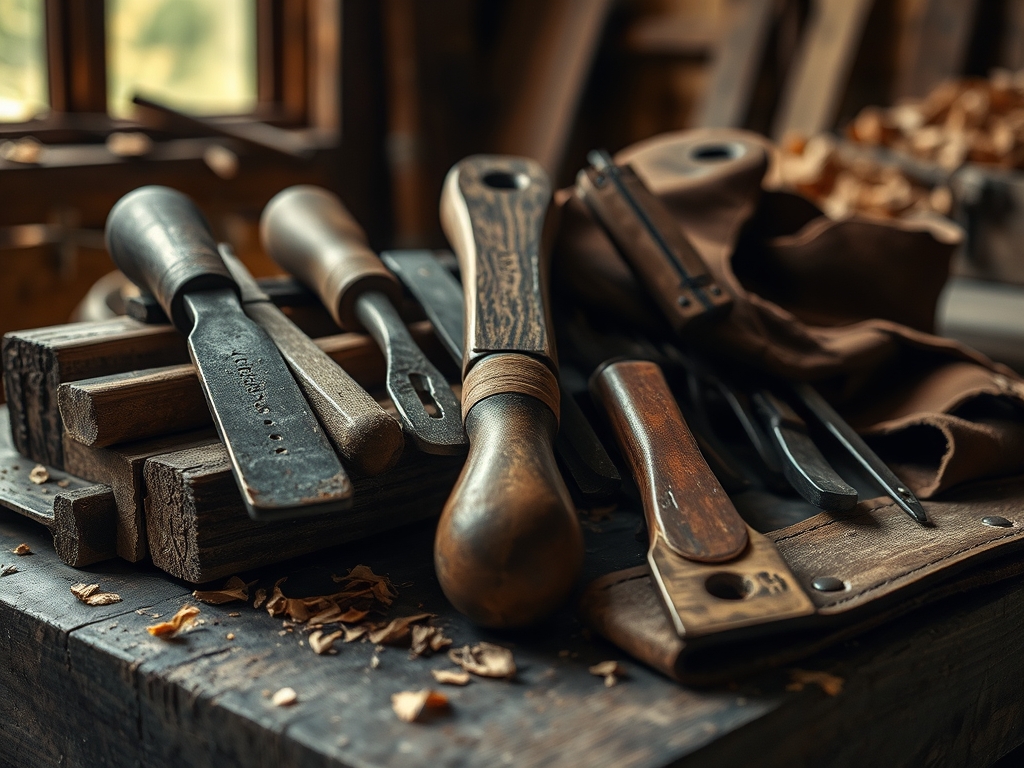
To master this workout, you need more than just enthusiasm; you need a kit that respects the tensile strength of your medium. My primary weapon is a high speed steel bowl gouge with a fingernail grind. This tool allows for sweeping cuts that follow the natural curvature of the wood. I also keep a pair of outside calipers nearby to monitor wall thickness; because nobody wants a bowl that is bottom heavy or dangerously thin. For the finer details, I reach for a parting tool and a round nose scraper to refine the interior transition.
The material selection is where the science gets spicy. I prefer working with green wood because the high moisture content reduces friction and heat buildup during the initial roughing phase. If you cannot find fresh timber, your Material Substitutions include kiln dried hardwoods like maple or cherry; though these require more frequent sharpening of your tools due to their increased density. You might also experiment with stabilized burls or resin hybrids if you want a challenge that tests your patience and your tool edge longevity. Always have a diamond hone on hand to keep your bevels razor sharp; a dull tool is a dangerous tool that requires more physical force and ruins the ergonomic flow of the session.
THE TEMPO
The "Maker's Rhythm" is a three act play that demands different levels of cardiovascular and mental focus. Phase one is the Roughing Out stage; which takes about forty five minutes of high intensity movement. You are fighting the centrifugal force of an unbalanced log; shifting your weight from your back foot to your front foot to drive the gouge through the bark. It is a full body core workout that requires constant stabilization.
Phase two is the Refining stage; lasting roughly an hour. This is where the tempo slows down and your heart rate stabilizes. You are looking for long; continuous ribbons of wood rather than chunky chips. This requires steady breathing and fine motor control. Finally; the Finishing stage takes thirty minutes. This involves sanding through the grits and applying oils. It is the cool down period of your craft workout; where the tactile feedback of the wood becomes smooth and the porous surface begins to glow under your touch.
THE CORE METHOD
1. Mounting and Trueing the Blank
The first step is securing your wood blank between centers or onto a faceplate. You must ensure the center of gravity is aligned to minimize vibration. Use a mallet to seat the spur drive firmly into the end grain. Once the lathe starts; use a heavy roughing gouge to turn the square block into a cylinder. This process removes the "air" and creates a balanced workpiece.
Mastery Tip: Understand that centrifugal force increases exponentially with the radius of your blank. Always start at a lower RPM to prevent the structural integrity of the wood from failing under high rotational stress.
2. Shaping the Exterior Profile
With the cylinder balanced; you can begin defining the foot and the "ogee" curve of the bowl. This is where you utilize a "push cut" technique. Keep your elbows tucked into your ribs and move your entire body rather than just your arms. This ensures a smooth; sweeping motion that prevents ripples in the wood.
Mastery Tip: Pay attention to grain direction. Always cut from a smaller diameter to a larger diameter when working on the exterior to avoid "tear out." This supports the wood fibers and maintains the tensile strength of the outer wall.
3. Hollowing the Interior
Hollowing is the most physically demanding part of the process. You are working against the end grain at the bottom of the bowl. Start from the center and move outward in shallow passes. Use your calipers frequently to ensure the walls remain a consistent gauge from top to bottom.
Mastery Tip: This step relies on managing capillary action if you are using green wood. As you remove the core; the wood begins to dry and shrink rapidly. Working quickly prevents the rim from warping or cracking before you finish the interior.
4. Sanding and Burnishing
Once the shape is perfected; it is time to sand. Start with a coarse 80 grit and work your way up to 400 grit. Use a light touch; let the rotation of the lathe do the work. After sanding; use a handful of the wood's own shavings to burnish the surface. The friction creates heat that seals the fibers and creates a natural luster.
Mastery Tip: Friction generates heat which can cause "heat checks" or tiny cracks. Move the sandpaper constantly to distribute the thermal energy and preserve the structural integrity of the wood surface.
THE TECHNICAL LEDGER
Maintenance & Longevity: Your lathe bed must be kept clean and waxed to prevent rust from the moisture in green wood. Sharpen your gouges every fifteen minutes of cutting time to ensure clean slices rather than ragged tears.
Material Variations:
- Sustainable: Reclaimed orchard wood or fallen city trees.
- Recycled: Glued up scrap plywood (creates amazing geometric patterns).
- Premium: Exotic hardwoods like Cocobolo or African Blackwood (high oil content; requires specialized adhesives).
The Correction:
- Vibration: If the piece shakes; the RPM is too high or the piece is off center. Slow down and re center.
- Tear out: This happens when the tool is dull or you are cutting against the grain. Sharpen the tool and reverse the cutting direction.
- Cracking: If the bowl cracks while drying; it was likely turned with uneven wall thickness. Ensure the walls are uniform to allow for even shrinkage.
Studio Organization: Store your unfinished green wood bowls in a pile of their own wet shavings inside a paper bag. This slows down the evaporation process and prevents the wood from checking as it reaches equilibrium with the room's humidity.
THE FINAL REVEAL
There is nothing quite like the moment you part the bowl off the lathe and hold it in your hands for the first time. It is light; warm; and pulses with the energy of the work you just put in. The surface is so smooth it feels like polished stone; yet it retains the organic soul of the tree. My muscles are tired in that satisfying; productive way; and my mind is completely clear. You have turned a heavy; awkward log into a functional piece of art that can hold fruit; jewelry; or just stand alone as a testament to your strength. This is why I turn; it is a total body reset that leaves you with a physical trophy of your perseverance.
STUDIO QUESTIONS
How do I prevent my wood bowl from cracking?
Keep wall thickness consistent throughout the piece. Consistent walls allow the wood to shrink at a uniform rate as moisture evaporates; which prevents the internal stresses that lead to structural cracks or checking during the drying phase.
What is the best wood for a beginner?
Freshly cut maple or ash is ideal for beginners. These woods have a predictable grain structure and moderate density; making them easy to cut while providing excellent tactile feedback without dulling your high speed steel tools too quickly.
Is woodturning actually a good workout?
Yes; it is a functional strength workout. It engages your core; legs; and upper body through isometric holds and controlled movements. Managing the physical resistance of the spinning wood requires constant muscular engagement and balance throughout the session.
What tools are essential for starting?
You need a lathe; a 1/2 inch bowl gouge; a face shield; and a sharpening system. These core items allow you to safely shape wood while maintaining the sharp edges necessary for clean; efficient cuts and reduced physical strain.

