
Imagine the smell of fresh cedar shavings mingling with the steam from your morning espresso. There is a specific, electric thrill when your living space stops being just a place where you sleep and starts being a place where you create. This is the heart of Integrated Home Studio Design. It is not just about shoving a desk into a corner; it is about the structural alchemy of merging domestic comfort with industrial utility. When you run your hand over a workbench, you should feel the tensile strength of the timber resisting your weight. You are looking for that perfect balance where the floor joists do not vibrate when the lathe is spinning at three thousand RPMs. We are building a sanctuary that respects the porous nature of wood and the cold, hard reality of steel. It is about creating a workflow that feels like a conversation between you and the architecture of your home. We are going to dive deep into the physics of why certain layouts fail and how to make your studio breathe in sync with your daily life.
THE STUDIO KIT

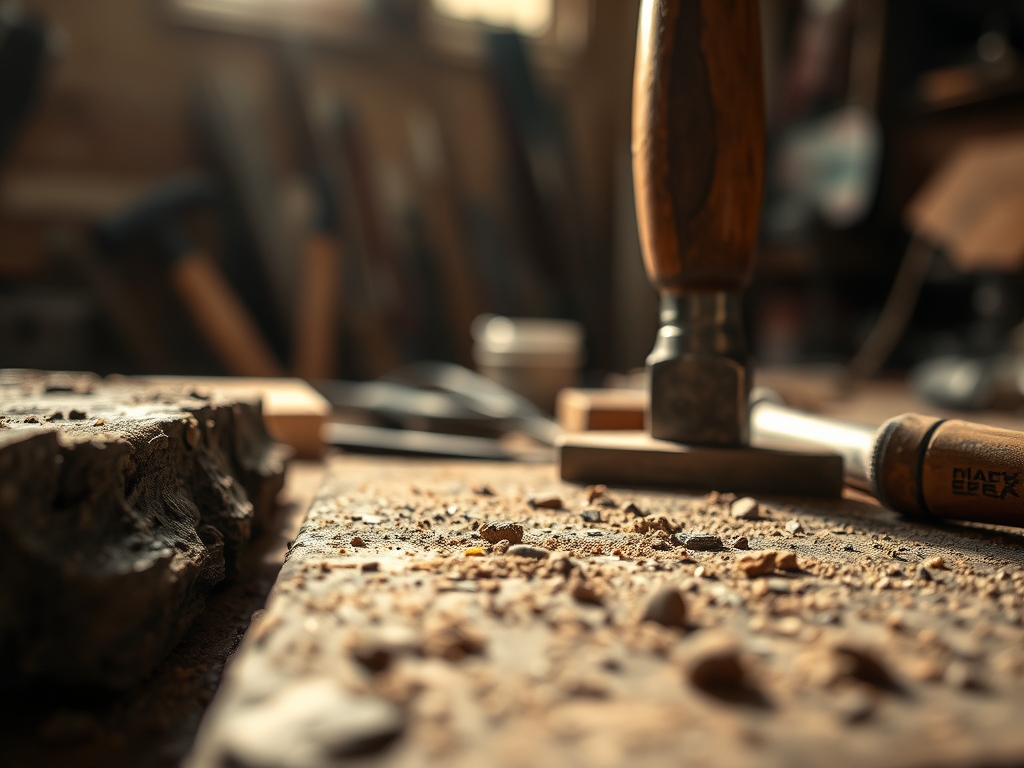
To build a shop that survives the seasons, you need a kit that respects the molecular integrity of your materials. Start with a high quality digital caliper for measuring thickness down to the micron; precision is the difference between a joint that clicks and one that wobbles. You will need a Japanese pull saw for clean, narrow kerfs and a set of chrome vanadium chisels that hold an edge against the toughest knots. For the surfaces, look for high density fiberboard (HDF) or butcher block with a tight grain direction to minimize seasonal expansion.
Material Substitutions: If premium maple is out of reach, use birch plywood but ensure it is cabinet grade with at least thirteen plies to prevent warping. Instead of expensive tool shadows, use closed cell foam inserts that you can custom cut with a rotary cutter. If you cannot afford a full dust extraction system immediately, a high HEPA rated shop vacuum paired with a cyclonic separator will manage the particulate matter effectively. Always keep a bone folder and a steel awl nearby; these are the unsung heroes of marking and creasing that ensure your layout lines are more than just suggestions.
THE TEMPO
The "Maker's Rhythm" is a biological state where your heart rate aligns with the oscillation of your tools. A full studio integration usually requires a three phase timeline. Phase one is the Spatial Audit (10 to 15 hours), where you track light patterns and electrical load. Phase two is the Structural Build (40 to 60 hours), involving the assembly of workbenches and the installation of ergonomic lighting. Phase three is the Atmospheric Calibration (5 to 10 hours), where you fine tune dust collection and sound dampening.
You cannot rush the curing time of adhesives or the settling of a heavy workbench. If you bolt a bench to the wall too quickly, the house's natural settling can pull your work surface out of level. Respect the hygroscopic nature of your materials; wood needs time to acclimate to your home's specific humidity before you make your final cuts. This tempo ensures that the shop does not just sit in the house; it becomes a part of the home's skeleton.
THE CORE METHOD
1. The Foundation and Load Mapping
Before a single nail is driven, you must map the load bearing capacity of your floor. Use a stud finder to locate the joists and plan your heaviest machinery to sit directly over these structural ribs. This prevents "floor bounce," which can introduce micro vibrations into your work, ruining delicate tasks like soldering or fine carving.
Mastery Tip: Understanding structural integrity means knowing that weight is a vector. By placing your bench over a load bearing wall, you transfer the force directly to the foundation, effectively turning the entire house into a dampening system for your power tools.
2. Ergonomic Work Triangle
Just like a kitchen, a shop needs a flow. Position your "dirty" zone (sanding and cutting) near the ventilation, your "clean" zone (assembly and finishing) in the center, and your "storage" zone against the interior walls. Use your calipers to ensure your bench height is exactly at your elbow level to prevent chronic strain.
Mastery Tip: This layout utilizes spatial ergonomics to reduce fatigue. By minimizing the distance you carry heavy materials, you reduce the torque on your spine and keep your focus on the precision of the craft.
3. Acoustic and Vibration Dampening
In an integrated design, noise is the enemy of domestic peace. Use rubberized isolation pads under stationary tools to break the path of vibration. Line the walls with acoustic mineral wool instead of standard fiberglass; it has a higher density and absorbs a wider spectrum of sound frequencies.
Mastery Tip: Sound travels through air and solids. By using decoupling techniques, you stop the mechanical energy of a motor from turning your drywall into a giant speaker diaphragm.
4. Atmospheric Management and Ventilation
A shop that breathes must have a dedicated air exchange. Install a "lung" for your studio using a positive pressure system. This involves pushing filtered air into the room so that dust is forced out through a localized exhaust rather than seeping into the rest of your house.
Mastery Tip: This relies on fluid dynamics. By controlling the air pressure, you ensure that particulate matter stays suspended long enough to be captured by your filtration units before it can settle on finished surfaces.
THE TECHNICAL LEDGER
Maintenance & Longevity: Every six months, check the torque on all mounting bolts. Wood shrinks in winter, which can loosen your bench's stability. Apply a fresh coat of paste wax to cast iron surfaces to prevent oxidation caused by ambient humidity.
Material Variations:
- Sustainable: Use cork flooring for its natural dampening and rapidly renewable status.
- Premium: Invest in anodized aluminum T-tracks for jigs; they offer superior wear resistance compared to plastic.
- Recycled: Old bowling alley lanes make for incredible, high mass work surfaces with extreme impact resistance.
The Correction:
- The Wobble: If a bench is uneven, do not use shims. Use threaded leveling feet to allow for micro adjustments as the house shifts.
- The Shadow: If your lighting creates glares, swap your bulbs for high CRI (Color Rendering Index) LEDs to see the true texture of your materials.
- The Static: If your dust hose shocks you, run a grounding wire through the spiral to bleed off the static electricity generated by friction.
Studio Organization: Store your materials based on their sensitivity. Keep veneers in a climate controlled cabinet to prevent "checking." Hang your jeweler's saw and rotary tools on a pegboard with a slight forward tilt; this uses gravity to keep them seated and prevents accidental drops.
THE FINAL REVEAL
The moment you flip the master switch and the room hums to life is pure magic. Your Integrated Home Studio Design is no longer a collection of tools; it is a high performance engine for your creativity. Notice how the light hits the burnished edges of your workbench and how the air feels crisp and clear. There is a profound sense of authority that comes from knowing every gauge and ply of your environment. You have built a space where the physics of the world meet the dreams in your head. It is time to stop building the shop and start using it to change the world, one precision cut at a time.
STUDIO QUESTIONS
How do I stop tool vibration from waking the family?
Use anti vibration pads made of high density SBR rubber under all stationary tools. This decouples the machine from the floor, preventing the structural transmission of sound waves through the house framing and into adjacent bedrooms.
What is the best lighting for precision hand work?
Combine ambient overhead LEDs with a dedicated articulating task light. Ensure your bulbs have a Color Rendering Index (CRI) of 90 or higher to accurately see surface textures and material flaws during the finishing process.
How do I manage dust in a carpeted home?
Establish a zonal transition. Use a heavy rubber mat at the exit and maintain negative air pressure in the studio. This ensures that airflow always moves into the shop, preventing fine particulate matter from drifting into living areas.
Can I build a workbench out of softwoods like pine?
Yes, but you must increase the mass. Laminate multiple layers of pine to create a thick, heavy top. The added density compensates for the wood's softness, providing a stable, shock absorbent surface for heavy mallet work.

