
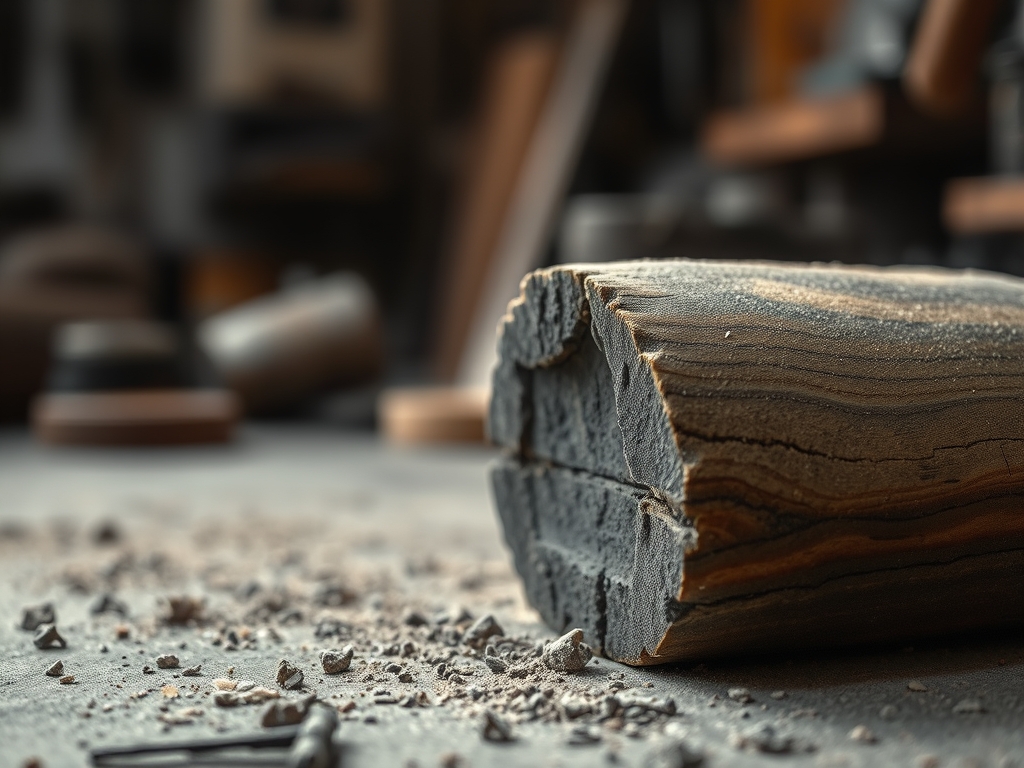
Imagine the sharp, biting scent of a winter morning when the hearth is cold but the air is heavy with the ghost of a cedar fire. You are standing there with a metal bucket, staring at a pile of gray, powdery ghosts that most people would toss into the garden without a second thought. But you and I know better. We are about to transform these fireplace remains into a Natural Wood Ash Glaze that behaves like liquid glass once the kiln hits peak temperature. This is not just recycling; it is a high-stakes chemistry experiment where the porous nature of the ash meets the tensile strength of the clay body. When you run your fingers through raw ash, it feels deceptively soft, almost like silk. However, those tiny particles are packed with calcium, potassium, and magnesium. These are the fluxes that will lower the melting point of silica, turning a gritty residue into a weeping, celadon-like finish that drips down the side of your pot with a mind of its own.
THE STUDIO KIT
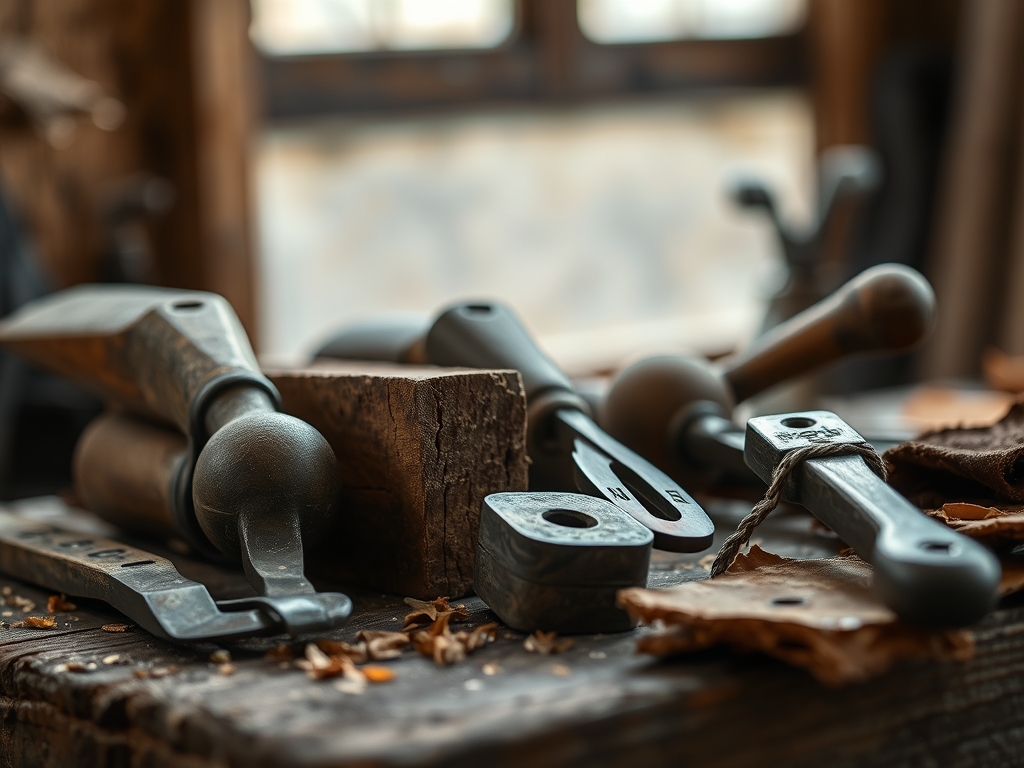
To master this process, you need a kit that balances rugged recovery with surgical precision. Your primary tool is a 80-mesh stainless steel sieve. This is non-negotiable because any unburnt carbon or oversized silica chunks will cause pinholing or bloating in the final fire. You will also need a high-torque immersion blender to ensure the colloidal suspension of the particles remains stable. For measuring, use a digital scale accurate to 0.1 grams; the specific gravity of your glaze depends on it.
Material Substitutions: If your fireplace only yields softwoods like pine, which are low in calcium, you can supplement the mix with whiting (calcium carbonate) to stabilize the melt. If you lack a professional hydrometer to measure liquid density, use a simple graduated cylinder and a scale to calculate the weight-to-volume ratio. You will also need a rubber rib for smoothing the clay surface before application and a calibrated syringe for testing small batches of the slurry.
THE TEMPO
The "Maker's Rhythm" for ash glazes is a slow burn that rewards the patient. You cannot rush the leaching phase. Expect to spend approximately two to three hours on the initial collection and dry-sieving. Once the ash is submerged in water, the chemical "washing" process takes three to five days. You must change the water daily to remove excess caustic salts that can irritate your skin and alter the glaze's viscosity.
The actual application is swift, taking only thirty minutes, but the kiln cycle is the true conductor. A slow "bisque" fire followed by a twelve-hour "glaze" fire is essential. The ramp-up must be steady to allow the chemically combined water to escape the clay without causing a structural failure. This rhythm is a dance between the frantic energy of preparation and the silent, thermal endurance of the firing cycle.
THE CORE METHOD
1. The Aqueous Purification
First, submerge your dry ash in a large plastic bucket filled with soft water. Stir vigorously with a wooden paddle to break up clumps. As the mixture settles, the heavy minerals sink while the "tramp" material floats to the top. Use a fine mesh skimmer to remove the charcoal bits.
Mastery Tip: This step utilizes differential sedimentation. By allowing the mixture to sit, you are separating the reactive fluxes from the inert carbon. The water becomes highly alkaline; this alkalinity is what allows the glaze to eventually bite into the clay body, creating a strong interfacial bond.
2. The Multi-Stage Refinement
Pour the slurry through your 80-mesh sieve into a clean container. You may need to use a rubber spatula to force the stubborn particles through the mesh. Repeat this process at least three times. Each pass increases the homogeneity of the mixture, ensuring that the glaze will melt evenly rather than leaving "islands" of unreacted ash on your pot.
Mastery Tip: Refinement changes the particle size distribution. Smaller particles have a higher surface-area-to-volume ratio, which triggers a faster chemical reaction during the "soak" period of the firing. This leads to a smoother, more glass-like finish.
3. The Flux Calibration
Once your ash is washed and dried into a paste, blend it with your base ingredients. A classic "Nuka" style glaze often uses a 1:1:1 ratio of wood ash, feldspar, and silica. Use your immersion blender to create a vortex, ensuring the thixotropic properties of the glaze are activated. If the glaze feels too watery, add a pinch of bentonite to keep the heavy ash particles from hard-pan settling at the bottom of the bucket.
Mastery Tip: This is where you manage surface tension. Feldspar provides the alumina needed to give the glaze "body," preventing it from simply running off the pot and onto the kiln shelf. The silica provides the glass-former, while the ash acts as the powerful flux that melts it all together.
4. The Precision Application
Dip your bisque-fired piece into the glaze for exactly three seconds. The capillary action of the dry, porous clay will pull the water into the walls, leaving a uniform coating of ash on the surface. Use a needle tool to check the thickness; you are aiming for about 1.5 millimeters. If it is too thick, the glaze will "shiver" or peel off as it dries.
Mastery Tip: Pay attention to the porosity of your bisque. A pot fired to a lower bisque temperature (Cone 06) is more absorbent and will take on a thicker glaze layer than one fired higher. Matching the glaze thickness to the clay's absorption rate prevents crawling during the melt.
THE TECHNICAL LEDGER
Maintenance & Longevity: Ash glazes are inherently durable once fired, but the raw slurry is unstable. Store your liquid glaze in airtight buckets and stir it once a week to prevent the minerals from forming a concrete-like layer at the bottom.
Material Variations:
- Sustainable: Use ash from fruitwoods (apple or cherry) for a delicate green hue.
- Recycled: Mix in crushed glass bottles (cullet) to increase the gloss.
- Premium: Add 1% cobalt oxide to the ash base for a deep, variegated "oil spot" blue.
The Correction:
- The Runaway Drip: If the glaze runs off the pot, increase the alumina content by adding 5% kaolin.
- The Dull Surface: If the glaze looks dry or stony, the kiln did not reach a high enough temperature to melt the silica; re-fire to a higher cone.
- The Flake-Off: If the glaze peels before firing, the ash was not washed enough. The residual salts are migrating to the surface and breaking the bond. Re-wash the ash.
Studio Organization: Label every batch by the wood species used. Store dry, processed ash in galvanized steel bins to prevent moisture absorption. Use a digital hygrometer in your studio to monitor humidity; high moisture can slow the drying of glazed ware, leading to uneven results.
THE FINAL REVEAL
When the kiln door finally swings open, the transformation is staggering. Those dusty fireplace remains have become a liquid landscape. You will see "streaks" where the ash has melted and run down the ergonomic curves of your vessel, creating a visual map of the fire's path. The texture is tactile and complex; it might be smooth as ice in some spots and slightly "toothy" in others. The color palette—ranging from pale straw to deep olive—is a direct reflection of the trees that once warmed your home. It is a sophisticated, professional finish that tells a story of heat, chemistry, and the perfect circle of craft.
STUDIO QUESTIONS
Can I use ash from a charcoal grill?
No. Commercial charcoal often contains coal, binders, and chemical additives. These impurities will cause the glaze to bubble, blister, or produce toxic fumes. Stick to pure, natural cordwood remains for a predictable and safe Natural Wood Ash Glaze.
How do I prevent the glaze from sticking to kiln shelves?
Always apply a thick layer of kiln wash to your shelves. Since ash glazes are notoriously "runny" due to their high flux content, use "wadding" (small balls of refractory clay) under your pots to catch any rogue drips.
Is wood ash glaze food safe?
Generally, yes, if fired to full vitrification. However, because ash composition varies, you must perform a "lemon test" to check for acid resistance. If the glaze changes color or loses its gloss, it is not suitable for functional dinnerware.
Why did my glaze turn out brown instead of green?
The color is heavily influenced by the kiln atmosphere. A reduction fire (limited oxygen) typically produces greens and blues, while an oxidation fire (plenty of oxygen) results in tans, browns, or yellows. Your wood species also plays a role.

