

Close your eyes and breathe in that sharp, resinous bite of cold air; it is the smell of pure potential. We are not just decorating today; we are engineering with the earth. Foraging For Winter Greens is a masterclass in structural botany and seasonal physics. When you step into the woods, you are looking for more than just aesthetics. You are hunting for specific cellular structures that can withstand the low-humidity environment of a heated studio. We are talking about the tensile strength of cedar and the waxy, protective cuticles of holly leaves that prevent rapid desiccation.
The forest floor is a high-density library of textures. As you harvest, feel the weight of the boughs. A healthy branch should have a certain spring; a kinetic elasticity that tells you the vascular system is still hydrated. If the needles snap immediately, the cellular walls have already collapsed. We want the supple, the strong, and the fragrant. Grab your heavy-duty shears and let's bring that wild, atmospheric energy back to the workbench. We are going to transform these raw, organic fibers into a structured masterpiece that defies the dry winter air.
THE STUDIO KIT
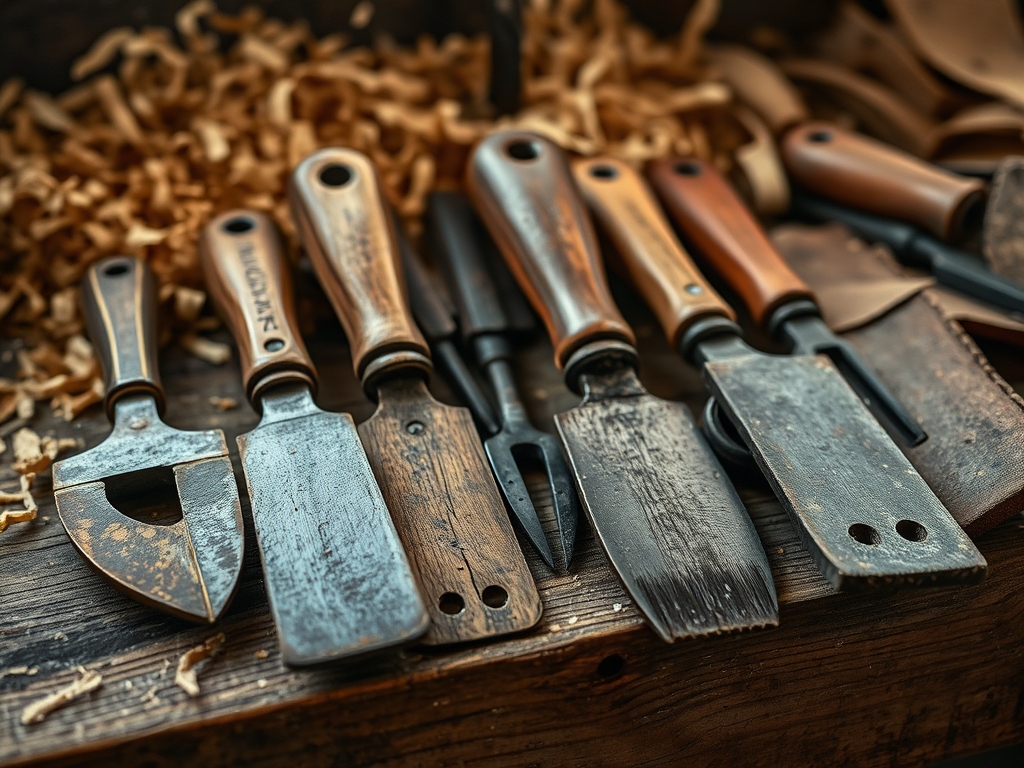
To handle the rugged anatomy of winter flora, your standard craft scissors will not suffice. You need tools that respect the lignin density of woody stems. Reach for a pair of bypass pruners; the scissor-like action provides a clean shear without crushing the delicate xylem vessels responsible for water transport. You will also need 22-gauge floral wire. This specific thickness offers the perfect balance of ductility and hold, allowing you to cinch stems tightly without snapping the metal under tension.
For the base, a heavy-gauge wire frame or a grapevine wreath provides the necessary structural integrity. If you are working on a tabletop display, a block of phenolic foam (wet floral foam) acts as a reservoir, utilizing capillary action to keep your greens hydrated. Keep a pair of needle-nose pliers or a jeweler's saw nearby for precision trimming of thicker woody bits.
Material Substitutions: If you cannot find fresh cedar, look for dried eucalyptus or preserved ruscus. These materials have been treated with glycerin, which replaces the water in the plant cells to maintain supple flexibility and prevent shattering. For a modern twist, incorporate copper mesh or industrial felt strips to add a mechanical contrast to the organic softness of the greens.
THE TEMPO
Every project has a pulse. The "Maker's Rhythm" for winter greens is divided into three distinct phases. First is the Acclimation Phase (1 hour). Your foraged finds need to rest in a cool, dark spot to stabilize their internal temperature before they hit the warmth of the studio. Moving them too fast causes "thermal shock," leading to premature needle drop.
Next is the Assembly Phase (2 to 3 hours). This is where your focus narrows. It is a repetitive, meditative process of layering and securing. Finally, the Curing Phase (12 hours). Once your piece is built, it needs a night in a cool garage or porch to allow the wire to settle and the stems to "lock" into their new orientation. Respecting this timeline ensures your work lasts through the entire season rather than wilting in a week.
THE CORE METHOD
1. Hydration and Stem Prep
Before you even think about the frame, you must prep your materials. Use your pruners to cut every stem at a 45-degree angle. This increases the surface area available for water absorption. If you are using woody branches like pine, lightly crush the bottom inch of the stem with a hammer to expose the inner fibers.
Mastery Tip: This technique utilizes capillary action to its fullest potential. By increasing the exposed surface area of the vascular bundles, you ensure the plant can draw up moisture even in a high-evaporation environment.
2. Building the Foundation Bundles
Group your greens into small "bouquets" of three to five stems. Vary the textures: pair the flat, scale-like leaves of incense cedar with the needle-heavy density of balsam fir. Wrap the base of each bundle tightly with 22-gauge wire, leaving a 4-inch tail.
Mastery Tip: Consider the center of gravity for each bundle. By securing the wire at the heaviest point of the stems, you prevent the bundle from sagging or rotating once it is attached to the main frame, maintaining the intended silhouette.
3. Layering for Visual Mass
Attach your first bundle to the frame by wrapping the wire tail around the structure multiple times. Use your pliers to burnish the wire ends flat so they don't scratch your surfaces. Place the second bundle so it overlaps the stems of the first, hiding the mechanical attachments.
Mastery Tip: This is all about overlapping leaf morphology. By layering the dense foliage over the structural wire, you create a "microclimate" of trapped humidity within the wreath, which slows down the rate of transpiration and keeps the greens fresher for longer.
4. Tension Calibration
As you work around the frame, maintain consistent tension on your wire. If the wire is too loose, the greens will shift as they dry and shrink slightly. If it is too tight, you risk "girdling" the stems, which cuts off the remaining nutrient flow.
Mastery Tip: This involves tensile loading. You want enough force to deform the wire slightly around the wood, creating a mechanical lock that accounts for the 5 to 10 percent shrinkage that occurs as the organic material loses moisture over time.
THE TECHNICAL LEDGER
Maintenance & Longevity
To keep your greens vibrant, mist them daily with room-temperature water. This provides extracellular hydration. Keep the arrangement away from direct heat sources like radiators or fireplaces, as the infrared radiation will accelerate cellular breakdown.
Material Variations
- Sustainable: Use biodegradable twine instead of plastic-coated wire.
- Recycled: Incorporate dried seed pods or pinecones found during your foraging.
- Premium: Add sprigs of "Blue Star" juniper for a high-end, silvery iridescent finish.
The Correction
- The Droop: If a branch sags, your wire tension was too low. Fix it by threading a "support rib" of 18-gauge wire along the back of the branch to provide an external skeleton.
- Needle Drop: This is caused by dehydration. If it starts early, soak the entire piece in a bathtub of cool water for two hours to re-saturate the cells.
- Asymmetry: If one side looks "heavy," do not pull it apart. Use your shears to perform a topiary trim, thinning out the bulk to balance the visual weight.
Studio Organization
Store your leftover wire and tools in a dry, magnetic tool rack to prevent rust. Any remaining greens should be kept in a perforated bag in a cool cellar. Label your bins by species and harvest date to track the shelf life of different botanical specimens.
THE FINAL REVEAL
Step back and look at that texture! You have successfully distilled the essence of the forest into a structured, professional-grade piece of art. The contrast between the rugged, bark-covered stems and the delicate, feathered tips of the evergreens creates a sophisticated tactile rhythm. Your shop now carries the heavy, intoxicating scent of crushed pine needles and damp earth; a reminder that even in the dead of winter, the maker's spirit is in full bloom. It is sturdy, it is fragrant, and it is technically sound. You didn't just make a decoration; you engineered an experience.
STUDIO QUESTIONS
How do I stop needles from falling off?
Prevent needle drop by sealing the cut ends with clear wax or hairspray. This creates a moisture barrier that slows down transpiration. Additionally, keep the arrangement in a cool location to maintain the structural integrity of the plant cells.
What is the best wire gauge for foraging?
A 22-gauge floral wire is the industry standard. It provides enough tensile strength to hold heavy woody branches while remaining ductile enough to twist by hand without requiring heavy machinery or causing hand fatigue during long assembly sessions.
Can I mix fresh and dried greens?
Yes, mixing textures is encouraged. However, ensure the fresh greens are placed where they can be easily misted without damaging the dried elements. This creates a dynamic contrast between the supple, hydrated fibers and the brittle, preserved components.
How long will foraged greens stay fresh?
Typically, foraged greens last two to three weeks indoors. To extend this, use species with high resin content like pine or cedar. These natural resins act as a preservative, locking in moisture and maintaining the vibrant green pigment longer.

