
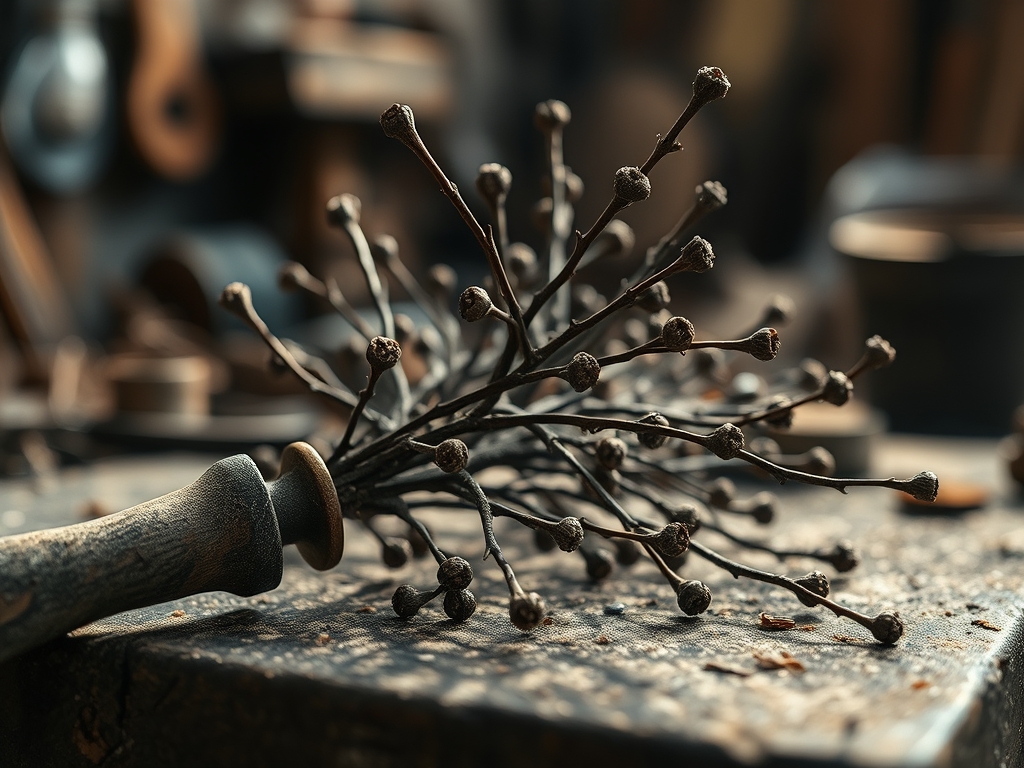
Imagine the snap of a dry twig under your boots as you step into the damp, morning air. There is a specific, tactile thrill that comes with Foraging For Elderberry Stems because you are not just looking for wood; you are looking for a natural engineering marvel. These stems are essentially biological tubes. Unlike oak or maple, which are dense throughout, the elderberry grows with a soft, pithy center that acts like a pre-drilled guide. When you find a stand of these bushes, you are holding the raw potential for jewelry that feels lighter than air. The bark has a distinctive lenticel pattern, which are small pores that allow the plant to breathe. These pores create a natural, slip-resistant grip as you harvest. You are looking for second-year growth; it has the structural integrity to withstand a saw blade without shattering. The moisture content in these stems determines how the wood will shrink as it cures, so your first task is to feel the weight. A heavy stem is full of sap, while a light, greyish stem is seasoned and ready for the studio.
THE STUDIO KIT
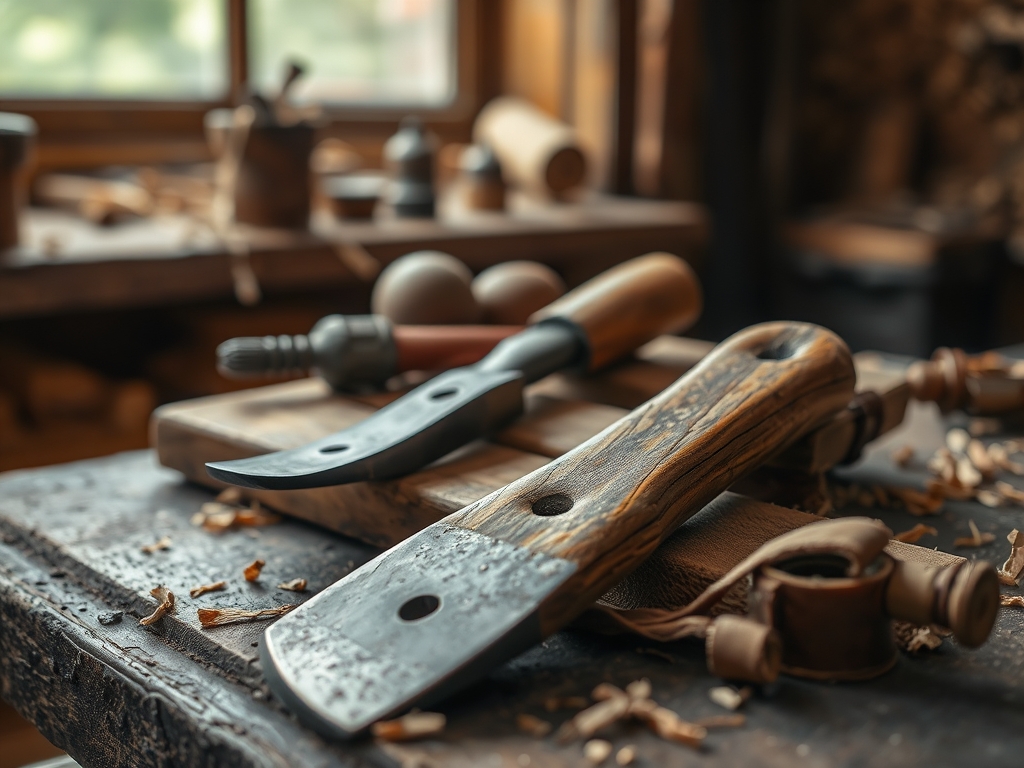
To transform these wild tubes into high-end beads, you need a kit that respects the tensile strength of the wood fibers. First, you need a jeweler's saw with a fine-tooth blade. A standard wood saw is too aggressive and will tear the delicate cambium layer of the bark. You will also need a set of digital calipers to ensure your bead lengths are consistent; precision is what separates a craft project from a professional piece of jewelry. For clearing the pith, a set of stainless steel awls or even a simple straightened paperclip will work, depending on the gauge of the stem. To finish the surface, grab a range of sandpaper from 150 to 600 grit, and a small bottle of beeswax or tung oil for the final burnish.
Material Substitutions: If elderberry is not native to your region, look for bamboo or even dried sunflower stalks. Bamboo offers a much higher silica content, making it harder on your blades but incredibly durable. Sunflower stalks are more porous and fragile, requiring a coat of cyanoacrylate (super glue) to stabilize the fibers before you begin cutting.
THE TEMPO
The "Maker's Rhythm" for this project is divided into three distinct phases: The Harvest, The Cure, and The Refinement. Foraging For Elderberry Stems and the initial cleaning takes about sixty minutes. However, the wood must reach an equilibrium moisture content with your studio environment before you apply finishes. If you cut and oil a "green" stem immediately, the trapped moisture will cause the wood to check or crack as it dries.
Expect to spend thirty minutes on the mechanical extraction of the pith for a batch of twenty beads. The sanding and burnishing phase is the most time-intensive, requiring about five minutes per bead to achieve a glass-like surface. Total active "bench time" for a full necklace set is roughly three hours, spread over two days to allow for proper wood stabilization.
THE CORE METHOD
1. Precision Sectioning
Using your jeweler's saw, cut the stems into uniform lengths. Use your calipers to mark the wood at 15mm intervals. Mastery Tip: The science here involves shear stress. By rotating the stem toward you as you saw, you distribute the pressure evenly around the circumference, preventing the bottom of the stem from splintering when the blade exits the wood.
2. Pith Extraction
Insert your awl into the center of the cut bead. The pith is a parenchyma tissue that is significantly less dense than the surrounding xylem. It should push out in one clean cylinder. Mastery Tip: If the pith is stubborn, a drop of isopropyl alcohol can break down the cellular bonds of the soft center, making it slide out with minimal force.
3. Interior Deburring
Once the pith is gone, the interior walls will be fuzzy. Use a small round file or a piece of rolled-up sandpaper to smooth the inside. Mastery Tip: This prevents capillary action from drawing sweat or skin oils into the center of the bead, which would eventually rot the wood from the inside out.
4. Sequential Sanding
Start with your coarsest grit to remove bark imperfections, then move through the grits. Mastery Tip: Sanding creates frictional heat which can actually help "set" the natural resins in the wood. Always sand in the direction of the grain to avoid cross-grain scratches that become visible once the oil is applied.
5. The Friction Burnish
Apply a small amount of beeswax to a soft cloth and rub the bead vigorously. Mastery Tip: This process utilizes polymerization. The heat from the friction causes the wax to penetrate the wood fibers and harden, creating a water-resistant barrier and a deep, natural luster.
THE TECHNICAL LEDGER
Maintenance & Longevity
Wood is a hygroscopic material, meaning it will always interact with the humidity in the air. To maintain your beads, re-apply a light coat of jojoba oil every six months. Avoid submerging them in water, as the volumetric expansion will cause the fibers to swell and potentially split the bead.
Material Variations
- Sustainable: Foraged elderberry is the gold standard for eco-friendly making.
- Recycled: Use old bamboo placemats or discarded garden stakes.
- Premium: Stabilize your elderberry beads in a vacuum chamber with colored resin to create "hybrid" beads that combine natural wood grain with neon acrylics.
The Correction: 3 Common Mistakes
- The Crushing Blow: Using dull bypass pruners to cut the stems. This crushes the vascular bundles. Fix: Always use a high-tension saw blade.
- The Fuzzy Hole: Leaving pith residue inside. This snags your thread. Fix: Use a pipe cleaner dipped in wax to "polish" the internal bore.
- Over-Oiling: Soaking the beads in oil for too long. This makes the wood "mushy." Fix: Apply oil, wait five minutes, and buff away every trace of excess.
Studio Organization
Store your cured stems in a breathable cotton bag or a wooden crate. Never use plastic bags for long-term storage; plastic traps moisture and encourages the growth of mold spores which will discolor the wood with black "spalting" lines.
THE FINAL REVEAL
There is nothing quite like the moment you string your first set of elderberry beads. They have an organic, ergonomic quality that plastic or glass simply cannot replicate. They are warm to the touch and carry the subtle, earthy scent of the woods. Because you took the time to understand the cellular structure of the plant, your beads are not just accessories; they are tiny specimens of botanical engineering. When you wear them, they clack together with a hollow, musical chime that is uniquely elderberry. You have taken a piece of the forest floor and elevated it to a piece of wearable art through precision and patience.
STUDIO QUESTIONS
Why is elderberry preferred over other woods for beads?
Elderberry features a soft, central pith that is easily removed, creating a natural hollow center. This eliminates the need for heavy power drills and ensures the structural integrity of the bead remains intact during the crafting process.
How do I prevent the wood from cracking?
Cracking is caused by rapid moisture loss. Ensure you are Foraging For Elderberry Stems that are already dead-standing, or allow green wood to slow-dry in a cool, dark place for two weeks before cutting into small sections.
What is the best way to seal the wood?
A friction-applied burnish using beeswax or carnauba wax is best. This creates a breathable but water-resistant seal that enhances the wood's natural grain without the chemical off-gassing associated with synthetic polyurethane or heavy varnishes.
Can I dye these beads?
Yes, because elderberry is highly porous, it accepts natural dyes beautifully. Use a concentrated bath of black walnut hulls or pomegranate skins. The dye will penetrate the xylem layers, creating deep, permanent color that won't rub off.
What stringing material should I use?
Select a high-quality multi-ply silk or waxed linen thread. These materials offer the necessary tensile strength to support the beads while maintaining a soft drape that complements the organic aesthetic of the natural wood.

