
Cold spray hits your face as the tide retreats; exposing a glint of translucent green nestled between jagged basalt rocks. There is a specific; rhythmic crunch of wet sand beneath your boots that signals the hunt is on. Foraging For Ocean Glass is not just a hobby; it is a high stakes search for raw geological history that has been refined by the relentless kinetic energy of the Atlantic. You are looking for that perfect; frosted hydration; where the once sharp edges of a broken bottle have been pulverized into a satin finish by decades of salt and silt. The tactile sensation of a truly cured piece of sea glass is unmistakable. It feels like a worry stone; cool and oddly soft despite its silicate origins. When you hold a piece up to the pale morning sun; you are checking for that signature "c-mark" pitting. These microscopic crescent shaped fractures are the physical proof of a long-term chemical reaction between the glass and the alkaline sea. We are not just picking up trash; we are harvesting gems forged by physics.
THE STUDIO KIT
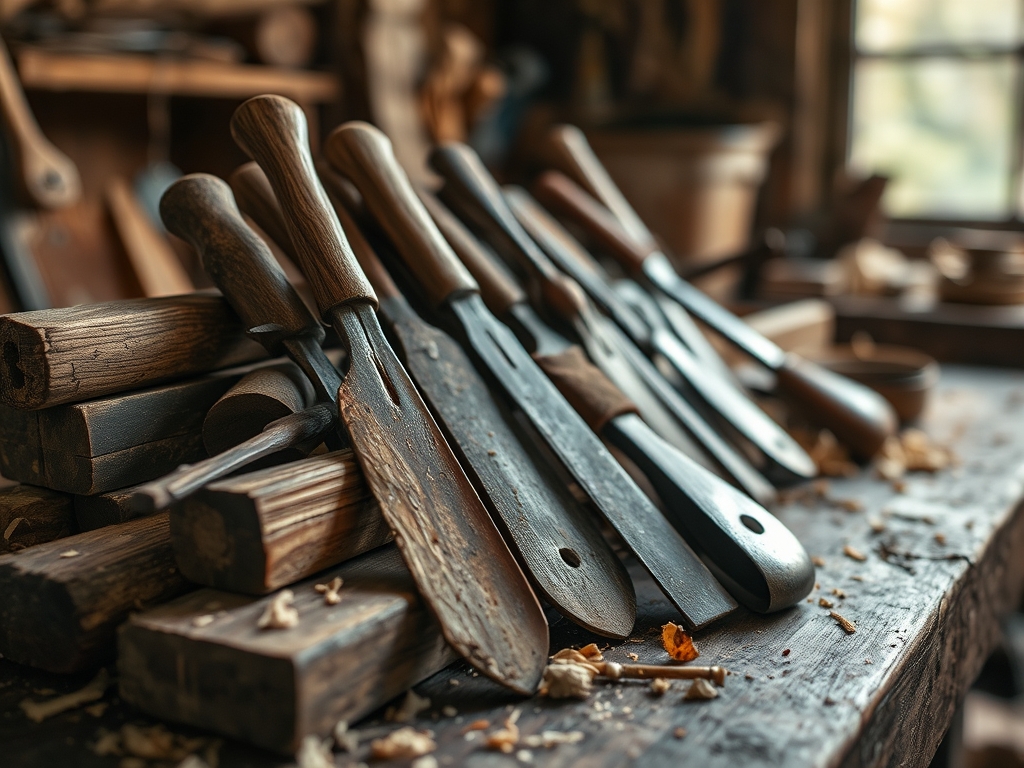
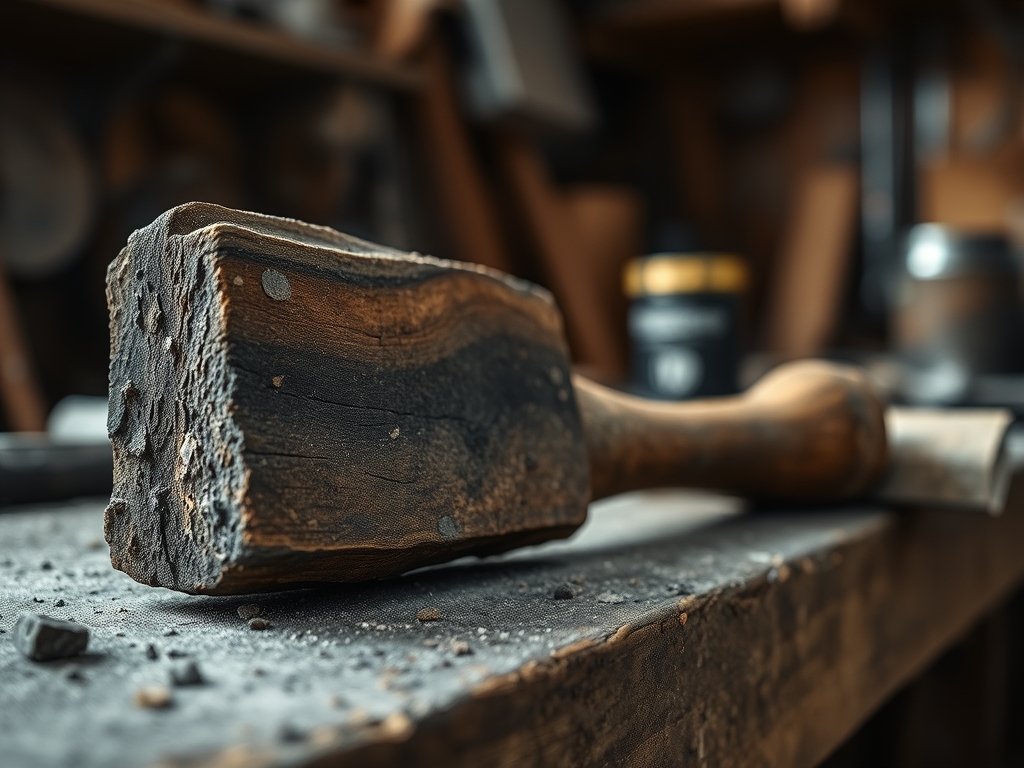
To transform these treasures into wearable art; your studio setup must account for the brittle fracture tendencies of weathered glass. You cannot simply force a hole through these pieces. You need a variable speed rotary tool equipped with a diamond tipped hollow core drill bit. Because glass is a non-porous material with high thermal expansion; heat is your primary enemy. You will need a shallow water bath to act as a lubricant and coolant.
Your kit must also include digital calipers to measure the exact thickness of your find; ensuring it can withstand the tensile stress of a wire wrap or bezel setting. For the metalwork; keep a pair of nylon jaw pliers handy to prevent marring the frosted surface; along with dead soft sterling silver wire in 20 and 24 gauge.
Material Substitutions: If you cannot find authentic sea glass; you can use recycled bottle shards tumbled in a rock tumbler with coarse silicon carbide grit. However; the refractive index will differ slightly from genuine ocean tumbled specimens; as the chemical leaching of the sea creates a unique matte patina that mechanical tumbling struggle to replicate perfectly.
THE TEMPO
The "Maker's Rhythm" for jewelry work is divided into three distinct temporal phases. First is the Foraging Phase; which is entirely dictated by the lunar cycle. You want to be on the shoreline exactly one hour before low tide. This phase can take anywhere from two to five hours depending on the beach topography.
Second is the Curation and Cleaning Phase. This requires a twenty-four hour soak in a mild surfactant to remove organic biofilms without damaging the delicate pH balance of the frosted surface.
Finally; the Fabrication Phase is the most intense. Drilling a single hole through a 4mm thick piece of glass takes approximately three to five minutes of steady; low-pressure contact. Designing and executing a custom wire wrap adds another forty-five minutes. Total active bench time per piece usually hovers around ninety minutes; but the process requires a meditative patience to avoid cracking the material.
THE CORE METHOD
1. The Hydro-Sonic Cleanse
Before any metal touches the glass; you must strip away the salt and microscopic algae. Use an ultrasonic cleaner if you have one; or a soft-bristled brush with distilled water. This ensures that when you apply your marking pen for drilling; the ink adheres to the surface rather than a layer of grime.
Mastery Tip: Glass is chemically inert; but the "frost" is actually a layer of hydrated silica. Using harsh chemicals like bleach can dehydrate this layer; causing the glass to lose its signature glow. Stick to pH-neutral cleaners to maintain the structural integrity of the weathered surface.
2. Precision Mapping with Calipers
Use your digital calipers to find the thickest and thinnest points of the shard. You want to drill through a section that provides enough "meat" to support the weight of the jewelry; usually at least 3mm from any edge. Mark your entry point with a tiny dot of permanent ink.
Mastery Tip: This step accounts for the load-bearing capacity of the glass. If you drill too close to the edge; the hoop stress created by the jump ring will cause a clean break along the glass's natural cleavage planes.
3. Submerged Diamond Drilling
Place the glass in a shallow dish of water; resting on a piece of scrap wood or a rubber mat. Using your rotary tool at a medium RPM; approach the glass at a 45-degree angle to create a "seat" for the bit. Once the bit has caught; slowly move it to a vertical position. Use a pumping motion to allow water to flush out the glass dust.
Mastery Tip: This technique utilizes capillary action to pull water into the bore hole. The water acts as a coolant; preventing the localized thermal expansion that leads to "heat checking" or spider-web cracks.
4. The Burnished Wire Wrap
Take your 20-gauge wire and create a secure anchor loop. Because sea glass is often irregular; you must use a burnishing tool to press the wire tightly against the undulations of the glass. This creates a mechanical lock that relies on friction rather than adhesives.
Mastery Tip: By burnishing the wire; you are increasing the surface area contact between the metal and the glass. This distributes the weight of the piece evenly; preventing any single point of pressure from becoming a failure site.
THE TECHNICAL LEDGER
Maintenance & Longevity: Sea glass jewelry should be cleaned with a lint-free microfiber cloth. Avoid ultrasonic cleaners once the piece is set in metal; as the vibrations can cause the metal to rub against the glass; creating "chatter marks." A drop of mineral oil can be used to restore the "wet look" if the frost becomes too white; though most purists prefer the dry; matte finish.
Material Variations:
- Sustainable: Local beach finds or recycled glass.
- Premium: Rare "multi" shards (glass with two or more colors fused together) or "cobalt blues" from vintage apothecary bottles.
- Recycled: Upcycled stained glass scraps tumbled to mimic the ocean's effect.
The Correction:
- The Blowout: If the back of the glass shatters when the drill exits; you are pressing too hard. Fix: Flip the glass and drill from both sides to meet in the middle.
- The Dull Finish: If the glass looks grey after drilling; you have overheated it. Fix: Use a higher grit diamond polishing paste to buff the internal bore of the hole.
- The Loose Setting: If the glass wobbles in the wire; your wire is too hard. Fix: Use a butane torch to anneal your silver wire; making it soft enough to contour perfectly to the glass.
Studio Organization: Store your sea glass in compartmentalized acrylic bins sorted by color and "frost level." Keep your diamond bits submerged in a light oil when not in use to prevent oxidation and maintain the integrity of the industrial diamond grit.
THE FINAL REVEAL
There is nothing quite like the moment you lift a finished sea glass pendant from the bench. The way the light catches the internal fractures—those little "glow spots"—is pure magic. It is a piece of history that has been physically transformed by the ocean and technically refined by your own hands. The contrast between the high-shine sterling silver and the ancient; matte texture of the glass creates a sophisticated; organic aesthetic. It feels heavy; substantial; and incredibly smooth against the skin. You have taken a piece of discarded industrial waste and; through the application of physics and craft; turned it into a timeless heirloom.
STUDIO QUESTIONS
How can I tell if sea glass is real?
Real sea glass features tiny; "C-shaped" hydration marks and a frosted; non-uniform surface. If the glass is perfectly smooth or has sharp edges inside the frosting; it was likely chemically etched or machine-tumbled rather than weathered by the ocean.
What is the rarest color of sea glass?
Orange is statistically the rarest; followed by red and yellow. These colors were expensive to produce; often requiring gold or selenium; and were rarely used for mass-produced bottles; making them high-value finds for any serious jeweler.
Do I need a special drill for glass?
Yes; you must use diamond-tipped bits. Standard high-speed steel or carbide bits will shatter the glass or dull instantly. Diamond bits "grind" the material away rather than cutting it; which is essential for maintaining the structural integrity of the shard.
Is it okay to oil sea glass?
A tiny amount of skin oil or mineral oil can make the color "pop" by filling in the microscopic surface pits. However; this is a temporary aesthetic choice. Many collectors prefer the natural; dry frost as it proves the glass's authentic oceanic origin.

