
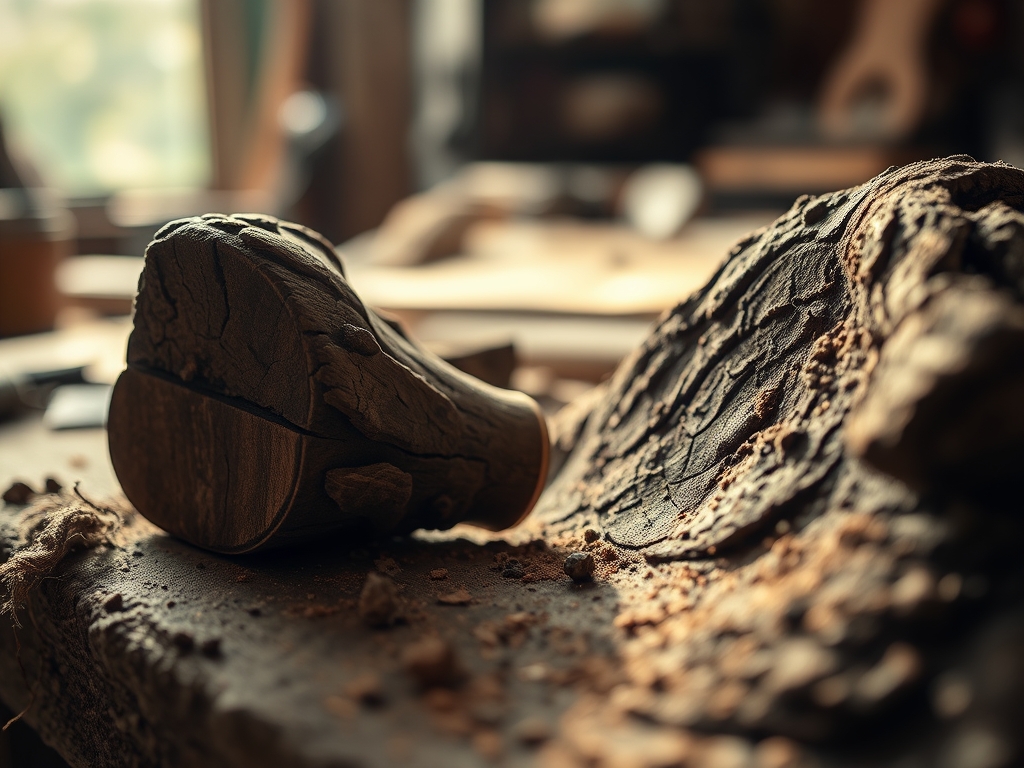
Imagine the weight of a heavy, rusted garden trowel in your hand as the smell of damp earth and ancient minerals hits your nose. We are diving deep into the literal foundation of color today. Foraging For Roots and Bark is not just a weekend hobby; it is a high stakes treasure hunt for the chemical compounds hidden beneath the topsoil. When you pull a gnarled madder root from the clay, you are not just looking at a plant part. You are looking at a concentrated storage vessel of alizarin and purpurin. These molecules are held within a dense cellulose matrix that requires specific thermal energy to release.
The texture of the bark is equally fascinating. Think of it as nature's armor. It is composed of cork, phloem, and vascular cambium, each layer possessing a different concentration of tannins. As you peel back the outer layers of a fallen oak or birch, the tactile resistance tells you everything about the moisture content and the potential pigment yield. We are about to transform these rugged, subterranean finds into liquid gold. It is physics, it is chemistry, and it is a total rush for your creative soul.
THE STUDIO KIT
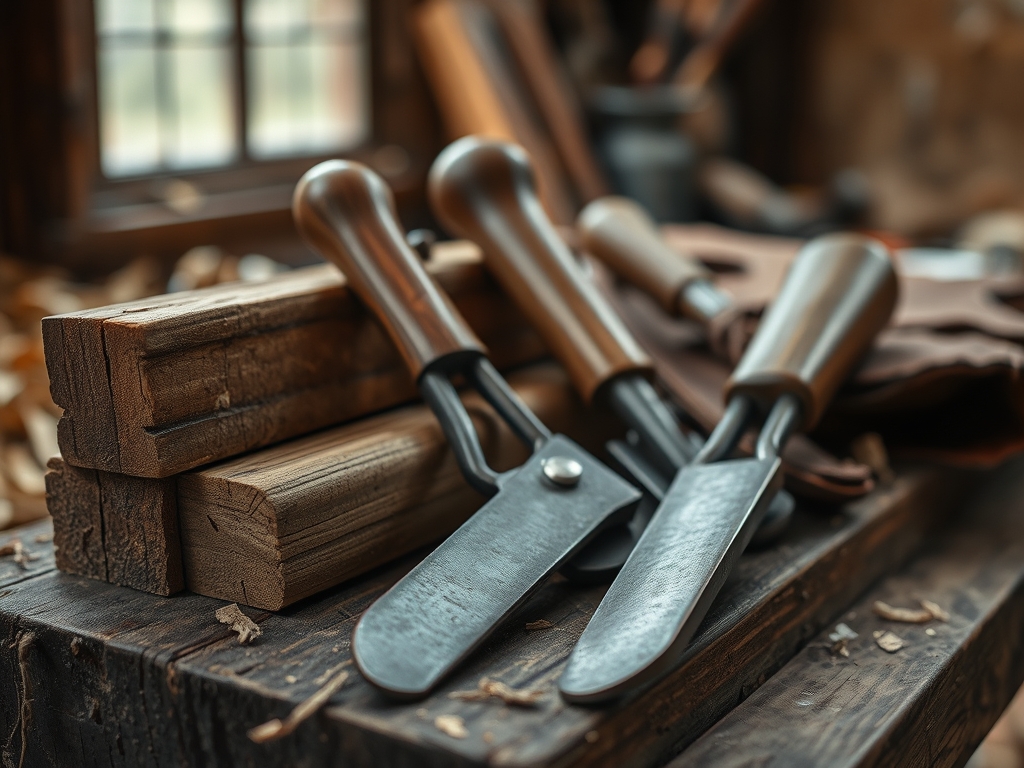
To master this process, your studio needs to look a bit like a high end laboratory. You will need a digital gram scale with a 0.01g precision to measure your mordants. A heavy duty stainless steel stockpot is non negotiable because reactive metals like aluminum or iron will shift your pH levels and alter the final hue. For processing the raw materials, a sturdy garden bypass pruner and a serrated Japanese Hori Hori knife are essential for slicing through the high tensile strength of woody fibers.
You should also have a refractometer if you want to get really nerdy about sugar and mineral density, though a basic pH testing kit is more critical for color stability. For the textile side, keep a bone folder handy to scrape away excess debris and a fine mesh chinois for straining the particulate matter.
Material Substitutions: If you cannot source fresh madder or alkanet, you can substitute with high quality dried extracts. However, you will lose the volatile aromatic compounds found in fresh specimens. For the bark, if oak is unavailable, pomegranate skins offer a similar tannin profile due to their high polyphenolic content.
THE TEMPO
The "Maker's Rhythm" for this project is slow and deliberate. You cannot rush the molecular breakdown of lignified tissues. Expect to spend roughly two hours on the initial forage and cleaning phase. Once the roots are harvested, they require a "resting period" of 24 hours to allow the moisture levels to stabilize.
The extraction phase takes about four to six hours of simmering. This is the heart of the process where the thermal energy breaks the hydrogen bonds in the plant cell walls. Finally, the curing or setting phase for your dyed materials takes another 48 hours. Total project time: approximately three to four days. It is a marathon, not a sprint, but the depth of color you achieve is chemically impossible to replicate with synthetic dyes.
THE CORE METHOD
1. The Extraction Grind
First, you must increase the surface area of your foraged materials. Use your pruners to chop roots into half inch segments. For bark, use a heavy mallet to crush the fibers. This exposes the internal vascular structures to the solvent.
Mastery Tip: This relies on the principle of diffusion. By increasing the surface area to volume ratio, you allow the water molecules to penetrate the porous cell walls more efficiently, leading to a higher concentration of pigment in the solution.
2. The Thermal Bath
Place your processed materials into the stockpot and cover with distilled water. Heat the mixture slowly until it reaches a "lazy simmer" of about 180 degrees Fahrenheit. Do not let it boil vigorously; extreme heat can denature the delicate pigment molecules and turn a bright red into a muddy brown.
Mastery Tip: This is an exercise in thermodynamics. Maintaining a consistent temperature just below boiling ensures that you are extracting the dye without triggering the oxidation of tannins, which can darken the final result prematurely.
3. The Mordant Bridge
While your dye pot simmers, prepare your substrate (fabric or paper) in a separate bath of alum (potassium aluminum sulfate). This acts as a chemical bridge between the fiber and the dye.
Mastery Tip: This involves ionic bonding. The metal ions in the mordant attach to the fiber's molecular chain, creating a "hook" that the dye molecules can grab onto. Without this, your color would simply wash away due to a lack of chemical affinity.
4. The Submersion Dance
Strain the liquid through your fine mesh chinois to remove all solids. Submerge your pre-mordanted material into the clear, colored liquid. Use a long wooden dowel to keep the material moving so the dye distributes evenly across the entire surface.
Mastery Tip: Observe the capillary action as the liquid travels through the fibers. Consistent agitation prevents "hot spots" where pigment concentrations could settle, ensuring a professional, level finish across the entire gauge of the fabric.
THE TECHNICAL LEDGER
Maintenance & Longevity: Foraged dyes are light sensitive. To ensure longevity, store your finished pieces away from direct UV rays. Use a pH neutral detergent for any future cleaning to avoid shifting the color balance.
Material Variations:
- Sustainable: Use windfall bark after a storm to ensure you are not harming living trees.
- Recycled: Repurpose old copper plumbing bits in your dye pot to act as a natural modifier for green tones.
- Premium: Source Himalayan rhubarb roots for a vibrant, high saturation yellow that possesses incredible lightfastness.
The Correction:
- Problem: The color is patchy or streaked. Fix: Your material was likely crowded in the pot. Re-scour the fabric and ensure the next bath has a 40:1 liquor ratio.
- Problem: The dye is too pale. Fix: Your pH may be too acidic. Add a pinch of soda ash to shift the alkalinity and "bloom" the color.
- Problem: The bark didn't release color. Fix: Some barks require a pre-soak in alcohol to break down resins before the water bath can work.
Studio Organization: Store your dried roots and bark in airtight glass jars in a cool, dark cabinet. Label each jar with the harvest date and the specific GPS coordinates of where it was found. This helps you track how soil composition affects the pigment profile year over year.
THE FINAL REVEAL
Look at that! You have successfully pulled the hidden spectrum of the earth right into your studio. The colors you get from Foraging For Roots and Bark have a "soul" that synthetic colors just lack. They have a subtle variegation and a tactile warmth that reflects the very ground they came from. When you hold your finished piece up to the light, you can see the complexity of the tannins and the richness of the earth's chemistry. It is a sophisticated, high energy transformation that proves nature is the ultimate chemist.
STUDIO QUESTIONS
What is the best time of year for root foraging?
Late autumn or early spring is ideal. During these dormant phases, the plant concentrates its nutrients and pigment compounds in the root system rather than the leaves, resulting in a much higher dye yield and more intense color saturation.
Can I use any bark I find on the ground?
Stick to "clean" windfall bark that isn't showing signs of heavy fungal rot. Fungi can consume the tannins you need for color. Look for bark that is still relatively firm and has a distinct, fresh woody scent when snapped.
Why do I need to use distilled water?
Tap water contains minerals like calcium and magnesium that can act as unintended mordants. These minerals "compete" with your chosen mordant, often dulling the final color or causing unpredictable shifts in the hue of your foraged pigments.
How do I know if a root is safe to handle?
Always use a botanical field guide to identify species. Avoid plants like Poison Ivy or Hemlock, as their toxins remain potent even in the roots. Wear gloves during the harvest and processing phases to protect your skin from irritants.
Is it possible to over-simmer the dye pot?
Yes. Prolonged high heat can cause the tannins to bond too tightly to the pigment, resulting in a "saddened" or brown color. Monitor the pot closely and remove from heat once the desired color density is achieved in the liquid.

