
Close your eyes and listen to the sound of a workshop that breathes. It is not the shrill, high pitched whine of friction melting cheap polymers; it is the rhythmic rasp of a hand plane against cherry wood or the crisp snap of top grain leather under a sharp awl. I refuse to let synthetic polymers cross my threshold because they lack a soul. When you embrace The Sustainable Material Life, you are choosing a tactile reality where every fiber has a history and a cellular structure that responds to your touch. Plastic is stagnant. It is a dead end for energy. Natural materials like solid brass, linen, and kiln dried hardwoods possess a tensile strength and a thermal conductivity that plastic could never replicate. There is a specific, intoxicating scent to sawdust and beeswax that signals a project is coming to life. When I hold a piece of walnut, I am feeling the density of years of growth. I am engaging with a material that ages with grace rather than shattering into microplastic dust. This is about the physics of permanence.
THE STUDIO KIT
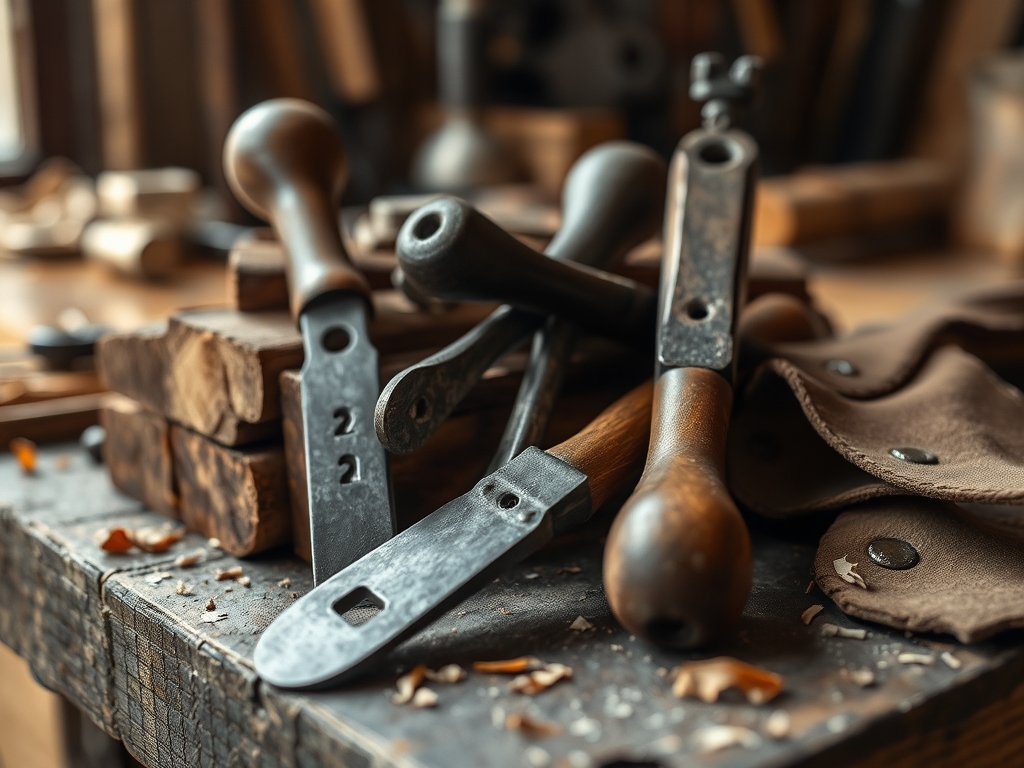
To master this craft, your kit must prioritize mechanical advantage and precision over convenience. My primary tool is a set of hardened steel calipers for measuring thickness down to the thousandth of an inch. Unlike plastic versions that flex under pressure, steel provides a rigid reference point. You will also need a bone folder made from genuine bovine bone; the smooth, non porous surface allows you to burnish edges without scorching the fibers. For cutting, a high carbon steel rotary cutter is essential for maintaining a perpendicular edge on heavy gauge materials.
Material Substitutions are the secret sauce of the plastic free studio. Instead of nylon thread, use waxed Irish linen which has a higher friction coefficient and locks stitches into place. Swap out synthetic glues for rabbit skin glue or hide glue. These organic adhesives create a reversible protein bond that is actually stronger than the wood fibers themselves. For finishing, move away from polyurethane and toward tung oil or carnauba wax. These substances penetrate the cellular pores of the material rather than sitting on top like a suffocating film.
THE TEMPO
The "Maker's Rhythm" is a temporal state where your heart rate aligns with the physical resistance of your medium. Working with natural materials requires a slower, more intentional cadence. You cannot rush the hygroscopic nature of wood or leather. If you force a bend before the fibers are hydrated, they will snap.
The initial preparation phase takes roughly three hours; this involves grain mapping and moisture testing. The construction phase is the longest, often spanning twelve to fifteen hours, as you must allow for clamping pressure and adhesive curing. Finally, the finishing phase requires a forty eight hour window for oils to oxidize and harden. This tempo is not a burden. It is a biological necessity that ensures the structural integrity of the piece. You are working with the material, not against it.
THE CORE METHOD
1. Mapping the Grain Direction
Before the first cut, you must identify the longitudinal axis of the fibers. In wood, this determines the flexural strength; in leather, it dictates the stretch. Use a bright LED light to shadow the surface texture. Mastery Tip: Always cut parallel to the grain to prevent "tear out," a phenomenon where the tool catches and lifts bundles of fibers, ruining the surface tension.
2. Precision Scoring and Piercing
Using a diamond tipped awl, create pilot holes for your joinery. This prevents the material from splitting under the stress of the thread or fastener. Mastery Tip: Lubricate your awl with a small amount of beeswax to reduce frictional heat, which can cause organic fibers to contract and become brittle during the piercing process.
3. The Compression Bond
When joining two surfaces, apply even pressure using steel C-clamps. The goal is to achieve a "starved joint" prevention by ensuring the adhesive is distributed evenly across the interfacial zone. Mastery Tip: Use the physics of capillary action by slightly dampening the edges of the joint; this pulls the adhesive deeper into the pores for a molecular level bond.
4. Edge Burnishing and Sealing
The final step is to compress the raw edges of your project. Use your bone folder or a wooden slicker to create heat through friction. Mastery Tip: This process aligns the surface molecules into a dense, protective barrier that prevents moisture ingress, effectively "waterproofing" the piece without the need for synthetic coatings.
THE TECHNICAL LEDGER
Maintenance & Longevity
Natural materials are self healing to an extent. A scratch in a solid brass fitting can be buffed out, whereas a scratch in gold plated plastic is permanent. To maintain your work, apply a light coat of mineral oil every six months. This keeps the fibers supple and prevents the desiccation that leads to cracking.
Material Variations
- Sustainable: Reclaimed barn wood offers a pre distressed aesthetic with high stability due to its age.
- Recycled: Vegetable tanned leather scraps can be reconstituted or used for small structural reinforcements.
- Premium: Grade A merino wool felt provides incredible insulation properties and vibration dampening for delicate instruments.
The Correction: Common Pitfalls
- The Mistake: Over-sanding that leads to "clogged pores." The Fix: Use a tack cloth or compressed air to clear dust between every grit change to ensure the finish can penetrate.
- The Mistake: Joint failure due to seasonal expansion. The Fix: Calculate the coefficient of thermal expansion for your material and leave a 1/32 inch gap in non critical joints.
- The Mistake: Surface staining from metal oxidation. The Fix: Use stainless steel or brass hardware to avoid the "iron gall" reaction that occurs when steel touches wet tannins in wood or leather.
Studio Organization
Store your organic materials in a climate controlled environment with a consistent humidity of forty to fifty percent. Use acid free tissue paper to wrap finished pieces. This prevents the transfer of oils and protects the patina from premature oxidation. Never store leather or wood in airtight plastic bins; they need to "breathe" to prevent mold growth.
THE FINAL REVEAL
Look at that! The finished piece sits on the workbench with a weight and a presence that feels substantial. The light catches the burnished edges, revealing a deep, multi dimensional glow that only comes from hours of hand finishing. There is no chemical off gassing here; only the clean, earthy scent of a job well done. When you run your hand over the surface, you feel the subtle variations in the grain, a reminder that this object was once part of the living world. It is sturdy, ergonomic, and designed to last for generations. This is the peak of The Sustainable Material Life. You have created something that does not just take up space but actually improves with every year of use.
STUDIO QUESTIONS
What is the best way to clean natural wood without chemicals?
Use a damp microfiber cloth followed immediately by a dry one. For stubborn spots, a mixture of diluted white vinegar and olive oil works wonders. This maintains the moisture balance without stripping the natural oils or damaging the cellular structure.
How do I prevent my leather projects from molding?
Ensure your studio has proper airflow and keep humidity below sixty percent. If mold appears, use a pH balanced cleaner. Avoid storing items in plastic bags, as they trap moisture and create a breeding ground for fungal spores.
Can I use metal tools on delicate organic fibers?
Yes, but you must ensure the tools are polished and free of burrs. A polished steel surface reduces drag and prevents snagging. Always test the pressure on a scrap piece to calibrate your physical force against the material density.
Why is plastic considered a "dead" material in crafting?
Plastic lacks viscoelasticity and the ability to develop a patina. It does not respond to environmental changes or repair efforts. Once it reaches its breaking point, the molecular chains are severed permanently, making it a "one life" material.
What is the most durable natural finish for high wear items?
A blend of beeswax and linseed oil provides a tough, water resistant barrier. It penetrates deep into the porous substrate and can be easily reapplied. This finish hardens over time through oxidation, creating a resilient and renewable protective layer.

