The smell of fresh cedar and the grit of raw pumice under your fingernails are the only therapy you need today. When your hands are cramped from the repetitive motions of the studio, you start to lose that vital connection between the mind and the medium. Healing The Maker Soul starts the moment you step off the pavement and into the undergrowth where the raw materials live. It is not just a break; it is a recalibration of your internal calipers. To understand why a piece of wood resists a blade, you have to see how it stands against the wind. You have to feel the tensile strength of a living branch before you can respect the grain direction of a seasoned plank. We are here to bridge the gap between the wild, chaotic beauty of nature and the precise, disciplined environment of the workbench. This is where we rediscover the tactile joy of creation, turning a heavy heart into a focused mind through the sheer physics of making.
THE STUDIO KIT
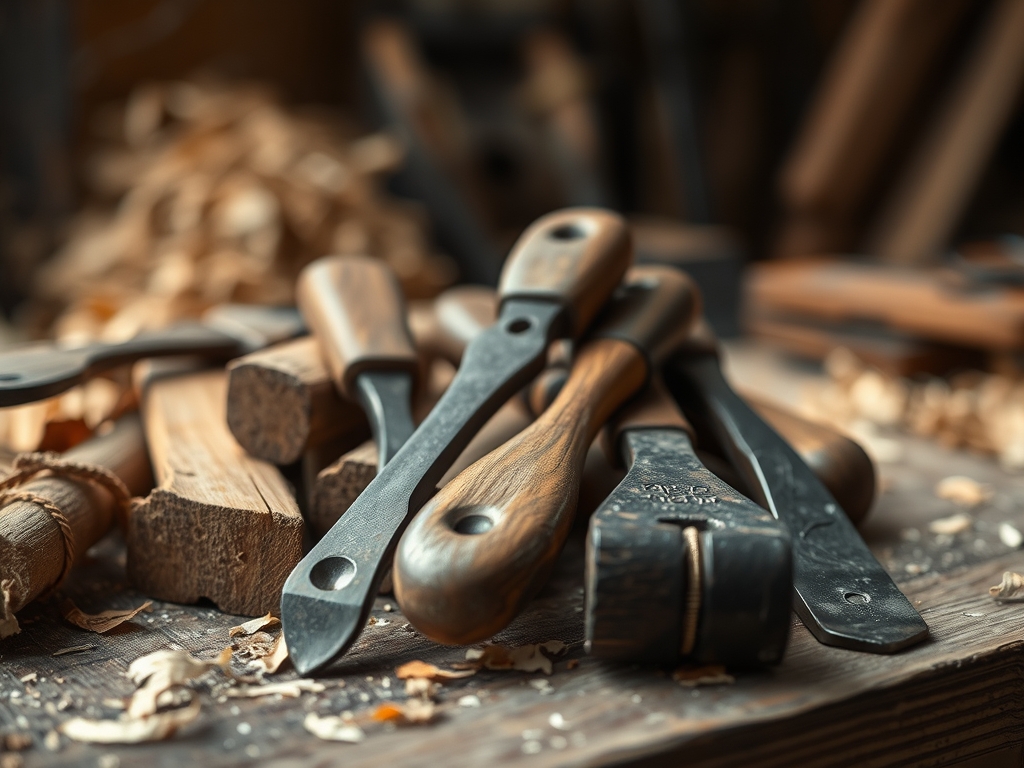
To master this project, your kit must balance precision with raw power. We are looking for tools that respect the cellular structure of our materials while allowing for high-energy expression.
- The Marking Gauge: Essential for maintaining consistent depths. Accuracy starts at the sub-millimeter level.
- High-Carbon Steel Chisels: We need a tool that holds a razor edge against dense hardwood fibers.
- Japanese Pull Saw: Unlike Western saws, these work on the pull stroke, preventing the blade from buckling under compressive force.
- Natural Beeswax and Linseed Oil: For a finish that is breathable and non-toxic, preserving the porous nature of the wood.
- Digital Calipers: To ensure your joinery is tight enough to rely on friction fits rather than just chemical adhesives.
Material Substitutions: If you cannot source reclaimed white oak, look for black walnut or cherry. These woods offer similar Janka hardness ratings, ensuring your final piece has the structural integrity to last for generations. Avoid softwoods like pine for high-stress joints; their low density leads to crushing under pressure.
THE TEMPO
The "Maker's Rhythm" is a physiological state where your heart rate syncs with the stroke of the saw. It is not about speed; it is about harmonic resonance.
- Phase 1: The Foraging (2 Hours): Selecting the material based on moisture content and growth rings.
- Phase 2: The Dimensioning (3 Hours): Squaring your stock. This is the most physically demanding part, requiring steady ergonomic posture to avoid fatigue.
- Phase 3: The Joinery (5 Hours): The "Deep Work" phase. This requires total silence and high cognitive load to manage complex geometric alignments.
- Phase 4: The Refinement (2 Hours): Sanding through the grits (80 to 400) and applying the final burnish.
THE CORE METHOD
1. Analyzing the Grain Flow
Before the first cut, you must read the wood like a map. Look for the medullary rays and the way the grain "runs out" at the edges. Aligning your cuts with the natural fiber direction ensures that the piece will not warp or check as the ambient humidity shifts.
Mastery Tip: This is all about hygroscopy. Wood is a dynamic material that expands and contracts. By aligning the grain, you ensure the movement is predictable, preventing the internal shear stress that causes cracking.
2. The Precision Layout
Use your marking awl instead of a pencil. A pencil line has thickness; a physical scribe line in the wood fibers provides a "track" for your saw or chisel to follow. This is where we define the tolerances of the project.
Mastery Tip: Scribing actually severs the surface lignin, which prevents "tear-out" when you begin the heavy removal of material. It is a mechanical preemptive strike for a cleaner finish.
3. Executing the Joinery
Whether you are cutting dovetails or mortise-and-tenon joints, the goal is a mechanical lock. Use your chisels to remove material in thin "wafers." Never try to take too much at once, or you risk splitting the wood along its cleavage planes.
Mastery Tip: Leverage the coefficient of friction. A perfectly tuned joint should require a light tap from a mallet to seat; if it falls in, it is too loose. If it requires a heavy blow, the internal hoop stress will eventually split the female component.
4. The Final Burnish
Instead of just sanding, use a cabinet scraper to shear the fibers. This leaves the stomata of the wood clean and open, rather than clogged with dust. Follow this with a hand-rubbed oil finish that penetrates deep into the vascular system of the timber.
Mastery Tip: This utilizes capillary action. The oil travels down the open fibers, displacing air and creating a moisture-resistant barrier from the inside out, rather than just a film on top.
THE TECHNICAL LEDGER
Maintenance & Longevity: To keep your piece in peak condition, apply a fresh coat of wax every six months. Wood is a biological polymer; it needs "feeding" to prevent the fibers from becoming brittle and losing their elastic modulus.
Material Variations:
- Sustainable: Use FSC-certified timber or "city-harvested" logs from arborists.
- Premium: Rare burls or "tiger" grain maples offer incredible visual refraction but are much harder to plane due to their interlocked fibers.
The Correction:
- The Gap: If a joint is too loose, glue in a thin veneer shim of the same species to restore the friction fit.
- The Split: If the wood checks, use a "butterfly" or "bowtie" inlay to mechanically halt the crack propagation.
- The Burn: If your power tools leave burn marks, your feed rate is too slow. Increase speed or sharpen the blade to reduce frictional heat.
Studio Organization: Store your wood horizontally in a temperature-controlled environment. Vertical storage leads to bowing due to gravity acting on the unsupported span. Use "stickers" (small spacers) between boards to allow for even airflow on all sides.
THE FINAL REVEAL
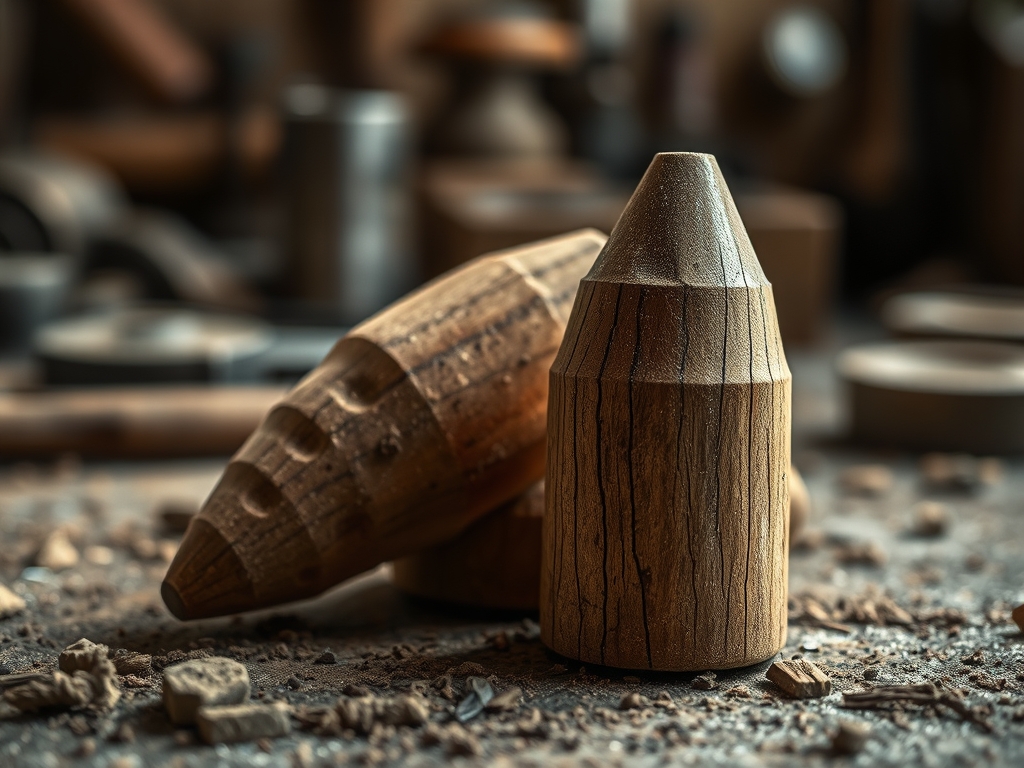
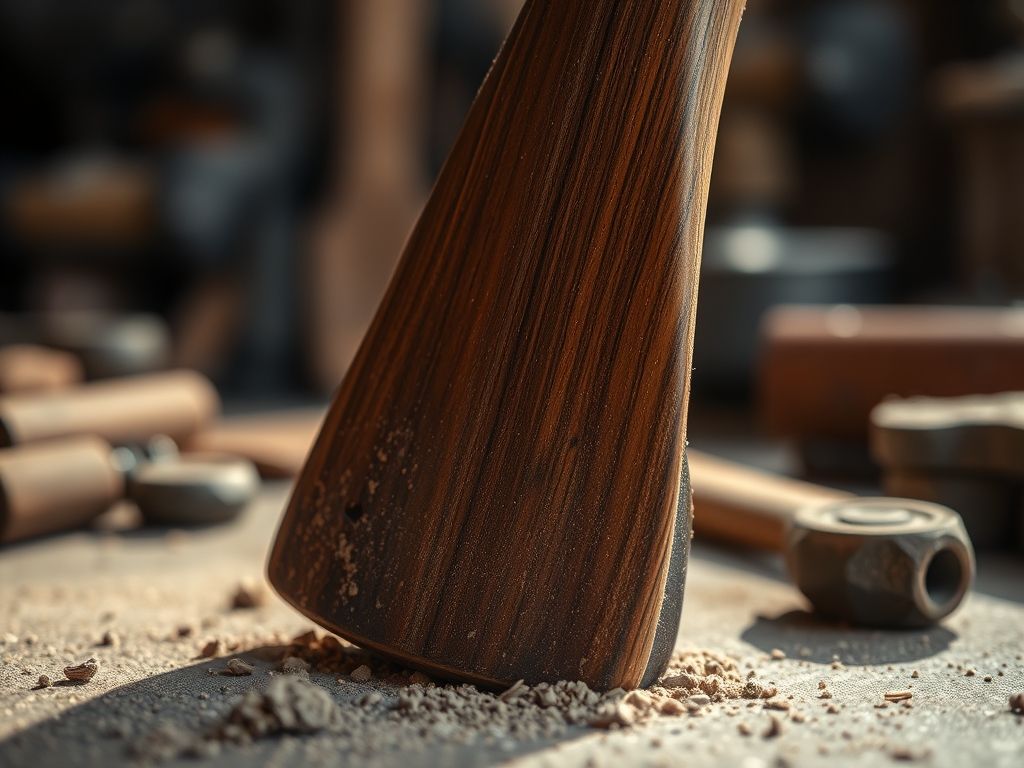
Look at that! You have taken a raw, chaotic element of the forest and refined it into a masterpiece of functional geometry. The way the light catches the chatoyancy of the grain is proof that you and the material are finally in sync. This piece is not just an object; it is a physical record of your focus, your energy, and your mastery over the physical world. Healing The Maker Soul is about this exact moment: the quiet pride of seeing a seamless transition between two pieces of earth, held together by nothing but physics and your own two hands. Observe the alignment in the step-by-step photos below and notice how the light dances across the burnished surface. You did that!
STUDIO QUESTIONS
How do I prevent wood from splitting during the drying phase?
Seal the end grain with wax or latex paint immediately after cutting. This slows the evaporation rate, ensuring the internal moisture escapes evenly and prevents the differential shrinkage that leads to radial cracks or "checking."
What is the best way to sharpen a dull chisel?
Use a series of whetstones, moving from 1000 to 8000 grit. Maintain a consistent bevel angle (usually 25 to 30 degrees). Finish by stropping on leather to remove the burr and achieve a mirror-polish edge.
Can I mix different wood species in one joint?
Yes, but match their movement coefficients. If you pair a very stable wood with one that has high volumetric shrinkage, the joint will eventually pull itself apart as the seasons change and humidity fluctuates.
Why does my finish look cloudy or blotchy?
This is often caused by "pilling" or uneven absorption. If the wood was not sanded through the grits properly, the porosity varies across the surface. Ensure you remove all "mill marks" and dust before applying the first coat.