Sawdust is currently dancing in the sunbeams of my south facing window; it is the glitter of a life well lived. You know that specific smell of freshly sheared cedar mixed with the metallic tang of a sharp chisel? That is the scent of my morning coffee. I realized early on that my sanity depended on Integrated Living And Crafting; a philosophy where the workshop floor and the kitchen tile are practically the same zip code. There is a primal, tactile joy in running your thumb along the grain of a piece of black walnut. You can feel the tensile strength of the wood fibers resisting your touch. It is not just about making a shelf or a bowl; it is about the physics of the material meeting the ambition of the maker. When you understand the porous nature of your medium, you stop fighting the material and start dancing with it. We are talking about high stakes domesticity here, where the quality of your joinery dictates the peace of your home.
THE STUDIO KIT
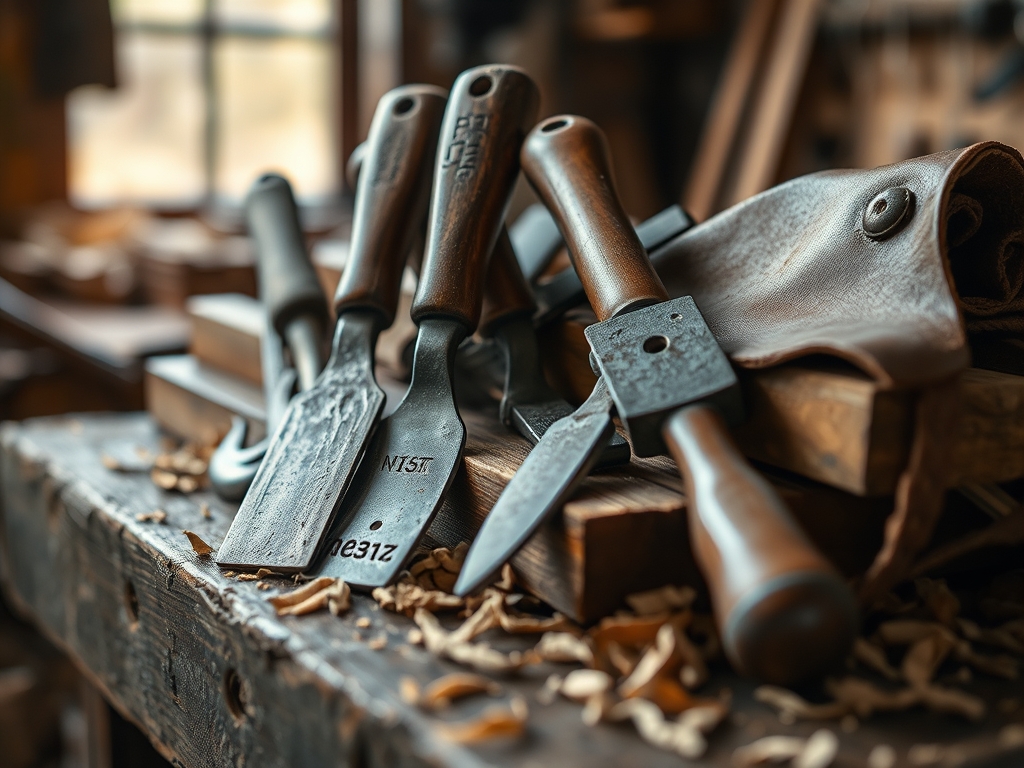
To build a life around your hands, you need a kit that respects the laws of thermodynamics. My primary weapon is a high carbon steel marking knife for precision that a pencil could never dream of achieving. I keep a pair of digital calipers on my hip because "eyeballing it" is a recipe for structural failure. For the projects we are tackling today, you will need a bone folder for crisp creases in heavy stock, a rotary cutter with a tungsten blade, and a set of diamond sharpening stones.
The materials are where the science gets sexy. I exclusively use vegetable tanned leather because of its high fiber density, which allows for a permanent burnish. We are also looking at kiln dried hardwoods with a moisture content of exactly eight percent to prevent warping.
Material Substitutions: If you cannot source premium walnut, birch plywood is a fantastic alternative due to its cross laminated stability. Instead of expensive linen thread, a bonded nylon works wonders because its high denier count prevents fraying under high friction.
THE TEMPO
The "Maker's Rhythm" is less about the clock and more about the curing time of your adhesives. You cannot rush the molecular bond of a PVA glue. I break my days into three distinct phases. The Milling Phase happens in the morning when my focus is sharpest; this is where the heavy lifting and loud machinery live. It takes about four hours to prep your raw stock.
The Assembly Phase is the afternoon stretch, roughly three hours of quiet, intense concentration where the geometric alignment of the pieces is finalized. Finally, the Finishing Phase is the evening ritual. Applying oils or waxes is a slow, aerobic process that requires the wood to reach a state of saturation. Total project time usually clocks in at fifteen hours spread over three days to allow for proper thermal expansion and contraction between coats.
THE CORE METHOD
1. Precision Scribing and Layout
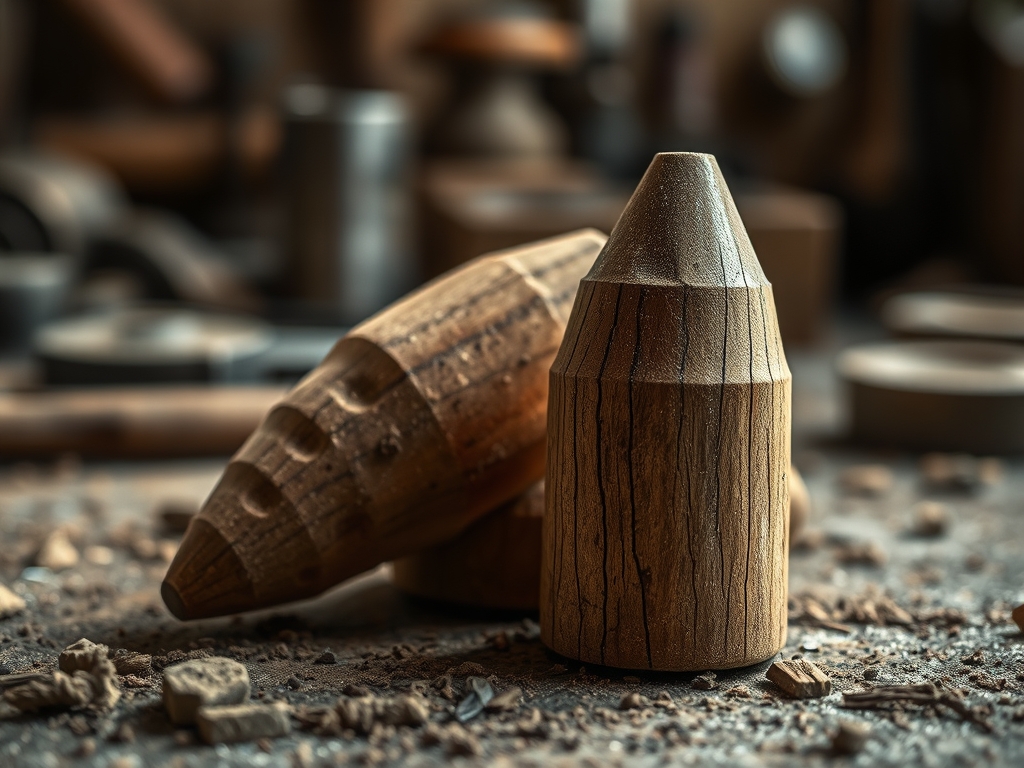
Before a single cut is made, you must map the topography of your material. Use your marking knife to sever the wood fibers across the grain. This creates a physical "wall" for your saw to follow.
Mastery Tip: This technique utilizes mechanical indexing. By creating a physical groove, you are reducing the lateral movement of your blade, which ensures that your kerf stays exactly on the waste side of your line.
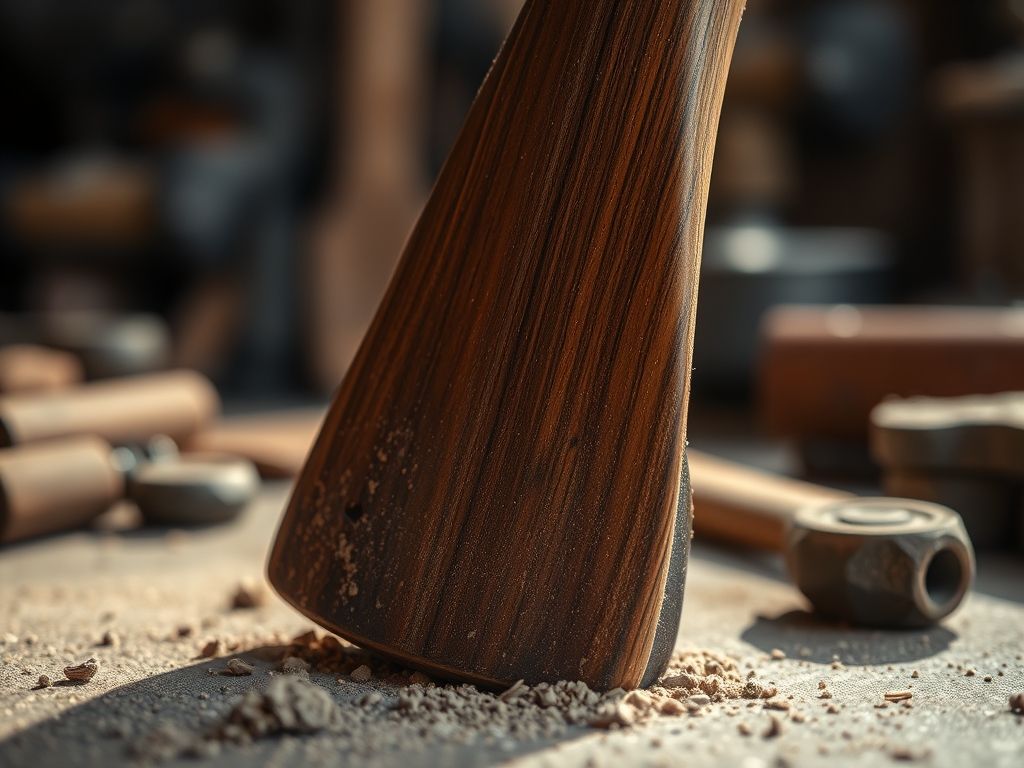
2. The Controlled Shear
When using a rotary cutter or a chisel, the angle of the blade is everything. You are looking for a thirty degree bevel to achieve the perfect balance between sharpness and edge retention.
Mastery Tip: This is all about shear stress. A sharper blade requires less downward force, which prevents the internal cellular structure of the material from crushing. This keeps your edges "bright" and prevents capillary action from sucking up too much finish later.
3. Progressive Grit Sanding
We start at 80 grit and work our way up to 400. Each step is designed to replace the deep scratches of the previous grit with finer, shallower ones.
Mastery Tip: Observe the refractive index of the surface. As you move to higher grits, the surface becomes smoother, allowing light to bounce off uniformly rather than scattering. This is what creates that "glow" in high end artisan work.
4. The Burnished Edge
For leather or wood, friction is your best friend. Use a hardwood slicker to rub the edges until they turn dark and glossy.
Mastery Tip: This process generates localized heat, which melts the natural lignins in wood or the waxes in leather. This creates a hydrophobic barrier that seals the material against moisture and oils.
THE TECHNICAL LEDGER
Maintenance & Longevity: To keep your pieces from degrading, apply a coat of renaissance wax every six months. This microcrystalline wax is pH neutral and provides a harder protective layer than standard beeswax.
Material Variations:
- Sustainable: Reclaimed oak offers incredible shear strength but requires careful scanning for old nails.
- Recycled: High density polyethylene (HDPE) can be melted and turned, though it lacks the tactile warmth of organic fibers.
- Premium: Grade A bridle leather offers the best tensile strength for load bearing straps.
The Correction:
- The Gap: If your joinery has a visible gap, mix fine sanding dust with wood glue to create a color matched epoxy filler.
- The Tear-out: If the wood splinters, dampen the area with water to swell the fibers before sanding them back down.
- The Over-stain: If the finish is too dark, a light wipe with mineral spirits can pull some of the pigment out of the porous cells.
Studio Organization: Store your lumber horizontally to prevent bowing. Leather should be rolled, never folded, to avoid permanent creasing of the grain side. Keep your precision tools in a climate controlled "dry box" to prevent oxidation on the tool steel.
THE FINAL REVEAL
There is nothing quite like the moment you step back and see a finished piece that actually works. When the drawer slides with a "whoosh" of displaced air, or the leather sheath clicks into place with perfect frictional fit, you feel like a wizard. This is the heart of Integrated Living And Crafting. It is not just a hobby; it is a high energy, high precision lifestyle where every object in your home has a story and a structural soul. You have taken raw, chaotic matter and forced it into a beautiful, functional geometry. Now, go grab a glass of wine and admire those burnished edges. You earned it.
STUDIO QUESTIONS
What is the best way to prevent wood from warping?
Maintain a consistent humidity level in your studio. Use a hygrometer to monitor the air. Always seal all sides of a piece equally to ensure that moisture exchange happens uniformly across the entire surface area.
How do I keep my blades sharp longer?
Always use a strop with chromium oxide paste after every few cuts. This realigns the micro-burr on the edge of the steel without removing excess material; significantly extending the time between heavy sharpening sessions on stones.
Why does my leather stain unevenly?
The leather might have "fat wrinkles" or uneven grain density. To fix this, apply a pre-bottoming coat of neatsfoot oil. This hydrates the fibers and ensures the dye penetrates the porous surface at a consistent rate.
Can I mix different wood species in one project?
Yes, but you must account for different radial expansion rates. Pair woods with similar movement coefficients, like walnut and cherry, to ensure the joinery does not pull itself apart during seasonal shifts in temperature.