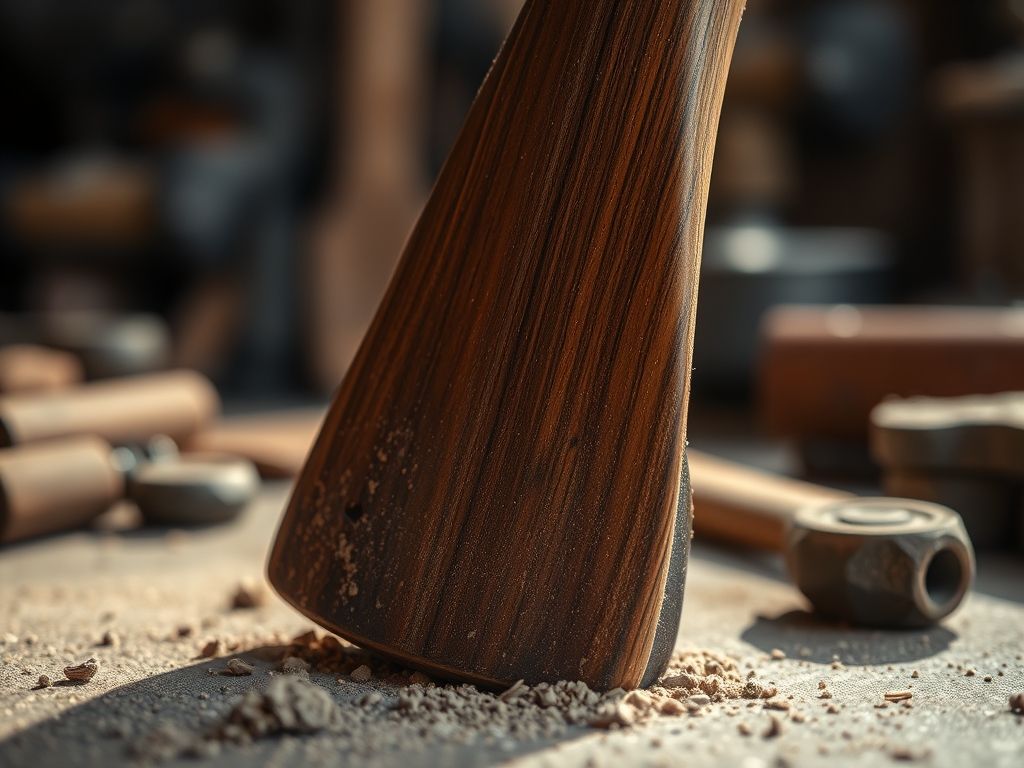
The smell of fresh-cut cedar is basically my favorite perfume; it is earthy, sharp, and full of potential. When you run your hand across a raw slab, you can feel the lignin and cellulose fibers fighting for dominance. Sometimes, that deep, honeyed hue is just a bit too heavy for a modern aesthetic. If you want to brighten your space without dousing your project in harsh chemicals, you need these Natural Wood Bleaching Tips to harness the power of UV radiation. We are essentially using solar energy to break down the chromophores in the wood. It is a slow, tactile dance between the sun and the porous surface of the timber. You are not just fading the color; you are performing a controlled photo-degradation that honors the grain while lifting the overall value of the wood. Grab your safety glasses and find a sunny spot on the patio. We are about to turn your workshop into a solar-powered laboratory where the primary catalyst is literally 93 million miles away.
THE STUDIO KIT
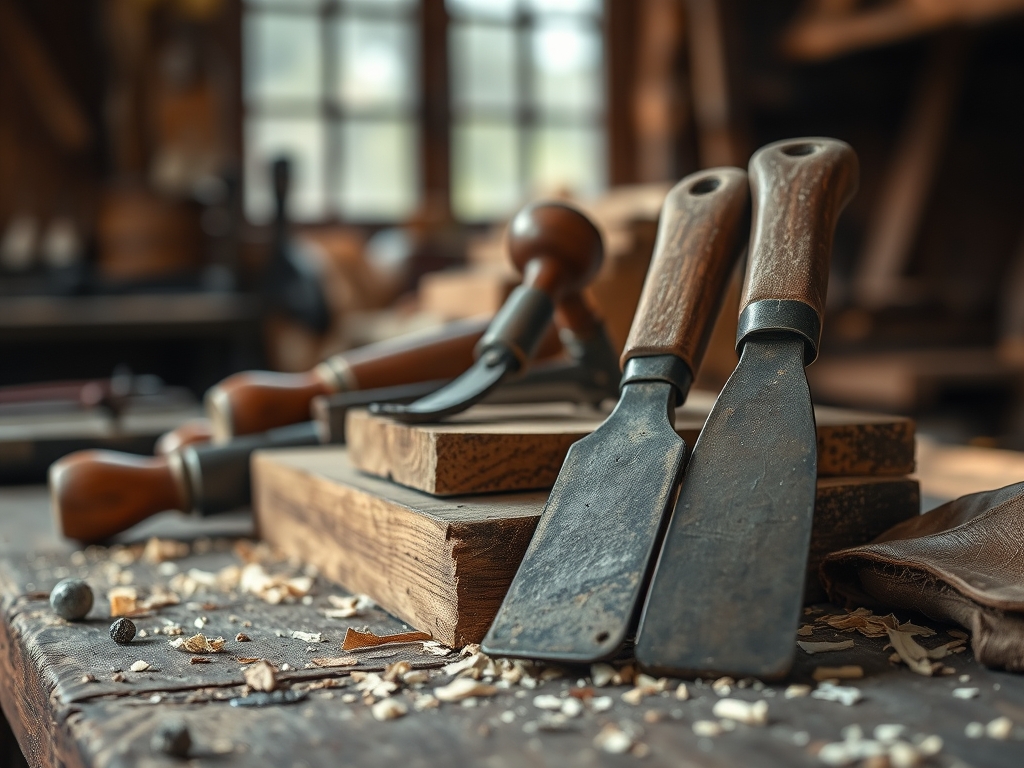
To master this process, you need more than just a sunny day. We are looking for precision and surface preparation. Start with a high-quality oscillating tool equipped with various grits of sandpaper. You will also need a digital caliper to measure any slight warping that might occur during the drying process. For the application of our natural catalysts, a soft-bristle brush or a high-density sponge is essential to ensure even saturation without raising the grain too aggressively.
Your material list should include distilled water, fresh lemon juice, and a high-grade white vinegar. These act as mild acids that sensitize the wood to UV rays. For Material Substitutions, if you cannot find distilled water, use filtered water to avoid mineral deposits that can cause "graying" or "staining" in the capillary structure of the timber. If you are working with a particularly dense hardwood like oak, a small amount of hydrogen peroxide (the 3 percent variety) can be swapped in for a more aggressive lift. Always keep a burnish tool or a smooth bone folder nearby to lay down any fibers that become overly agitated by the moisture.
THE TEMPO
The "Maker's Rhythm" for solar bleaching is significantly slower than chemical stripping. You are working with the rotation of the earth, not a stopwatch. The preparation phase takes about forty-five minutes of intense sanding and cleaning. Once the wood is prepped, the "Active Exposure" phase requires four to six hours of peak sunlight, usually between 10:00 AM and 4:00 PM.
You must rotate the timber every ninety minutes to ensure the UV penetration is uniform across all planes. If you are working with a thick ply or a heavy slab, expect the process to span three to five days. This is a marathon of patience where the tensile strength of the wood remains uncompromised because we aren't using caustic bases that eat away at the structural integrity.
THE CORE METHOD
1. Surface Refinement and Pore Opening
Before the sun can do its work, the wood must be perfectly receptive. Use your oscillating tool to sand the surface down to a 220-grit finish. This removes any mill glaze or previous oils that would block UV absorption. Wipe the surface with a tack cloth to ensure no dust remains in the porous grain.
Mastery Tip: Wood cells are like tiny straws. By sanding thoroughly, you remove the "crushed" cell walls from the milling process, allowing the solar catalyst to penetrate deeper into the capillary structure for a more permanent color shift.
2. The Acidic Catalyst Application
Mix a solution of two parts lemon juice to one part distilled water. Apply this evenly across the timber using long, rhythmic strokes. You want the wood to be damp but not pooling. The citric acid works with the sunlight to accelerate the breakdown of the natural pigments without destroying the lignin that holds the fibers together.
Mastery Tip: This process relies on surface tension. If the solution beads up, your wood is not sanded enough. The liquid must "wet out" the surface completely to ensure the UV reaction is consistent across the entire board.
3. Solar Alignment and Exposure
Place your timber on a raised rack to allow airflow on all sides. This prevents moisture from trapping underneath, which could cause the wood to cup or warp. Position the wood so it faces the sun directly. Use a gauge to check for any signs of movement in the wood as it heats up.
Mastery Tip: Thermal expansion is real. As the sun heats the moisture in the wood, the tensile stress increases. Providing airflow to the underside regulates the temperature gradient, preventing the wood from "bowing" toward the heat source.
4. The Neutralization Rinse
Once you have achieved the desired level of lightness, wipe the wood down with a clean, damp cloth. This stops the acidic reaction. Let the wood rest in a shaded, climate-controlled environment for twenty-four hours to allow the moisture levels to stabilize before you apply any final sealant.
Mastery Tip: This "rest phase" allows the internal moisture content to reach equilibrium. If you seal the wood too quickly, you trap residual moisture, which can lead to "blushing" or a cloudy finish in your topcoat.
THE TECHNICAL LEDGER
Maintenance & Longevity: Solar-bleached wood is more stable than chemically bleached wood, but it still needs protection. Use a UV-resistant clear coat to lock in the color. Without a UV-inhibitor finish, the wood will eventually continue to darken or "silver" depending on its species.
Material Variations:
- Sustainable: Reclaimed pine responds beautifully to this method, often turning a creamy white.
- Premium: Hard maple can be tricky; it requires a higher concentration of lemon juice due to its tight grain.
- Recycled: Pallet wood often has high mineral content, which can create interesting, variegated patterns when sun-bleached.
The Correction:
- Uneven Blotching: This happens if the catalyst was applied unevenly. Fix it by lightly sanding the dark spots and re-exposing only those areas to the sun using a cardboard mask.
- Grain Raising: If the wood feels "fuzzy," you used too much liquid. Once dry, use a burnish tool or 400-grit paper to knock down the fibers.
- Warping: If the board curves, flip it over and dampen the concave side, then place it in the shade with weights.
Studio Organization: Store your sun-bleached projects in a dark, dry rack. Use acid-free paper between stacked boards to prevent "ghosting" where one board's grain pattern transfers to another through light leakage.
THE FINAL REVEAL
There is nothing quite like the moment you bring your timber back into the studio and see it next to an untreated scrap. The transformation is sophisticated; it looks like the wood has been aged by a century of mountain sunlight rather than a bottle of bleach. The grain is crisp, the "honey" tones have shifted to a "champagne" glow, and the tactile quality of the wood remains dense and strong. You have successfully manipulated the physics of light to create a masterpiece that feels airy and modern while keeping its organic soul intact. It is the ultimate "slow craft" win.
STUDIO QUESTIONS
Does solar bleaching weaken the wood fibers?
No, unlike harsh chemical bleaches that break down lignin, solar bleaching primarily affects the surface pigments. The tensile strength and structural integrity of the timber remain intact, making it a safer choice for load-bearing furniture.
What wood species work best for this?
Light-colored woods like Pine, Maple, Ash, and Cedar respond best. Darker hardwoods like Walnut or Mahogany contain more tannins and may require significantly longer exposure times to show a noticeable difference in value.
Can I do this indoors through a window?
Most modern windows have UV-blocking coatings that will prevent the necessary reaction. For the best results, the timber needs direct, unfiltered sunlight to ensure the photo-degradation process is efficient and even.
How do I prevent the wood from warping?
Ensure even airflow by propping the wood on "stickers" or a drying rack. Rotate the piece frequently to prevent one side from losing moisture faster than the other, which maintains the internal equilibrium of the wood.