
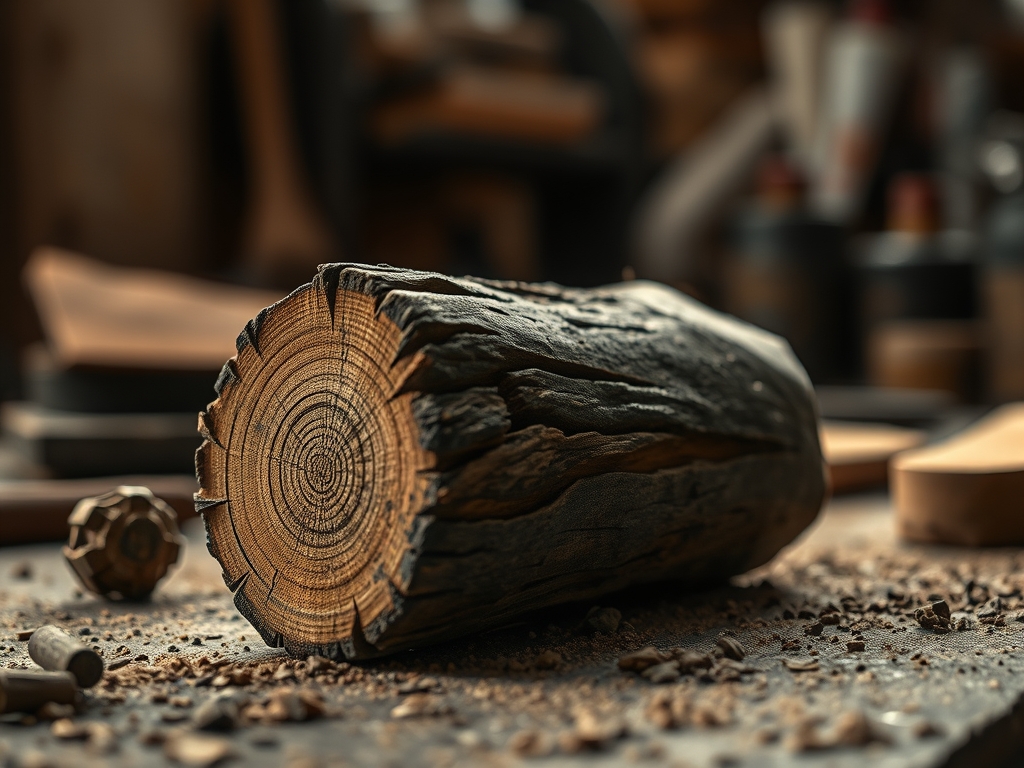
The scent of scorched white oak hits different when the temperature outside drops below freezing. You know that sharp, sweet, and slightly smoky aroma that clings to your favorite flannel? That is the smell of efficiency. When I talk about my shop heat, I am not just talking about staying warm; I am talking about the ultimate lifecycle of a project. Using Natural Wood Burning Fuel sourced directly from my offcut bin is the only way I maintain a closed-loop studio environment. There is a specific tactile joy in running your hand over a jagged piece of walnut scrap, knowing its structural integrity is about to transform into raw thermal energy. It is not just trash; it is stored solar power and carbon that I have carefully curated through every rip cut and crosscut. We are diving deep into the thermal dynamics of the workshop today, because your scrap pile is actually a goldmine of BTUs waiting to be unlocked with the right strategy.
THE STUDIO KIT
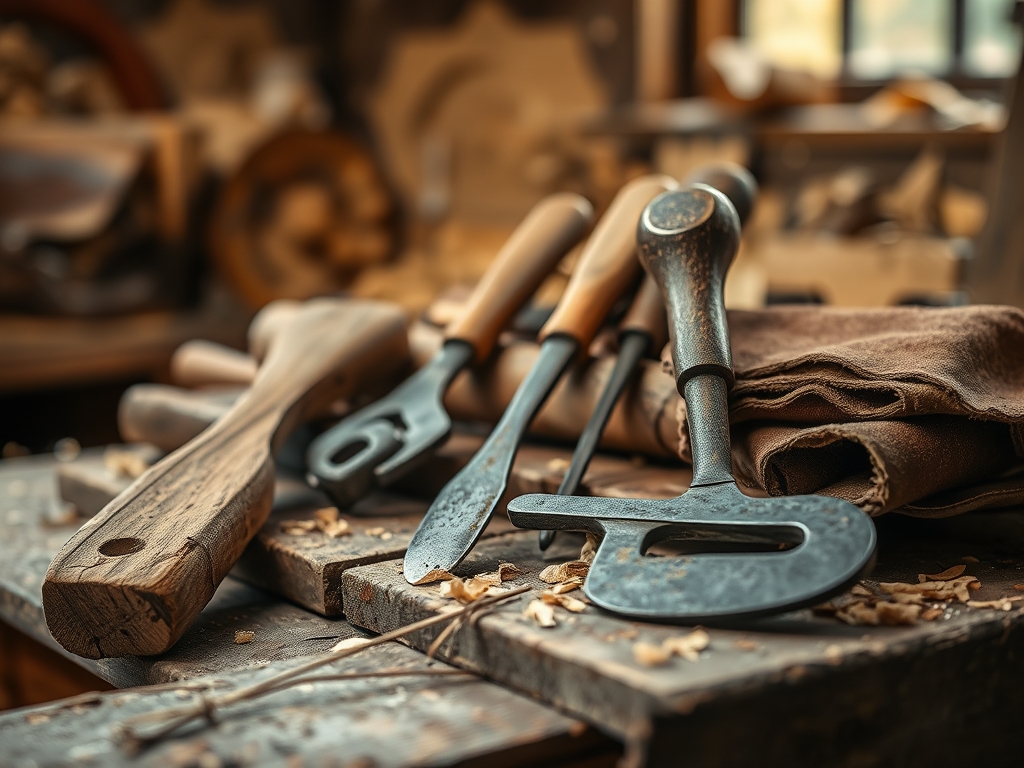
To manage your fuel supply like a pro, you need more than just a cardboard box in the corner. You need a system that respects the porous nature of the wood. My kit includes a high-quality moisture meter with steel pins to ensure the internal saturation is below fifteen percent. I also keep a pair of heavy-duty calipers nearby to sort scraps by thickness, which dictates the burn rate. For processing larger chunks, I rely on a compact hatchet with an ergonomic grip to split the grain along its natural fault lines.
Material Substitutions: If you run out of hardwood offcuts, you can supplement with compressed sawdust bricks. However, avoid any pressure-treated lumber or plywood containing formaldehyde resins. The goal is clean combustion, not a chemical cocktail. Stick to "virgin" wood scraps like maple, cherry, or ash for the cleanest output and the highest thermal density.
THE TEMPO
The Maker's Rhythm for fuel management is a seasonal dance. I spend about thirty minutes at the end of every Friday performing "The Sort." This is where I categorize scraps by their tensile strength and density. Dense hardwoods like hickory take longer to ignite but offer a sustained, glowing ember bed. Softer woods like pine are my "sprinters"; they ignite instantly and provide that immediate burst of heat. This cadence ensures that when I walk into a frozen studio on a Monday morning, I have a tiered system ready to go. It takes roughly ten minutes to establish a coal base and another twenty to reach a stable, radiating temperature that allows for precision work without shivering.
THE CORE METHOD
1. The Moisture Verification
Before a single splinter touches the flame, you must verify the hygroscopic state of the wood. Use your moisture meter to check the end grain. If the reading is too high, the energy of the fire will be wasted evaporating water rather than heating your air. Mastery Tip: Wood is essentially a bundle of straws. Water travels through these capillaries. By checking the end grain specifically, you get a true reading of the internal moisture trapped within the cellular structure.
2. Geometric Sorting for Airflow
I arrange my scraps by surface area. Thin, narrow strips (the leftovers from my table saw rips) go into the kindling bin. Chunkier blocks from the miter saw go into the "overnight" bin. Mastery Tip: Combustion requires a specific ratio of oxygen to fuel surface area. By mixing different geometries, you create turbulent airflow within the stove, which prevents "cold spots" and ensures a more complete burn of the volatile gases.
3. The Log Cabin Stack
When loading the stove, I use a modified log cabin technique. I place the densest pieces on the bottom and the lighter, high-surface-area scraps on top. This is the "top-down" burn method. Mastery Tip: This technique utilizes the principle of thermal layering. As the top layer burns, it pre-heats the denser wood below, off-gassing the resins and burning them off before they can exit the chimney as creosote.
4. Ash Management and Airflow
Every morning, I use a small metal rake to clear the primary air intakes. I leave a one-inch bed of ash to insulate the floor of the stove. Mastery Tip: This thin layer of ash acts as a thermal buffer, protecting the structural integrity of the stove base while reflecting heat back up into the fresh fuel, accelerating the pyrolysis process.
THE TECHNICAL LEDGER
Maintenance & Longevity: To keep your heating system efficient, you must inspect the flue monthly. Use a stiff wire brush to remove any soot. A clean flue ensures a strong venturi effect, pulling oxygen into the firebox with consistent pressure.
Material Variations:
- Sustainable: Local arborist chips or fallen limbs.
- Recycled: Untreated pallet wood (look for the "HT" heat-treated stamp).
- Premium: Kiln-dried maple offcuts from furniture builds.
The Correction:
- The Smolder: If your fire is smoky, the wood is too wet or the pieces are packed too tightly. Fix: Increase the air gap between scraps to allow for oxygen circulation.
- The Flash Burn: If the fire burns out too fast, you are using too much softwood. Fix: Integrate larger, denser hardwood "cookies" to slow the reaction.
- The Glass Soot: If your stove window turns black, your burn temperature is too low. Fix: Open the primary air damper and use smaller, drier fuel to spike the internal temperature.
Studio Organization: Store your processed fuel in breathable wire crates. This prevents mold growth and allows for continued ambient seasoning. Never store fuel directly on a concrete floor, as the wood will wick moisture upward through capillary action.
THE FINAL REVEAL
There is nothing quite like the "Final Reveal" of a warm workshop. When the stove reaches its peak operating temperature, the air in the studio feels alive. You can see the heat ripples through the window of the stove, and the radiant warmth makes the tactile experience of sanding or assembly so much more fluid. My hands stay nimble, my glues set at the correct chemical rate, and I am not wasting a single fiber of the beautiful timber I work with. It is the ultimate expression of craft: respecting the material from the moment it enters the shop as a rough slab until its final breath as a glowing coal.
STUDIO QUESTIONS
What is the best wood for a long-lasting fire?
Hardwoods like Oak, Hickory, and Locust have the highest thermal density. They possess a tight grain structure that allows them to burn slowly and produce a long-lasting ember bed, providing consistent heat for hours compared to softer species.
Can I burn plywood or MDF scraps?
No. Plywood and MDF contain glues and resins that release toxic gases when combusted. These chemicals can also create a waxy buildup in your flue, increasing the risk of a chimney fire. Stick to Natural Wood Burning Fuel only.
How do I know if my wood is dry enough?
The most accurate method is using a moisture meter; look for a reading under 15%. Visually, dry wood often has small cracks (checks) on the end grain and will produce a sharp "clink" sound rather than a dull thud.
Why is my stove glass getting dirty so fast?
This usually indicates incomplete combustion. This happens when the fire is too cool or the fuel is too damp. Increase the oxygen intake and ensure you are using well-seasoned scraps to keep the pyrolysis temperature high and the glass clear.
Is it safe to leave the stove burning overnight?
Only if you have a modern, airtight stove rated for overnight burns. You must load it with large, dense hardwood chunks and damp the air down correctly to maintain a slow, controlled smolder without allowing creosote to accumulate.

