
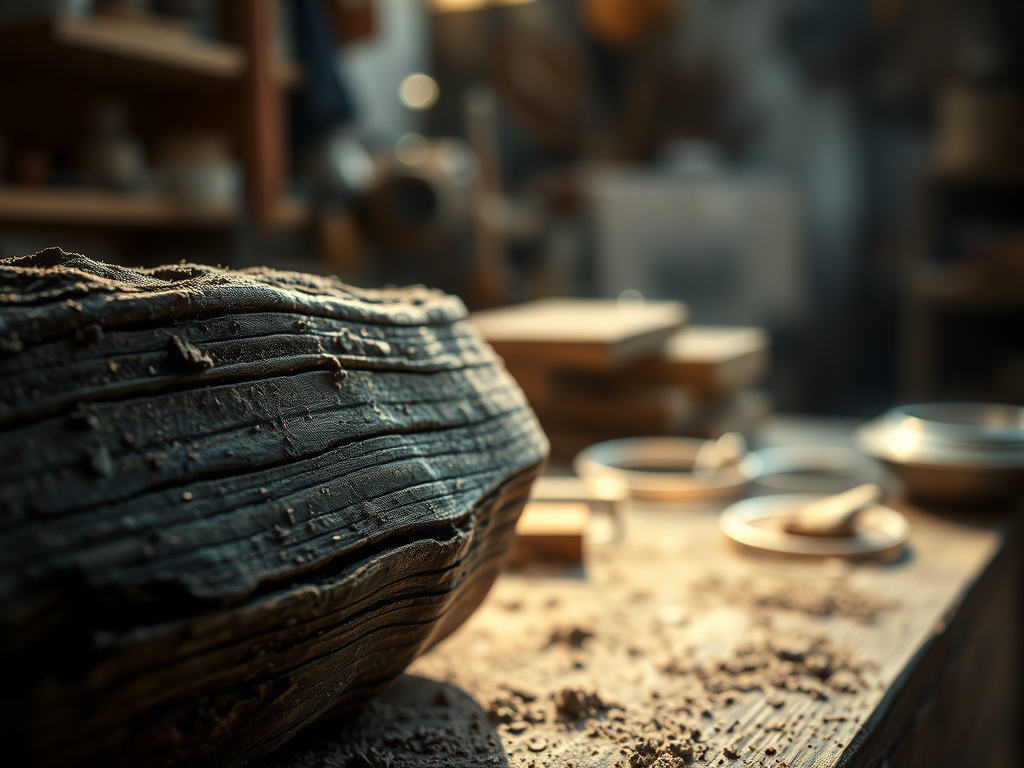
Close your eyes and feel that cool, heavy weight of a solid brass caliper against your palm. Can you smell the sharp, earthy scent of freshly cut walnut? That is the heartbeat of a creator. We are not just building things; we are curating a legacy through The Sustainable Shop Ethos, which demands we respect the molecular integrity of every fiber we touch. It is about choosing materials that do not just look good but possess the tensile strength to outlive us. When you run your thumb over a piece of vegetable-tanned leather, you are feeling the porous density of a material that breathes. This is where high-energy physics meets high-end style. We are trading the disposable for the permanent. Every scrap of reclaimed timber or recycled alloy carries a history of structural integrity that modern, mass-produced plastics simply cannot replicate. We are here to master the grain, respect the friction, and build something that feels as electric as the moment the idea first sparked in your brain.
THE STUDIO KIT
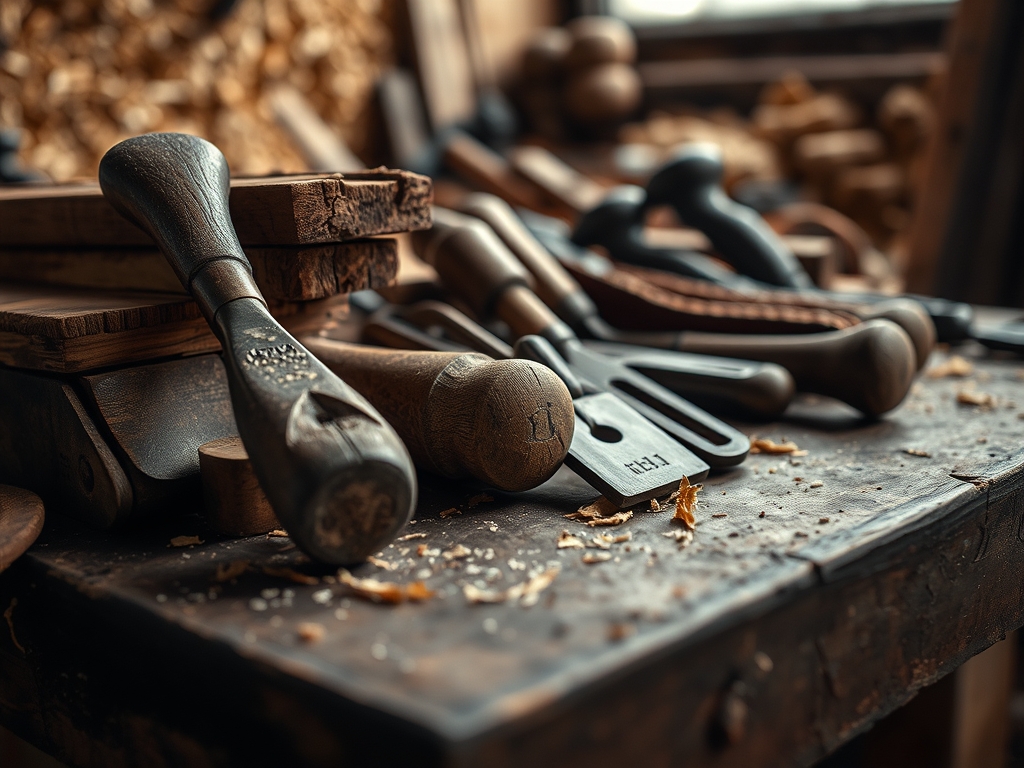
To execute this vision, your workbench needs more than just enthusiasm; it needs precision instruments that honor the The Sustainable Shop Ethos. Start with a high-grade bone folder for achieving crisp, irreversible creases in heavy-gauge paper or leather. You will need a rotary cutter with a tungsten carbide blade to ensure clean edges without fraying the warp and weft of your textiles. For assembly, a set of digital calipers is non-negotiable for measuring thickness to the nearest micron.
Material Substitutions are the secret weapon of the green maker. If you cannot find virgin beeswax for burnishing, look for carnauba wax derived from palm leaves; it offers a higher melting point and superior water resistance. Instead of petroleum-based adhesives, pivot to rabbit-skin glue or soy-based resins. These organic compounds create a molecular bond that is often stronger than the substrate itself. Always keep an awl nearby for pre-piercing holes. This prevents the "bunching" effect caused by forcing a needle through dense fibers, which preserves the dimensional stability of your project.
THE TEMPO
The "Maker's Rhythm" is a biological clock that dictates the quality of your output. You cannot rush the curing process of a natural finish or the hygroscopic expansion of wood as it acclimates to your studio's humidity.
Phase one is the Acclimation Period, lasting 24 to 48 hours. This allows your materials to reach an equilibrium moisture content. Phase two is the Precision Layout, taking roughly 3 hours of intense focus where you map out your cuts to minimize waste. Phase three is the Active Build, which varies by complexity but usually spans 10 to 15 hours. Finally, the Setting Phase requires a full 24 hours of rest. During this time, internal stresses within the material redistribute, preventing future warping. Respecting this tempo ensures that your work remains ergonomic and structurally sound for decades.
THE CORE METHOD
1. Grain Orientation and Mapping
Before the first cut, you must identify the longitudinal axis of your material. Whether it is the growth rings in a hardwood board or the directional nap of a textile, aligning your structural loads with the grain direction maximizes tensile strength. Use a bright LED task light to highlight the surface texture.
Mastery Tip: Understand that wood is an anisotropic material, meaning its physical properties change depending on the direction of the grain. Cutting against the grain causes "tear-out" because you are fracturing the cellular walls rather than slicing them.
2. The Precision Score
Using your rotary cutter or a specialized marking knife, create a shallow "V" groove along your measurement line. This is not just a visual guide; it is a mechanical break that prevents the surface fibers from splintering when the deeper cut follows. This technique utilizes stress concentration to ensure the material fails exactly where you want it to.
Mastery Tip: This process relies on capillary action if you are using a lubricant or dye later. A clean score line prevents liquids from "bleeding" into adjacent fibers by creating a physical barrier.
3. Mechanical Fastening and Friction
When joining two components, rely on friction-fit joinery or mechanical fasteners before reaching for the glue pot. A perfectly executed dovetail or a hand-set copper rivet utilizes compression forces to hold the piece together. Observe the alignment in the step-by-step photos below to see how the parts interlock.
Mastery Tip: When using rivets, the work hardening of the metal occurs as you hammer it. The molecular structure becomes denser and more brittle, creating a permanent, flared head that cannot be pulled back through the substrate.
4. Surface Burnishing and Polishing
The final step is sealing the edges. Use a wooden burnisher and high-speed friction to melt your natural waxes into the fibers. This creates a hydrophobic barrier that protects the piece from oils and moisture. The heat generated by the friction temporarily liquefies the wax, allowing it to penetrate the intercellular spaces.
Mastery Tip: This relies on the principle of thermal friction. If you move too slowly, the wax stays on the surface; move with intent, and the heat drives the sealant deep into the material for a professional, "glassy" finish.
THE TECHNICAL LEDGER
Maintenance & Longevity: To keep your creations in peak condition, apply a thin coat of pH-neutral oil every six months. This prevents the fibers from becoming brittle due to oxidative stress. Avoid direct sunlight, which causes photodegradation and breaks down the chemical bonds in natural dyes.
Material Variations:
- Sustainable: Cork fabric or Piñatex (pineapple leather) offers incredible abrasion resistance.
- Recycled: Repurposed aircraft aluminum provides a high strength-to-weight ratio.
- Premium: Grade A ethically sourced Merino felt provides superior thermal insulation.
The Correction:
- The Gap: If a joint has a visible gap, use a mixture of fine sawdust and resin to create a "structural filler" that matches the refractive index of the wood.
- The Over-Cut: If you score too deep, use a damp cloth and a soldering iron to "steam" the fibers back up; the vapor pressure expands the crushed cells.
- The Dull Blade: If your edges are fuzzy, your blade is dragging. Switch to a honed edge immediately to maintain a clean shear angle.
Studio Organization: Store your sheet goods vertically to prevent bowing under their own weight. Use airtight containers for adhesives to prevent the evaporation of volatile organic compounds, which preserves their viscosity.
THE FINAL REVEAL
Look at that! You have transformed raw, disparate elements into a cohesive masterpiece that screams sophistication. The way the light catches the burnished edges and the solid, "thunk" of the mechanical joins proves that you didn't just make something; you engineered it. This piece is a physical manifestation of The Sustainable Shop Ethos. It is heavy, it is honest, and it is beautiful. You have successfully navigated the complex physics of material science to create a legacy item. Now, go ahead and run your hands over that finish one more time. You earned that tactile satisfaction!
STUDIO QUESTIONS
Why is grain direction important for strength?
Aligning the load with the grain utilizes the material's natural longitudinal fibers. This maximizes tensile strength and prevents the piece from snapping under pressure, ensuring the structural integrity of your build remains intact over years of heavy use.
What does burnishing actually do to the material?
Burnishing uses frictional heat to compress surface fibers and melt waxes into the material's pores. This creates a hydrophobic seal and a smooth, hardened edge that resists fraying and moisture penetration while adding a professional, high-gloss aesthetic finish.
How do I prevent my wood projects from warping?
Ensure your material reaches equilibrium moisture content by acclimating it to your studio. Use quarter-sawn timber when possible, as its grain orientation offers the most dimensional stability, resisting the natural urge to cup or twist during seasonal humidity shifts.
Can I use recycled plastics in a green shop?
Yes, provided you understand their thermoplastic properties. Recycled high-density polyethylene (HDPE) can be reshaped with heat, offering excellent chemical resistance. Always check the resin identification code to ensure the material is safe for your specific tools and ventilation setup.
What is the benefit of using a bone folder?
A bone folder allows you to apply localized pressure without tearing the surface of delicate fibers. It creates a permanent mechanical deformation in the material, resulting in a crisp fold that maintains its shape without the need for chemical stiffeners.

