
Imagine the sharp, briny scent of the Pacific hitting your lungs as you navigate the tide pools; it is a sensory overload that demands a creative outlet. We are not just walking today; we are Foraging For Seaweed Textures to transform cold, inert clay into a rhythmic topographical map of the coastline. The tactile feedback of wet kelp is unique because of its high concentration of alginate, which gives the fronds a rubbery, high-tensile strength that resists tearing when pressed into a dense medium. As you peel a piece of bull kelp from the sand, you can feel the structural integrity of its cellular walls. This is the ultimate organic stamp. We are looking for specimens with deep ridges and complex branching patterns that will translate into high-contrast relief once fired. The goal is to capture the fluid dynamics of the water within the rigid, crystalline structure of ceramic stoneware. Grab your bucket and your boots because we are about to marry marine biology with high-end ceramic engineering in the most beautiful way possible.
THE STUDIO KIT
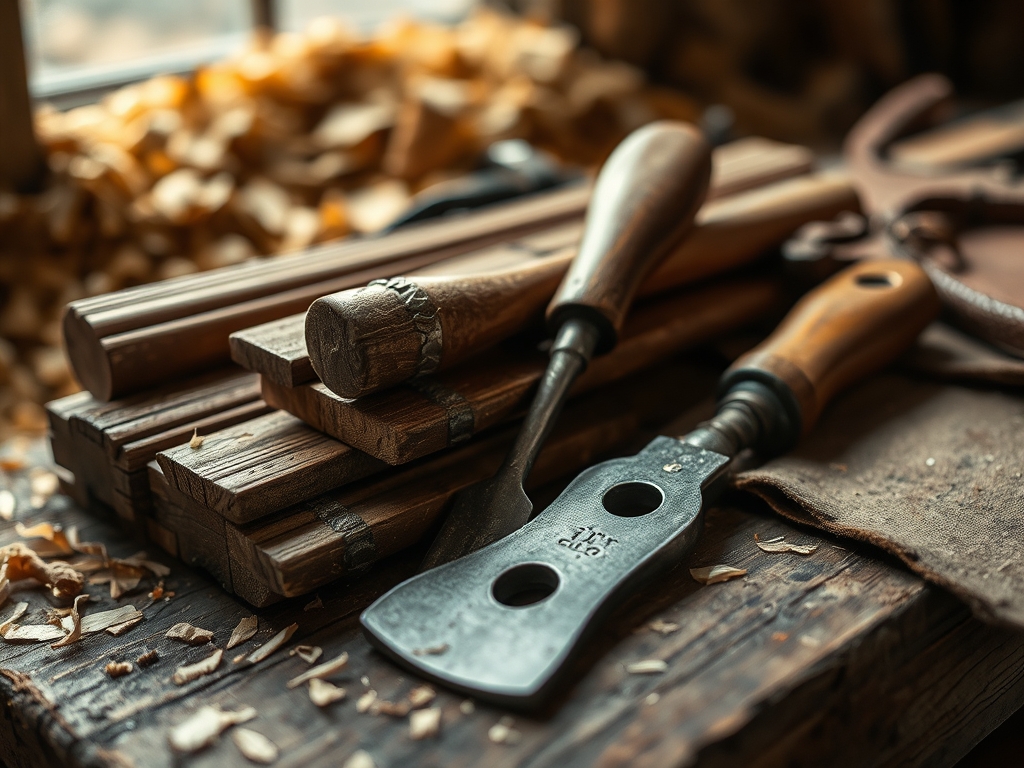
To execute this project with professional precision, you need a kit that respects the delicate nature of the organic matter while managing the heavy moisture content of the clay. Your primary tool is a high-fire stoneware or porcelain slab, wedged thoroughly to remove any air pockets that could cause thermal shock in the kiln. You will need a heavy-duty acrylic rolling pin or a slab roller to ensure a uniform thickness; use calipers to verify that your slab is consistent to within a millimeter across the entire surface.
For the impression work, keep a soft-bristled hake brush nearby to clear away sand without scarring the clay surface. A flexible steel rib is essential for smoothing the "canvas" before you begin. For the fine details, a needle tool or a fine-point awl will help you lift the seaweed out of the crevices without smudging the delicate impressions.
Material Substitutions: If you cannot get to the coast, you can substitute fresh seaweed with dried bladderwrack rehydrated in warm water. Alternatively, use a silicone molding compound to create a permanent stamp from a single found piece of kelp. This allows for repetitive patterns without the degradation of the original organic material.
THE TEMPO
The "Maker's Rhythm" for seaweed impressions is dictated by the evaporation rate of the clay. You have a specific window, known as the "leather-hard" stage, where the clay is firm enough to handle but still porous enough to accept a deep impression.
- Foraging and Preparation (2 Hours): This includes travel and the careful cleaning of your specimens. Seaweed begins to lose its turgor pressure quickly once removed from the water, so work fast.
- Slab Preparation (30 Minutes): Wedging and rolling the clay to the desired gauge.
- The Impression Window (45 Minutes): This is the active "press" phase. If you take longer, the surface tension of the clay increases, and you will not get the fine capillary details of the seaweed.
- Drying and Refinement (3 to 5 Days): A slow, controlled dry is mandatory to prevent warping.
THE CORE METHOD
1. Preparing the Foundation
Start by rolling out your slab to a 3/8 inch thickness. Use your steel rib to burnish the surface until it is glass-smooth. This removes the "tooth" of the clay, ensuring that the only texture present is the one you intentionally apply.
Mastery Tip: Clay has a "memory" due to the alignment of its plate-like particles. Always flip your slab and roll it from both sides to neutralize the internal stresses and prevent the edges from curling during the firing process.
2. Strategic Specimen Placement
Lay your foraged seaweed onto the damp clay. Arrange the pieces to follow the natural flow of the form; think about how water moves. Use a soft rubber brayer to lightly press the seaweed into the surface, ensuring every node and filament makes contact.
Mastery Tip: This step relies on displacement physics. The seaweed must be slightly more rigid than the clay to create a clean indentation. If your seaweed is too mushy, pat it dry with a lint-free cloth to increase its surface resistance.
3. The Compression Stroke
Place a sheet of thin plastic or parchment paper over the seaweed. Use your rolling pin to apply firm, even pressure across the entire arrangement. Use your calipers to check that you haven't thinned the slab too much during this compression.
Mastery Tip: The parchment paper acts as a barrier that prevents the seaweed from sticking to the rolling pin, utilizing low-friction dynamics to ensure the specimen stays exactly where you placed it.
4. The Delicate Extraction
Using your needle tool, carefully hook the edge of the seaweed and lift it vertically away from the clay. Do not pull it at an angle, or you will distort the sidewalls of the impression.
Mastery Tip: If the seaweed sticks, it is likely due to capillary action where the moisture in the clay creates a vacuum. A tiny puff of air from a straw directed at the edge of the seaweed can break this seal instantly.
5. Edge Refinement and Beveling
Once the seaweed is removed, use a modeling tool to clean up any stray organic matter. Use a sponge with minimal water to soften the edges of the slab.
Mastery Tip: Avoid over-wetting the clay at this stage. Excess water can settle in the deep grooves of your seaweed impression, leading to differential drying and potential cracking in the kiln.
THE TECHNICAL LEDGER
Maintenance & Longevity: Clean your tools immediately after use. Salt from the seaweed is corrosive to metal tools like your jeweler's saw or steel ribs. Wipe them down with a light machine oil to prevent pitting.
Material Variations:
- Sustainable: Use reclaimed "scrap" clay for test tiles before committing to a large slab.
- Premium: Use a translucent porcelain body. When the seaweed impressions are deep enough, the light will catch the varying thicknesses, creating a lithophane effect.
The Correction:
- Blurry Impressions: This happens if the clay is too wet. Fix: Let the slab sit for 20 minutes until the shine disappears before pressing.
- Seaweed Tearing: The specimen was too dry and brittle. Fix: Soak the seaweed in a 5% glycerin solution to restore elasticity.
- Cracking during drying: The edges dried faster than the center. Fix: Cover the piece with plastic and use a "damp box" to equalize the moisture levels.
Studio Organization: Store your foraged seaweed in a sealed container with a damp sponge if you aren't using it immediately. Store your finished, unfired slabs on plaster bats to pull moisture evenly from the bottom.
THE FINAL REVEAL
When you pull that piece out of the kiln, the result is breathtaking. The deep grooves where the kelp once lay now act as "catchment zones" for glazes, creating beautiful pools of color that mimic the depth of the ocean. The piece feels alive; the ergonomic flow of the organic lines makes it a joy to hold. You have successfully captured a fleeting moment of coastal beauty and frozen it into a permanent, vitrified state. It is a sophisticated, technical achievement that looks like it was whispered into existence by the tide itself.
STUDIO QUESTIONS
Does the salt in the seaweed affect the kiln?
Residual salt can act as a flux, slightly lowering the melting point of the clay surface. Always rinse your seaweed thoroughly and dry it before pressing to minimize salt transfer to the greenware.
What is the best clay for fine seaweed detail?
A fine-grained porcelain or a smooth stoneware without grog is best. The absence of large particulates allows the clay to capture the microscopic textures of the seaweed fronds with high fidelity.
Can I reuse the seaweed for multiple impressions?
Seaweed loses structural integrity quickly after being pressed. For consistent results, use fresh specimens for each slab. If a specific shape is vital, create a plaster or silicone mold of the specimen first.
How do I prevent the slab from warping?
Warping is caused by uneven drying. Place your finished work between two sheets of drywall or on a wire rack covered with plastic to ensure airflow reaches both the top and bottom simultaneously.

