
The scent of fresh cedar shavings is better than any expensive candle because it smells like progress. When I dig my fingernails into a piece of raw walnut or feel the cold, unyielding weight of a steel file, my brain finally stops its frantic background noise. This is the magic of Healing Through Manual Labor. It is not just about making a pretty object; it is about the physiological shift that occurs when your nervous system syncs with the resistance of a physical material. When you apply pressure to a chisel, you are engaging in a complex calculation of force and grain direction that forces your prefrontal cortex to quiet down. The tactile feedback of a rough surface smoothing under a high grit abrasive provides a dopamine hit that no digital notification can replicate. We are built to move, to grip, and to transform the world around us with our own two hands.
THE STUDIO KIT
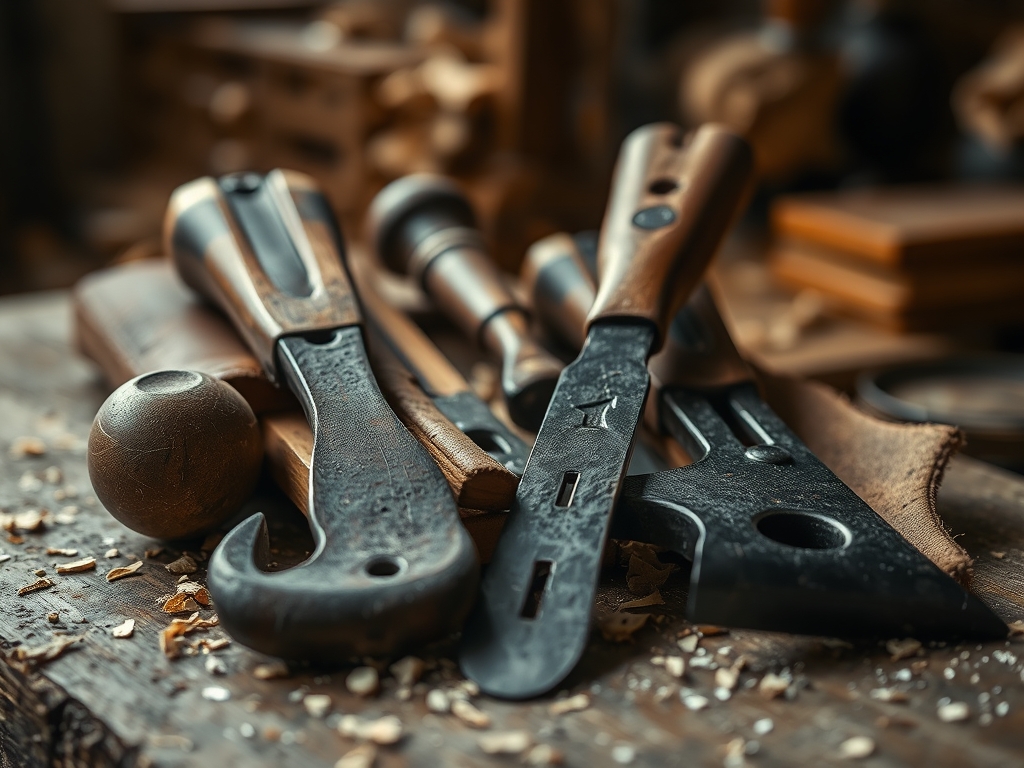
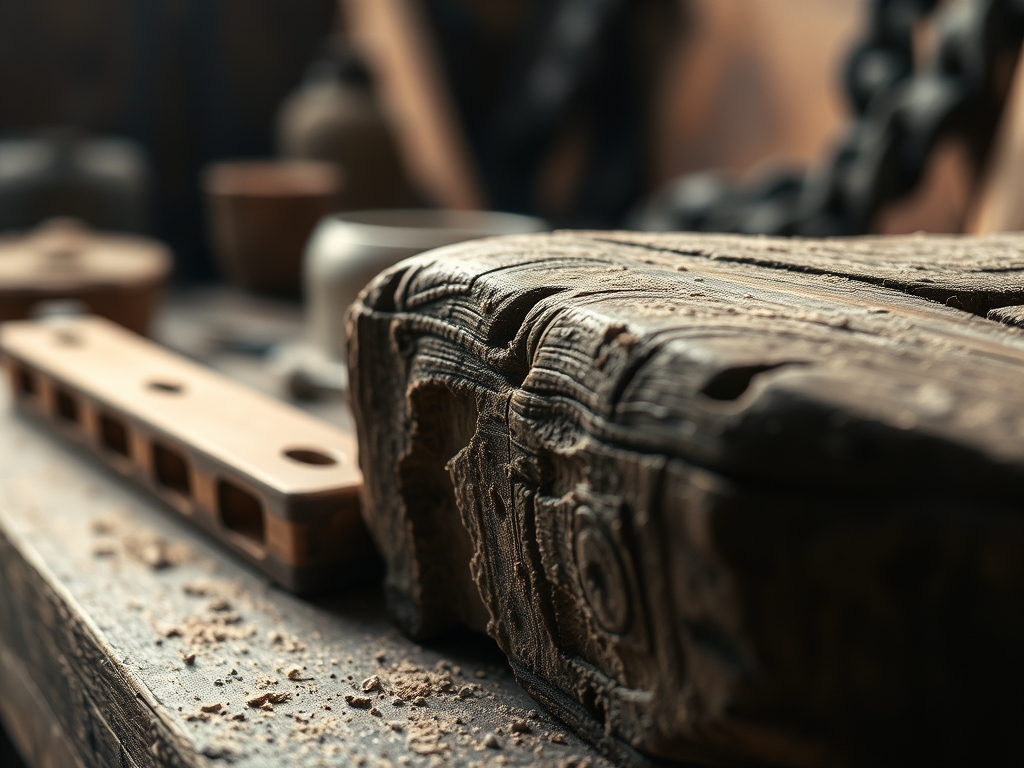
To master the art of tactile creation, your kit must prioritize ergonomic efficiency and material integrity. You need a set of digital calipers to measure thickness down to the millimeter; precision is the difference between a joint that seats and one that fails. For woodworking or leathercraft, a bone folder is essential for creating crisp, permanent creases without damaging the fibers of the material. I always keep a high-carbon steel awl on my bench for marking start points, as its hardness ensures it won't dull against dense hardwoods or heavy-gauge metals.
Your materials should be selected based on their tensile strength and porosity. If you are working with wood, choose kiln-dried stock to ensure the moisture content is below eight percent, preventing future warping. For metalwork, pay attention to the gauge; a lower number means a thicker, more resistant plate.
Material Substitutions: If you cannot source premium vegetable-tanned leather, heavy canvas treated with beeswax offers a similar structural integrity. If hardwood is unavailable, high-density fiberboard (HDF) provides a stable, though less aesthetic, alternative for practicing joinery techniques.
THE TEMPO
The Maker's Rhythm is a three-phase cycle that governs the flow of energy in the studio. Phase one is the Preparation Pulse, taking roughly two hours. This is where you calibrate your tools and map your cuts. It is a slow, meditative period of high focus. Phase two is the Execution Flow, which can last anywhere from four to ten hours depending on the complexity of the project. This is the "deep work" zone where time seems to compress. Finally, phase three is the Refinement Grace, a two-hour window dedicated to sanding, polishing, and finishing.
Working with your hands requires respecting the curing times of adhesives and finishes. Attempting to rush a chemical bond results in structural failure. By aligning your personal energy with the physical requirements of the material, you achieve a state of "flow" that reduces cortisol levels and enhances cognitive clarity.
THE CORE METHOD
1. Material Selection and Grain Analysis
Before the first cut, you must identify the longitudinal grain of your material. This determines how the fibers will react to tension and shear force. Use your calipers to verify that your stock is uniform in thickness across its entire length.
Mastery Tip: Always cut with the grain to prevent "tear-out." The science here involves cleavage planes; cutting against the grain forces the fibers to lift and snap rather than shearing cleanly, which ruins the surface finish.
2. The Precision Layout
Use a marking knife rather than a pencil for your initial lines. A knife cut severs the surface fibers, creating a physical "track" for your saw or chisel to follow. This ensures a level of accuracy that graphite cannot match.
Mastery Tip: This technique utilizes mechanical registration. By creating a physical groove, you are using the tool's own geometry to guide the cut, significantly reducing the margin for human error.
3. Progressive Abrasive Refinement
Sanding is not just about making things smooth; it is about removing the "peaks" left by previous tools. Start with a 120-grit abrasive and move methodically up to 400-grit. Each step must completely remove the scratches from the previous, coarser grit.
Mastery Tip: This process relies on friction-induced heat and surface leveling. Moving too quickly through the grits will trap microscopic dust in deep scratches, leading to a cloudy finish once the sealant is applied.
4. The Final Burnish and Seal
Apply your chosen finish (oil, wax, or lacquer) using a lint-free cloth. For wood, a penetrating oil is superior because it bonds with the cellular structure rather than just sitting on top. Use a burnishing tool to compress the surface fibers for a high-luster glow.
Mastery Tip: This step leverages capillary action. The porous nature of the material draws the finish deep into the fibers, creating a hydrophobic barrier that protects the piece from atmospheric moisture and oxidation.
THE TECHNICAL LEDGER
Maintenance & Longevity: Tools must be cleaned after every session. Use a light machine oil on steel surfaces to prevent oxidation. Sharpen your blades using a honing guide to maintain a consistent 25-degree bevel, ensuring the edge remains razor-sharp for the next project.
Material Variations:
- Sustainable: Reclaimed barn wood offers unique character but requires careful scanning with a metal detector for hidden nails.
- Recycled: Melted down scrap copper can be forged into new hardware, offering high ductility.
- Premium: Exotic hardwoods like Ebony offer incredible density but require carbide-tipped tools to prevent blunting.
The Correction:
- Gaps in Joinery: If a joint is loose, use a mixture of sawdust and wood glue to create a structural filler that matches the color of the piece.
- Surface Burning: If a power tool leaves a burn mark, it is likely due to a dull blade or too slow a feed rate. Sand it out immediately using 80-grit and increase your speed.
- Finish Blushing: If your finish looks cloudy, moisture is trapped. Lightly sand the area and re-apply in a lower-humidity environment.
Studio Organization: Store your materials horizontally to prevent bowing. Use a climate-controlled space to maintain a consistent relative humidity, as fluctuations will cause materials to expand and contract, potentially cracking your finished work.
THE FINAL REVEAL
There is a specific, electric thrill that happens when you wipe away the excess oil and see the grain pop for the first time. The finished piece is heavy, balanced, and bears the marks of your intentionality. It feels solid in a world that often feels flimsy. When you look at the object, you don't just see a shelf or a bowl; you see the hours of focus, the callouses on your palms, and the moment your brain finally went quiet. This is the ultimate reward of manual labor: a physical manifestation of your own resilience.
STUDIO QUESTIONS
Why is manual labor considered therapeutic?
Manual labor engages the proprioceptive system, providing the brain with constant feedback about body position and force. This sensory grounding reduces anxiety by pulling the focus away from abstract stressors and onto immediate, tangible physical challenges and successes.
How do I choose the right wood for a beginner project?
Start with Poplar or Pine. These are softer woods with lower density, making them easier to cut and sand while you learn tool control. They are forgiving materials that still offer excellent structural integrity for most indoor furniture projects.
What is the most important tool for a new maker?
A high-quality combination square. Accuracy is the foundation of all successful builds. If your measurements and angles are off by even a fraction of a degree, the errors will compound, leading to structural instability in the final piece.
How can I prevent hand fatigue during long sessions?
Prioritize ergonomic tool handles and take frequent breaks to stretch your extensors. Ensure your workbench height is calibrated to your stature to prevent slouching, which protects your kinetic chain from the repetitive strain of sawing or sanding.

