
Imagine the moment your fingertips graze a freshly sanded slab of black walnut. It is smooth, sure; but it feels thirsty. Wood is a biological sponge, a network of open vascular tubes waiting to be sealed against the chaos of the workshop. To get that museum grade sheen that actually survives a coffee spill, you need the heavy hitter: Natural Carnauba Wood Wax. This stuff is the secret weapon for makers who hate the plastic look of polyurethane but need the structural armor of a hard finish.
Derived from the fronds of the Brazilian palm, carnauba is the hardest natural wax known to man. It is not just a coating; it is a microscopic fortification. When you apply it, you are essentially laminating the wood fibers with a high melting point shield. The tactile sensation is incredible. It transforms a porous surface into something that feels like polished stone but retains the warmth of the organic grain. We are talking about a finish that does not just sit there looking pretty. It actively resists abrasions and moisture through sheer molecular density. Grab your safety glasses and a fresh rag. We are about to turn that raw timber into a masterpiece that can handle the grit of a working studio.
THE STUDIO KIT
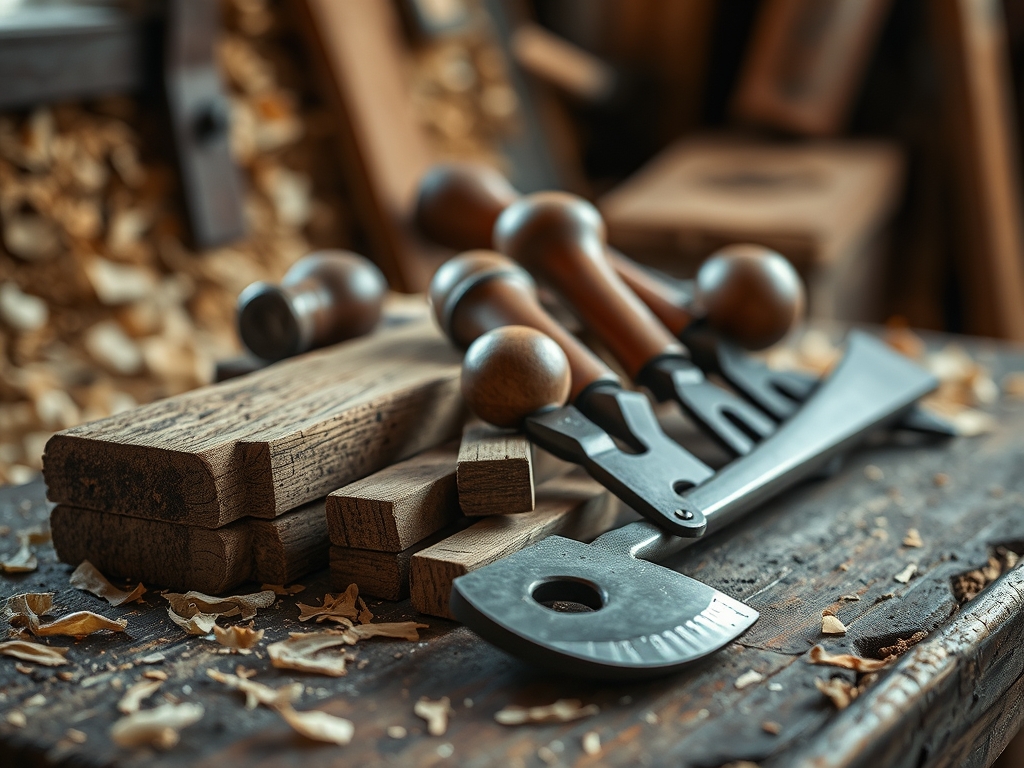
To execute this finish with professional precision, your workbench needs more than just a tin of wax. You need tools that respect the physics of friction. Your primary agent is a high quality Natural Carnauba Wood Wax, preferably one with a high percentage of palm solids. Because carnauba is naturally brittle in its pure state, look for a blend that uses a carrier oil like linseed or hemp to allow for easier spreading without compromising the final hardness.
For the application, skip the paper towels. You need lint free cotton huck towels or a dedicated buffing pad. If you are working on a piece with intricate carvings or tight radii, a horsehair brush is essential for driving the wax into those hard to reach pores. For the final burnish, an oscillating tool with a soft felt pad attachment will save your elbows and generate the heat necessary to melt the wax into the wood cells.
Material Substitutions: If you cannot source a pure carnauba blend, a high grade beeswax is a softer alternative, though it will require more frequent maintenance. For a vegan friendly studio, candelilla wax offers a similar hardness profile, though its melting point is slightly lower than the palm variety. If you are working on a budget, a simple mineral oil base topped with a hard wax creates a beautiful "wet" look, but it lacks the long term tensile protection of a dedicated carnauba finish.
THE TEMPO
The "Maker's Rhythm" for a hard wax finish is a game of patience and thermal energy. You cannot rush the bond. Total project time usually spans about 24 hours, but the active "hands on" time is relatively short.
The first phase is the Saturation Phase (30 minutes). This is where you apply the wax and let the solvents evaporate. The second phase is the Flash Off (1 hour). This is the most critical waiting period where the wax stabilizes. Finally, we hit the Burnish Phase (20 minutes). This is the high energy part where you use friction to create that signature glow. After the final buff, the piece needs a Cure Cycle of at least 12 to 18 hours. During this time, the wax fully hardens and the molecular chains lock together, creating a moisture resistant barrier.
THE CORE METHOD
1. Surface Preparation and Pore Clearing
Before the wax even touches the wood, the surface must be pristine. Sand your piece through the grits, ending at 320 or 400. Use a tack cloth or compressed air to remove every microscopic speck of dust from the grain. If the pores are clogged with sawdust, the wax cannot penetrate, leading to a cloudy finish.
Mastery Tip: This is all about capillary action. By clearing the wood vessels, you create a vacuum that pulls the liquefied wax deep into the cellular structure, ensuring the finish is "in" the wood rather than just "on" it.
2. The Initial Loading
Apply a thin, even layer of the Natural Carnauba Wood Wax using a circular motion. Do not glob it on. A little goes a long way because of the high density of the palm solids. Use a bone folder or a small wooden spatula to work the wax into any deep cracks or knots.
Mastery Tip: Observe the surface tension as you apply. If the wax beads up immediately, the wood may still have a previous oil finish that is not fully dry. The wax should "wet" the surface evenly, indicating a successful molecular bond.
3. Thermal Activation and Buffing
Once the wax has sat for about fifteen minutes and feels slightly tacky, it is time to burnish. Using your lint free cloth or an oscillating tool, rub the surface vigorously. The goal is to generate heat through friction. You will feel the drag of the cloth suddenly give way to a slick, effortless glide.
Mastery Tip: This process relies on thermal plasticity. Carnauba wax has a melting point of around 180 degrees Fahrenheit. While you won't reach that temperature, the friction softens the wax just enough to allow it to flow into a perfectly flat, light reflecting plane.
4. The Secondary Leveling
After the first buff, let the piece sit for an hour. Then, take a fresh, clean cloth and do a final pass. This removes any "ghosting" or excess oils that have risen to the surface. This step ensures the finish is hard to the touch and won't pick up fingerprints.
Mastery Tip: This ensures structural integrity. By removing the excess carrier oils, you leave behind a concentrated layer of hard wax that provides a higher gauge of protection against physical impacts and scratches.
THE TECHNICAL LEDGER
Maintenance & Longevity: A carnauba finish is incredibly durable but not permanent. In a high traffic studio, reapply a light coat every six months. For decorative pieces, a simple dusting with a soft cloth is all that is required. Avoid chemical cleaners, as they will strip the wax and leave the wood vulnerable.
Material Variations:
- Sustainable: Look for "Grade T1" carnauba, which is the highest purity and sustainably harvested.
- Premium: Some blends include propolis or essential oils for a pleasant studio scent and added antimicrobial properties.
- Recycled: You can melt down old carnauba based candles or scraps to create your own custom "shop wax" blend.
The Correction:
- The Smear: If the finish looks streaky, you applied too much wax. Fix it by wiping the area with a tiny bit of mineral spirits and re-buffing.
- The Cloud: If the finish looks white in the grain, you didn't sand high enough. You'll need to sand back to 220 and start the process over.
- The Tack: If the surface stays sticky, the humidity is too high or the base oil wasn't dry. Move the piece to a climate controlled room and wait 48 hours.
Studio Organization: Store your wax tins in a cool, dark drawer. Heat will cause the oils to separate from the wax solids. Keep your buffing cloths in labeled airtight bags to prevent cross contamination with silicones or coarser polishing compounds.
THE FINAL REVEAL
Look at that glow! The wood now has a depth that looks three dimensional. When you catch the light at an angle, the Natural Carnauba Wood Wax provides a crisp reflection that highlights the natural architecture of the grain. It feels expensive, rugged, and completely professional. This is not just a project; it is a piece of functional art that is now armored for a lifetime of use. Your shop furniture just got a major upgrade, and your hands will thank you every time they touch that silky, rock hard surface.
STUDIO QUESTIONS
Does carnauba wax change the color of the wood?
Natural Carnauba Wood Wax provides a slight amber tint that deepens the natural grain. It enhances the "wet" look of the wood without the yellowing associated with cheaper varnishes or heavy oils.
Is palm wax food safe for cutting boards?
Most carnauba waxes are naturally food safe and non-toxic. However, always check the label for added chemical driers or petroleum distillates before using it on surfaces that will contact food.
How do I remove old wax for refinishing?
To strip a carnauba finish, use a cloth dampened with odorless mineral spirits. This dissolves the wax bond without damaging the wood fibers, allowing you to sand or apply a different finish.
Can I use a car buffer for the final shine?
Yes, a power buffer with a clean wool pad is excellent for large surfaces. It generates consistent heat, which is the key to achieving a professional, high-gloss carnauba finish quickly.

