
Squishing your toes into a riverbed is more than just a summer memory; it is the ultimate scouting mission for your next masterpiece. There is a primal, electric thrill in pulling raw, heavy mud from the ground and realizing it has the potential to become a translucent porcelain-like vessel or a rugged, textured vase. To unlock this potential, you need to master Natural Clay Slip Secrets that turn gritty backyard dirt into a refined, workable medium. We are talking about the visceral transition from heavy, water-logged silt to a creamy, homogenized slurry that coats your hands like velvet. This process is not just about aesthetics; it is about the physics of particle suspension and the chemical bonds that form when minerals meet heat. You are not just making a pot; you are collaborating with the literal crust of the Earth. It is messy, it is scientific, and it is absolutely addictive once you feel that first smooth glide of refined slip between your fingers.
THE STUDIO KIT
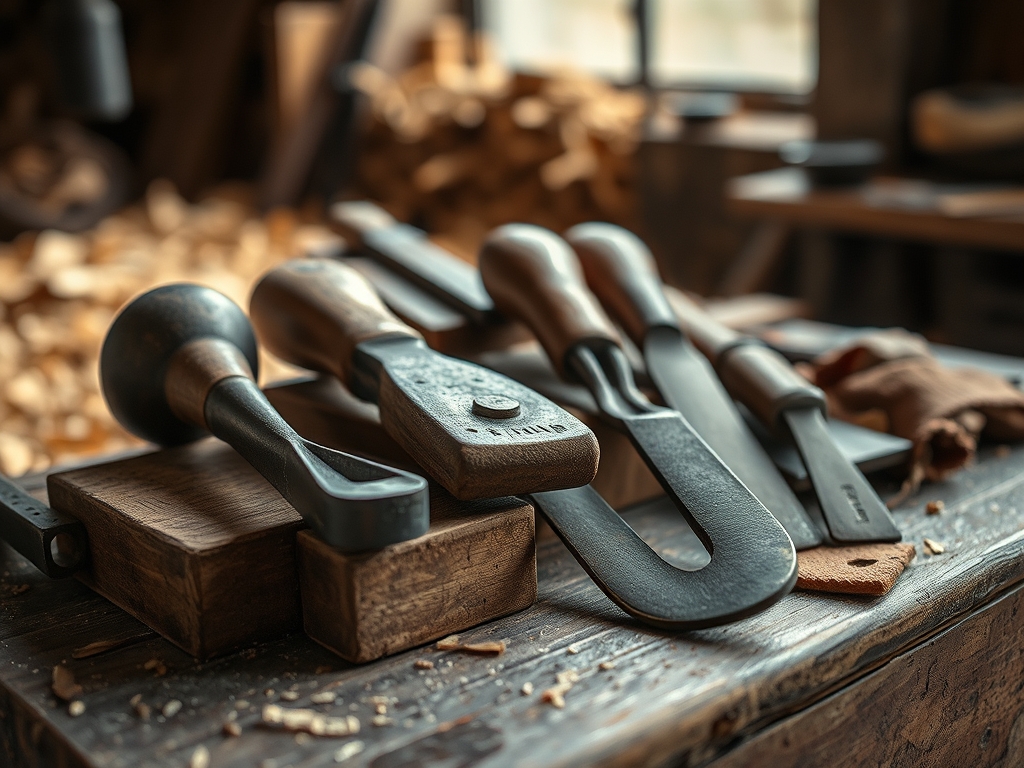
To transform local earth into decorative art, your workbench needs to look like a cross between a geologist's lab and a high-end pottery studio. You will need a stainless steel sieve with a fine mesh (80 to 100 mesh is ideal) to filter out organic debris and oversized silica particles. A digital caliper is essential for measuring wall thickness once your slip begins to set in a mold, ensuring structural integrity. For the refining stage, grab a high-torque drill with a paint mixing attachment to achieve a perfectly homogenized suspension. You will also need plaster of Paris to create drying bats, which use capillary action to pull excess moisture from your sludge.
For the finishing touches, keep an agate burnishing stone and a flexible steel rib nearby to compress the surface molecules. If you cannot find a specific tool, use these Material Substitutions: a fine nylon stocking can replace a professional sieve for ultra-fine filtering, and a smooth river stone works beautifully as a substitute for a bone folder or burnishing tool. Always have a hydrometer on hand to measure the specific gravity of your slip; this ensures your "mud" has the correct density to cling to your forms without collapsing.
THE TEMPO
The "Maker's Rhythm" for wild clay is slower than store-bought bags because you are respecting the dehydration cycle of the earth. Expect to spend approximately two to three days on the initial "slaking" process, where dry dirt breaks down in water. The refining and sieving phase takes about four hours of active labor. Once your clay reaches a workable state, the sculpting or casting phase moves quickly, usually within a two-hour window. However, the true test of patience is the drying phase. Because local earth often has a high shrinkage rate, you must allow for a slow, controlled seven-day dry period under plastic to prevent warping. This tempo is a dance between the evaporation rate of the room and the internal tension of the clay body.
THE CORE METHOD
1. The Slaking Sequence
Begin by drying your harvested earth completely until it is bone-dry and brittle. This might seem counterintuitive, but dry clay particles explode when they hit water, a process called slaking, which ensures every molecule is hydrated. Submerge the dry chunks in a bucket of distilled water and let them sit undisturbed for 48 hours.
Mastery Tip: This step relies on hydrostatic pressure to force water into the microscopic pores of the clay, breaking the ionic bonds holding the dry clumps together for a smoother finish.
2. The Mechanical Refinement
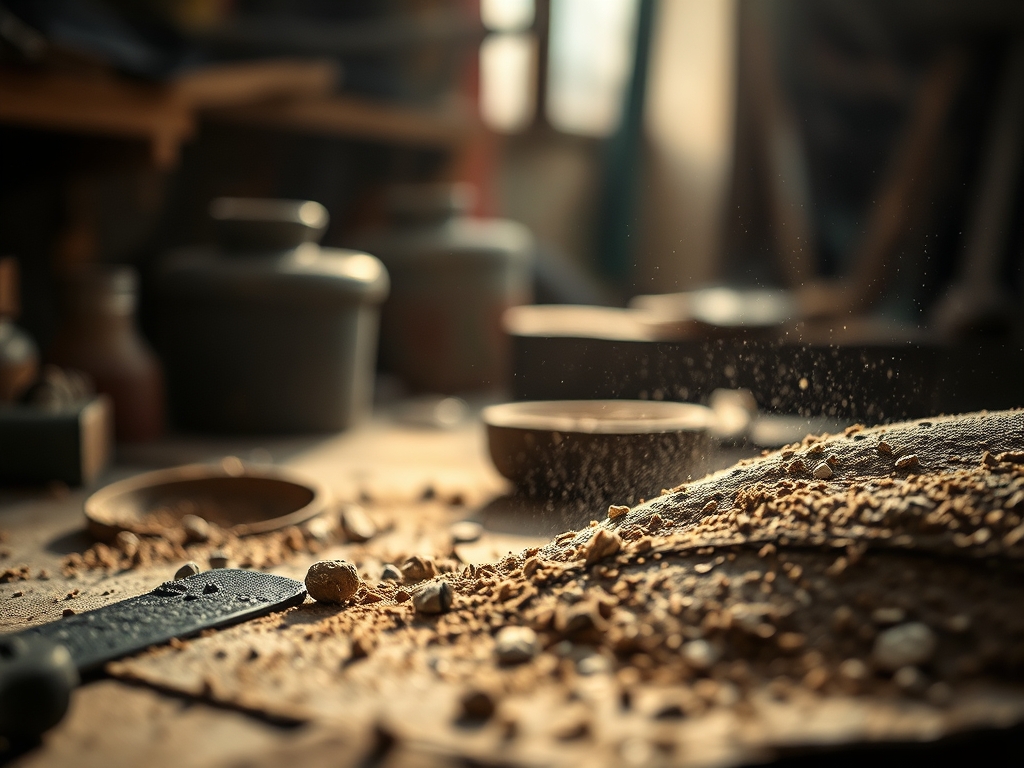
Once your clay is a liquid slurry, use your high-torque mixer to churn the mixture into a consistent liquid. Pass this liquid through your 80-mesh sieve into a clean bucket. This removes "groaners" (large rocks) and organic matter like roots that would burn out and leave pits during firing.
Mastery Tip: Use a rubber spatula to push the material through the mesh; this utilizes shear force to break down stubborn mineral clusters that would otherwise compromise the tensile strength of your finished piece.
3. The Decanting Phase
Let your sieved slip sit for 24 hours. You will notice layers forming: water on top, fine clay in the middle, and heavy sand at the bottom. Siphon off the clear water from the top to thicken your mixture. This is where you apply your Natural Clay Slip Secrets by adjusting the viscosity to match your project needs.
Mastery Tip: The middle layer contains the highest concentration of platelet-shaped particles, which are responsible for the clay's plasticity and its ability to hold a shape without sagging.
4. Dehydration and Wedging
Pour your thickened slip onto a plaster bat. The plaster acts as a desiccant, pulling water out through porous suction. Once the clay reaches the consistency of firm putty, peel it off and begin "wedging"—a rhythmic kneading process that removes air bubbles and aligns the clay grains.
Mastery Tip: Proper wedging creates a spiral grain direction, which distributes internal stress evenly and prevents the piece from exploding in the kiln due to trapped air pockets.
THE TECHNICAL LEDGER
Maintenance & Longevity: To keep your local clay viable, store it in a heavy-duty airtight container with a damp sponge. If the clay dries out, it can be re-slaked infinitely, but once fired, the chemical change is permanent.
Material Variations:
- Sustainable: Use reclaimed rainwater for the slaking process to maintain a zero-waste studio.
- Premium: Add 5% bentonite to your local mix to increase plasticity if your earth is too "short" or crumbly.
- Recycled: Mix in finely ground fired ceramic "grog" to reduce the shrinkage rate of highly plastic clays.
The Correction:
- The Crack: If your piece cracks while drying, the edges dried faster than the center. Fix: Use a "vinegar slip" (clay mixed with apple cider vinegar) to mend the crack; the acid creates a stronger bond between the dry particles.
- The Bloat: If bubbles appear during firing, the clay had too much organic matter. Fix: Sieve the raw slip through a finer mesh (100+) next time to remove microscopic carbon.
- The Slump: If the pot collapses on the wheel, the water-to-solid ratio is too high. Fix: Spend more time on the plaster bat to increase the clay's yield point.
Studio Organization: Label your buckets by harvest location. Different "veins" of earth have different mineral compositions. Store your refined slip in 5-gallon pails with airtight gaskets to prevent bacterial bloom, which can alter the scent and texture of the clay over time.
THE FINAL REVEAL
There is nothing quite like the moment you pull a piece of your own "backyard porcelain" out of the kiln. The color is often a rich, unpredictable ochre or a deep umber that commercial clays simply cannot replicate. When you run your hand over the burnished surface, you feel the history of your local landscape. The piece feels heavier, more grounded, and infinitely more personal. It is a high-energy victory of science over raw dirt; you have successfully navigated the physics of thermal expansion and mineral vitrification to create a legacy object from the very ground you walk on.
STUDIO QUESTIONS
Does all backyard dirt work for pottery?
No, only soil with high alumina and silica content works. If a wet ball of dirt holds its shape when squeezed and poked, it likely contains enough clay particles to be viable for decorative art projects.
How do I know if my slip is too thin?
Use a hydrometer to check the density. If the reading is below 1.6, the slip lacks the particle density required to build wall thickness, leading to fragile, paper-thin vessels that collapse during the drying phase.
Can I fire local clay in a kitchen oven?
No, kitchen ovens only reach 500 degrees Fahrenheit. Local clay requires vitrification, which usually happens between 1800 and 2300 degrees Fahrenheit in a specialized kiln to turn the minerals into a permanent, rock-like state.
Why is my local clay cracking so much?
High shrinkage rates are common in raw earth. This happens when the water between clay platelets evaporates, pulling them closer together. Slowing the drying process with plastic covers helps manage this interstitial tension and prevents warping.
Is it safe to use local clay for food?
Only if you perform a leach test. Some local soils contain heavy metals like lead or arsenic. For decorative art, it is perfectly safe, but for dinnerware, always use a food-safe glaze and test the finished piece.

