
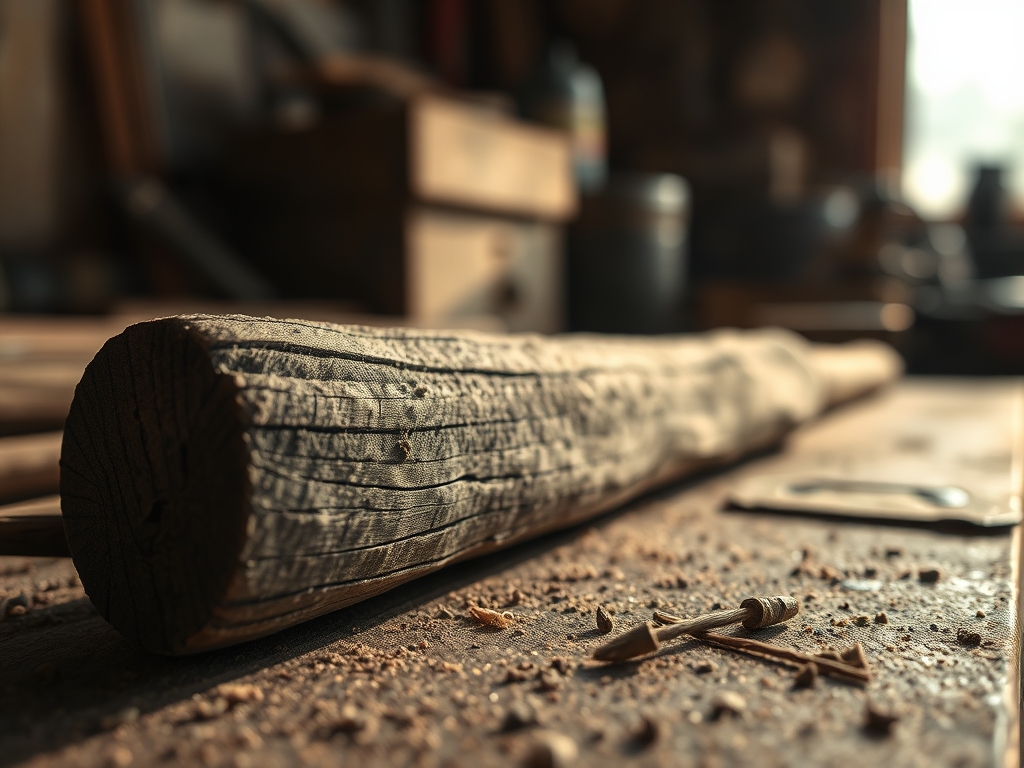
Imagine the scent of damp earth and crushed chlorophyll clinging to your boots as you step into the marshy edge of a flowing stream. Your fingers brush against the cool, slick surface of a bulrush, feeling the internal air pockets that give the plant its buoyancy. Foraging For River Reeds is not just a hike; it is a strategic harvest of high-tensile organic fibers. You are looking for that perfect balance of flexibility and strength, where the vascular bundles within the reed are dense enough to hold a shape but hydrated enough to bend without snapping. It is a tactile conversation between your hands and the landscape, selecting the finest specimens that nature has engineered for structural integrity.
THE STUDIO KIT

To transform raw aquatic plants into a functional masterpiece, your toolkit must be as sharp as your wit. You will need a pair of high-carbon steel bypass pruners for clean cuts that do not crush the delicate parenchyma tissue of the reed. A stainless steel awl is essential for creating space between tight weaves, while a polished bone folder will help you burnish the edges for a professional finish. For precision measurements, keep a set of digital calipers handy to ensure your reed diameters are consistent across the warp and weft.
Material Substitutions are often necessary depending on your local ecosystem. If you cannot find Scirpus lacustris (true bulrush), look for Typha latifolia (cattail) or even long-stemmed marsh grasses. If you are working in an urban environment with zero access to a riverbank, you can substitute with paper rush or rattan core, though you will miss out on the natural waxy cuticle that makes wild-harvested reeds so water-resistant.
THE TEMPO
The Maker's Rhythm is a three-act play that requires patience and a keen eye for moisture levels. The first phase is the Harvest and Cure, which takes seven to ten days. You cannot weave fresh reeds immediately; the internal moisture must evaporate to prevent the finished piece from shrinking and becoming loose. Once dried, you enter the Rehydration Phase, a focused two-hour soak where the fibers regain their elasticity through capillary action.
The actual weaving, or the Construction Phase, can take anywhere from six to twelve hours depending on the complexity of your vessel. This is where you find your flow, a rhythmic repetition of over-under movements that aligns with your heartbeat. Finally, the Setting Phase requires forty-eight hours of drying in a cool, shaded area to lock the molecular bonds of the fibers into their new geometric configuration.
THE CORE METHOD
1. Sorting by Gauge
Before you even think about weaving, you must categorize your harvest. Use your calipers to group reeds by diameter. This is not just about aesthetics; it is about structural load distribution. Thicker, stiffer reeds serve as the spokes (warp), providing the skeletal framework, while the more pliable, thinner reeds become the weavers (weft). Mastery Tip: Understanding the tapering geometry of a reed is vital. Always alternate the butt-end and the tip-end of the reeds to ensure the tension remains even across the entire surface of the basket.
2. The Radiant Start
Create a cross-shaped base by interlacing your primary spokes. This is the foundation of your structural integrity. Secure the center with a twining stitch, using two thin weavers that twist around each spoke. Mastery Tip: This stage relies on friction-fit physics. By crossing the weavers between every spoke, you create a mechanical lock that prevents the base from spiraling or warping as the tension increases.
3. Transitioning the Upsett
Once the base reaches your desired diameter, it is time to turn the spokes upward to form the walls. This maneuver is known as the upsett. Use your bone folder to gently crimp the reeds at the base edge, creating a clean 90-degree angle. Mastery Tip: This is a lesson in tensile stress. If the reed is too dry, it will fracture at the cellular level. Ensure the fibers are at peak hygroscopic saturation before attempting the turn to maintain the continuity of the grain.
4. Continuous Weaving and Splicing
As you build the walls, you will inevitably run out of reed. To add a new piece, overlap the old and new weavers behind a spoke. Mastery Tip: Use the tapered overlap method to minimize bulk. By shaving the ends of the reeds with a sharp knife to create a scarf joint, you maintain a consistent cross-sectional area, ensuring the weave looks seamless and professional.
5. The Border Lock
The final rim is where you secure the entire project. Bend the remaining spoke ends back into the weave or create a decorative braided border. Mastery Tip: This stage utilizes compression force. By tucking the spokes back into the previous rows, the natural expansion of the drying fibers will wedge the ends into place, creating a permanent, glue-free bond that can withstand significant weight.
THE TECHNICAL LEDGER
Maintenance and Longevity are achieved by keeping the piece away from direct UV light, which can degrade the lignin in the plant fibers. Every few years, a light misting of water can prevent the reeds from becoming overly brittle.
Material Variations offer different structural benefits. Sustainable seagrass provides a beautiful textural contrast, while premium smoked rattan offers an architectural stiffness. For an eco-friendly twist, try incorporating recycled copper wire to add a metallic luster and extra reinforcement to the rim.
The Correction involves identifying common failures. If your basket is "leaning," your tension is uneven; fix this by using a tension gauge or simply pulling more firmly on the side that is bulging. If the base is "crowning" (bowing upward), your spokes are too crowded; remove two spokes to allow the weave to lay flat. If the weavers are snapping, the ambient humidity is too low; use a spray bottle to reintroduce moisture to the fibers mid-weave.
Studio Organization is key to preventing material degradation. Store your dried reeds horizontally in a breathable cotton wrap. Never store them in plastic, as trapped moisture will lead to fungal colonization and rot, ruining your hard-earned harvest.
THE FINAL REVEAL
There is a profound sense of electricity when you hold the finished vessel. It is no longer just a collection of plants from the riverbank; it is a sophisticated piece of organic engineering. The way the light catches the natural variations in the reed color, the sturdy weight of the base, and the rhythmic pattern of the walls all speak to your technical skill. You have successfully bridged the gap between the wild landscape and functional art, proving that with the right tools and a bit of physics, nature can be woven into something timeless.
STUDIO QUESTIONS
How do I know if a reed is ready for harvest?
Perform a flexibility test by wrapping the reed around your finger. If the outer cuticle remains intact without splitting or showing internal fiber breakage, the plant has reached the ideal maturity for high-tensile weaving applications.
Can I harvest reeds in the winter?
Winter harvesting is possible but difficult because the plants are dormant and brittle. The sap has retreated, meaning the fibers lack the natural sugars and resins that provide elasticity. It is better to harvest during late summer or early autumn.
Why is my basket shrinking after it dries?
Shrinkage occurs due to evaporative water loss within the plant cells. If you weave with "green" or over-saturated reeds, the diameter of each fiber will decrease as it dries, leading to gaps and a loss of structural tension.
How do I prevent mold on my harvested reeds?
Ensure maximum airflow and ventilation during the curing process. Never stack damp reeds in deep piles. Instead, spread them in a single layer on a drying rack to allow moisture to escape from all sides of the plant.
What tool is best for trimming the final ends?
A pair of flush-cut micro nippers is the superior choice. They allow you to cut the reed perfectly level with the surface of the weave, preventing snags and ensuring the internal vascular structure is not crushed during the trim.

