
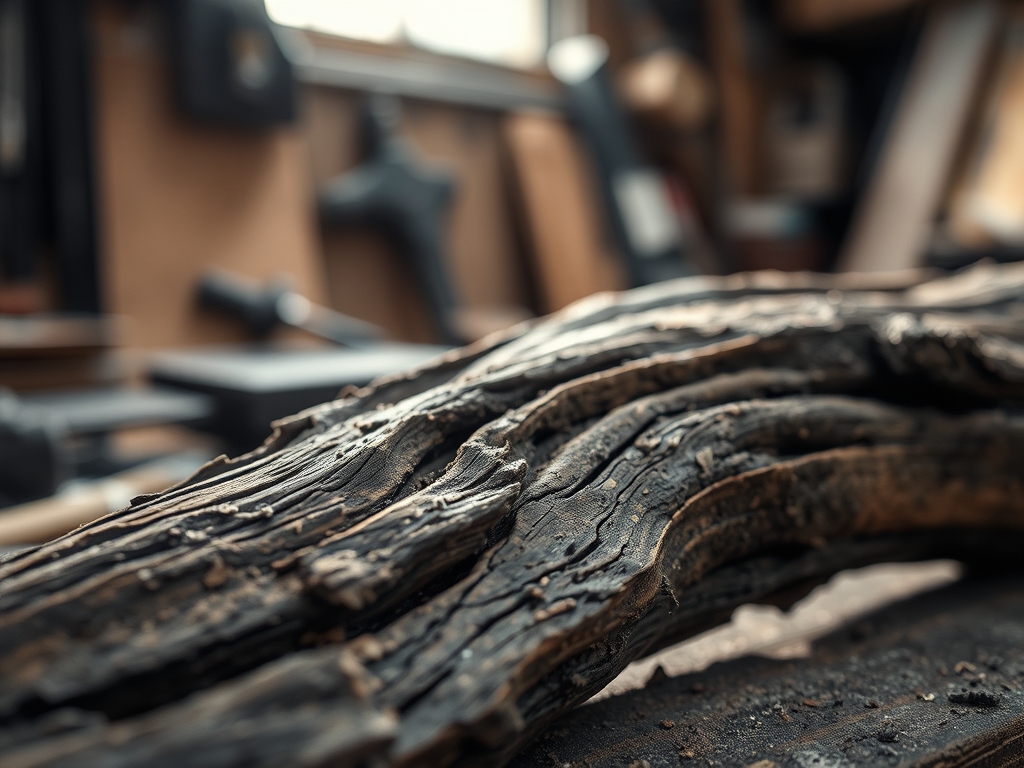
Salt spray hits your face with a bracing chill as you scan the tide line for that perfect, salt-cured skeleton of cedar. Foraging For Driftwood Art is not just a casual stroll; it is a high-stakes hunt for structural integrity and aesthetic flow. You are looking for pieces that have survived the brutal mechanical weathering of the Pacific, where the constant abrasion of sand has stripped away the soft sapwood to reveal the dense, resilient heartwood. When you pick up a piece, you are feeling for density and weight. A high-quality specimen feels surprisingly heavy for its size because the cellular structure has been compressed by hydrostatic pressure. If it feels light or spongy, the lignin has decayed, and it will crumble under the torque of a drill bit. We want the pieces that feel like stone but carry the warmth of organic fiber. These are the artifacts that will anchor your studio space with a story of oceanic physics and time.
THE STUDIO KIT
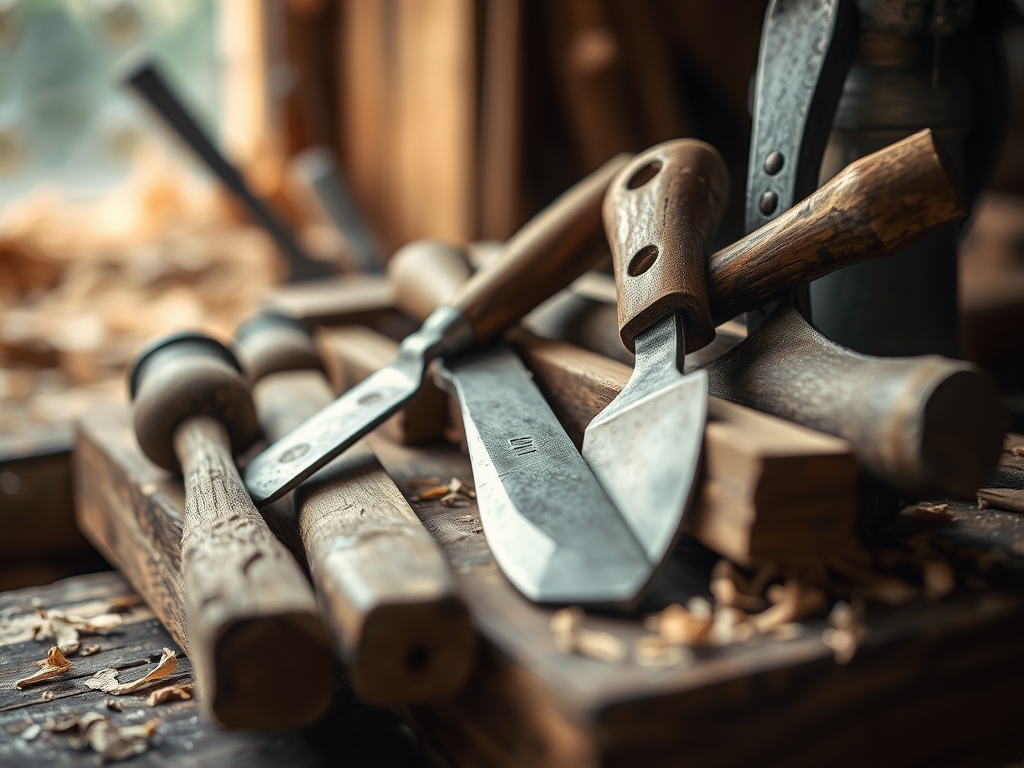
To transform raw coastal debris into a gallery-grade installation, your toolkit must bridge the gap between heavy-duty demolition and fine-scale jewelry work. You will need a high-torque oscillating tool equipped with a carbide-grit rasp for smoothing jagged transitions without splintering the grain. A set of digital calipers is non-negotiable for measuring the diameter of irregular branches to ensure your hardware fits with sub-millimeter precision. For the joinery, keep a bottle of cyanoacrylate adhesive and an accelerator spray nearby; this allows you to freeze a composition in place instantly before reinforcing it with mechanical fasteners.
Material Substitutions: If you cannot find a specific shape, do not settle for rotted wood. Substitute with kiln-dried orchard prunings or reclaimed barn wood that has been sandblasted. These materials mimic the porous texture of driftwood while offering predictable tensile strength. For finishing, use a burnishing tool made of bone or polished steel to compress the surface fibers, creating a natural sheen without the need for plastic-heavy varnishes.
THE TEMPO
The rhythm of this craft is dictated by the moisture content of your finds. You cannot rush the desiccation phase. Expect to spend forty-eight hours allowing your wood to reach equilibrium with your studio's humidity. Once dry, the cleaning and stabilization phase takes about three hours of focused labor. The "Maker's Rhythm" is a cycle of intense physical exertion followed by periods of observation. You will spend an hour aggressively sanding, then twenty minutes simply rotating the piece in your hands to understand how the light hits the undulating grain. Total project time usually spans three days, allowing for the slow curing of deep-pour epoxies or structural adhesives.
THE CORE METHOD
1. The Decontamination Scrub
Before a single tool touches the wood, you must neutralize the biological hitchhikers. Use a stiff nylon brush and a solution of distilled water and white vinegar to scrub the exterior. Mastery Tip: This process relies on capillary action to draw the cleaning agent into the pores. Avoid soaking the wood for more than ten minutes, as excessive saturation can cause the internal fibers to swell and crack the exterior "skin" upon drying.
2. Structural Assessment and Trimming
Use an oscillating tool to remove "punky" or soft sections that have lost their cellular density. You are looking for the sound of a sharp "clack" when you tap the wood, indicating a solid core. Mastery Tip: When cutting, always work perpendicular to the grain direction to minimize tear-out. The goal is to preserve the natural tapered geometry created by the ocean while providing a flat, stable base for mounting.
3. Precision Sanding and Contouring
Switch to a high-grit sanding sponge to follow the natural curves. Do not flatten the unique ridges that give the wood its character. Mastery Tip: Utilize the science of surface tension by lightly misting the wood with water between sanding passes. This "raises the grain," causing loose fibers to stand upright so they can be cleanly sliced away, resulting in a glass-smooth finish.
4. Hardware Integration and Balance
Determine the center of gravity by suspending the piece with a thin monofilament line. Once found, use a jeweler's saw or a fine-point drill to create pilot holes for your mounting hardware. Mastery Tip: To prevent splitting, the pilot hole must be exactly 80 percent of the screw's shank diameter. This ensures the threads bite into the wood without exerting excessive lateral pressure that could shatter the brittle, salt-dried fibers.
THE TECHNICAL LEDGER
Maintenance & Longevity: Driftwood is prone to "checking" or small cracks as it continues to lose moisture. Apply a coat of refined walnut oil every six months. This non-drying oil penetrates deep into the vascular bundles of the wood, keeping the fibers supple and preventing the structural collapse that leads to dusting.
Material Variations:
- Sustainable: Local river find, air-dried for six months.
- Recycled: Old cedar fence posts weathered in a garden.
- Premium: Ancient bog oak or sun-bleached manzanita burl.
The Correction:
- The Mistake: The wood feels "chalky" after sanding. The Fix: You have sanded through the hardened exterior into the softer pith. Apply a thin layer of sanding sealer to re-bind the fibers before finishing.
- The Mistake: A structural crack appears during drilling. The Fix: Inject a low-viscosity epoxy resin into the fissure using a syringe. Clamp the piece until cured to restore structural integrity.
- The Mistake: The piece smells "fishy" or damp. The Fix: Place the wood in a sealed container with silica gel packets for seventy-two hours to draw out deep-seated moisture and odors.
Studio Organization: Store your driftwood horizontally on breathable wire racking. Never stack pieces directly on top of one another, as this creates pressure points that can warp the wood and prevents air circulation, which may lead to fungal growth.
THE FINAL REVEAL
Look at that! You have taken a piece of oceanic wreckage and turned it into a masterclass in organic geometry. The way the light catches the burnished ridges of the grain is nothing short of magical. It feels substantial in your hands, a perfect marriage of rugged coastal physics and refined studio technique. This isn't just a decoration; it is a stabilized fragment of the wild, held together by your precision and an understanding of material science. The contrast between the raw, weathered exterior and the polished, structural joins makes this piece a true conversation starter. You have officially mastered the art of the shoreline find!
STUDIO QUESTIONS
How do I tell if driftwood is too rotten to use?
Press your thumbnail into the wood. If it leaves a deep, soft indentation or the wood crumbles into powder, the lignin has failed. High-quality driftwood should resist pressure and sound resonant, not dull, when tapped.
Can I use bleach to whiten my driftwood?
Avoid household bleach as it destroys the cellulose fibers and creates a brittle, chalky surface. Instead, use a solution of hydrogen peroxide and water to brighten the wood without compromising its long-term tensile strength or structural health.
What is the best way to mount a heavy piece?
Use a keyhole router bit to create a recessed mounting point directly in the densest part of the wood. This ensures the weight is distributed evenly across the hardware, utilizing the wood's own bulk density for stability.
How do I prevent bugs from emerging later?
Heat-treat the wood in a low-temperature oven at 150 degrees Fahrenheit for three hours. This thermal process kills larvae and insects hidden deep within the porous interior without reaching the ignition point of the dry timber.
Is it legal to collect driftwood everywhere?
Regulations vary by region. Always check local coastal management laws, as some areas protect driftwood to prevent coastal erosion or to maintain habitats. In many public areas, small-scale hand-collection for personal art is generally permitted.

