
The crisp snap of a sugar maple leaf under your boot is the first signal that the harvest has begun. You can feel the change in the air; the humidity drops and the atmospheric pressure shifts, causing the trees to withdraw chlorophyll and reveal the hidden carotenoids beneath. We are not just walking through the woods today; we are Foraging For Autumn Leaves with a scientific eye for cellular preservation. When you pick up a leaf, you are holding a complex network of xylem and phloem encased in a cellulose frame. The goal is to capture that vibrant pigment before the cell walls collapse and the leaf turns into brittle dust. To do this right, we have to respect the moisture content and the delicate balance of the leaf's internal structure. It is about more than just aesthetics; it is about arresting the natural decay process through controlled dehydration and chemical stabilization. Grab your basket and your sharpest shears because we are about to turn a fleeting seasonal moment into a permanent masterpiece of organic engineering.
THE STUDIO KIT
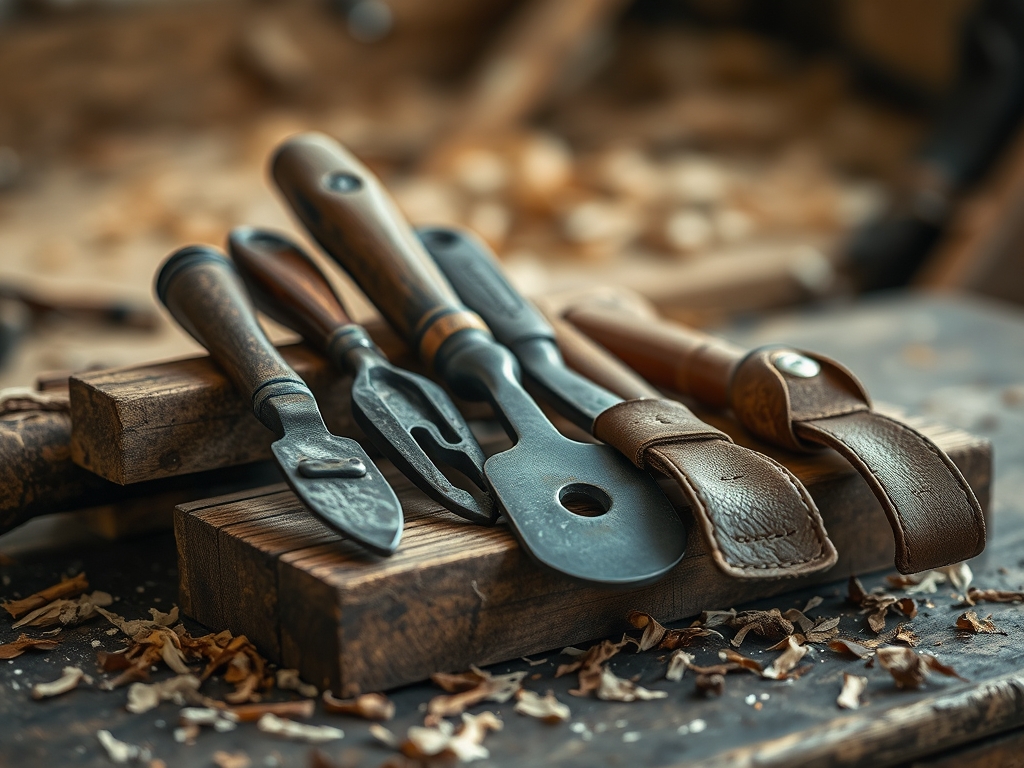
To master the art of preservation, your kit must account for the porous nature of organic matter. You will need a pair of precision calipers to measure the thickness of your specimens; this ensures even pressure during the pressing phase. A high quality bone folder is essential for smoothing out the edges of the leaves without tearing the delicate leaf margins. For the preservation fluid, you will need vegetable glycerin, which acts as a humectant to replace the water within the plant cells. If you cannot find glycerin, a material substitution of silica gel desiccant works for a dry finish, though it results in a more fragile specimen. You should also have a rotary cutter and a self healing mat for trimming any mounting paper to exact specifications. A small awl helps in positioning the leaves during the resin or wax dipping process without introducing oils from your fingertips to the surface. Finally, keep a stack of unbuffered, acid free blotting paper nearby to manage the capillary action of moisture wicking away from the veins.
THE TEMPO
The "Maker's Rhythm" for this project is dictated by the biological clock of the plant material. Phase one is the immediate collection and stabilization, which takes about two hours of active field work. Once you return to the studio, the initial pressing and moisture extraction phase requires a slow, steady duration of seven to ten days. You cannot rush the evaporation rate; if you apply too much heat or pressure too quickly, the cell walls will rupture, leading to browning and loss of structural integrity. The final sealing or mounting phase takes another three hours of focused detail work. Total project time spans roughly two weeks from the first forest walk to the final display. This tempo allows the tannins to stabilize and the colors to set permanently.
THE CORE METHOD
1. Specimen Selection and Hydration Control
The first step begins in the field. You must select leaves that are in the peak of their color transition but still retain a high degree of tensile strength. Avoid leaves with black spots, which indicate fungal growth that will rot your entire batch. Once collected, place them immediately between sheets of parchment paper to prevent curling.
Mastery Tip: Understand that turgor pressure is what keeps a leaf flat. As soon as a leaf is detached from the branch, it begins to lose water. By placing it in a cool, dark container immediately, you slow down the metabolic rate and preserve the vividness of the anthocyanins.
2. The Glycerin Submersion Process
Create a solution of two parts water to one part vegetable glycerin. Heat the mixture until it is nearly boiling to ensure the molecules are agitated and ready to penetrate the leaf's cuticle layer. Submerge the stems of the leaves or the entire leaf body if you want a supple, leather like texture.
Mastery Tip: This process relies on osmotic pressure. The glycerin molecules are larger than water molecules; as the water evaporates from the leaf, the glycerin moves in to fill the voids in the cellular structure, preventing the leaf from becoming brittle.
3. Precision Pressing and Alignment
If you prefer a flat, paper like finish, use a dedicated flower press. Arrange your leaves on the blotting paper, ensuring no two specimens overlap. Use your bone folder to gently press the edges flat against the substrate. Tighten the bolts of the press evenly, using your calipers to check that the pressure is uniform across all four corners.
Mastery Tip: Uniform pressure is vital to prevent warping. If one side of the press is tighter than the other, the moisture will migrate unevenly, causing the leaf to ripple as it dries.
4. Surface Sealing and Finishing
Once the leaves are dry or stabilized, you must seal them to prevent oxidation. Use an acrylic spray or a thin layer of microcrystalline wax. Apply the sealant in thin, even coats to maintain the tactile definition of the leaf veins.
Mastery Tip: Pay attention to surface tension when applying liquid sealants. If the sealant is too thick, it will bead up on the waxy cuticle of the leaf. A light misting ensures the coating bonds at a molecular level without obscuring the fine details.
THE TECHNICAL LEDGER
Maintenance & Longevity: To keep your preserved art from fading, display it away from direct UV light. UV rays break down the chemical bonds of the pigments. A light dusting with a soft brush every few months is all the maintenance required.
Material Variations: For a premium approach, use heavy 300gsm watercolor paper as a mounting base. For a sustainable version, use recycled cardboard and homemade cornstarch paste for mounting, though be aware that organic glues can sometimes attract pests.
The Correction:
- The Problem: Leaves turning brown in the press. The Fix: Your blotting paper is saturated. Replace the paper every 24 hours for the first three days to increase the wicking efficiency.
- The Problem: Glycerin treated leaves feel sticky. The Fix: The humidity in your studio is too high. Move the specimens to a climate controlled room with a dehumidifier to set the glycerin.
- The Problem: Leaves shattering when handled. The Fix: The specimen was too dry before processing. Rehydrate the leaf in a humidity chamber before attempting to press or coat it.
Studio Organization: Store your completed leaves in flat, galvanized steel flat files or acid free archival boxes. Use glassine separators between each layer to prevent the surfaces from sticking or transferring oils.
THE FINAL REVEAL
Look at that! You have successfully hacked the biological cycle of the forest. The result is a stunning collection of autumn foliage that looks as vibrant as the day you found it, but with the structural durability of a professional art piece. The colors are deep and saturated; the textures are crisp and defined. You have moved beyond simple crafting into the realm of botanical preservation. These leaves are no longer just debris; they are high fidelity records of the season, ready to be framed, bound into a book, or used in a mixed media installation. Your studio now smells like earth and glycerin, the scent of a job well done.
STUDIO QUESTIONS
How do I keep the leaves from curling?
Curling happens due to uneven moisture loss. Ensure you use heavy, even pressure in a press and replace your blotting paper frequently to maintain a consistent evaporation rate across the entire surface of the leaf.
Can I use a microwave to speed up the process?
Yes, but use caution. Microwaving uses electromagnetic radiation to vibrate water molecules, which can rupture cell walls. Use short bursts and always place the leaves between two heavy ceramic tiles to maintain flatness.
What is the best glue for mounting preserved leaves?
A pH neutral, archival quality PVA glue is best. It provides a strong bond without acidic compounds that would cause the leaf to degrade over time. Apply it sparingly with a fine brush to the primary veins.
Why did my glycerin leaves turn dark?
Darkening occurs if the glycerin solution is too concentrated or if the leaves were left in the solution too long. This causes the tannins to over saturate, resulting in a deep brown or burgundy hue rather than bright orange.

