
Close your eyes and listen to the sound of a steel blade slicing through a thick slab of vegetable-tanned leather. It is not just a cut; it is a conversation between the edge and the grain. When you hold a raw material in your hands, you are engaging with a physical history that machines simply cannot decode. This is why hand work is the only path forward for those of us obsessed with quality. We are entering the era of The Sustainable Future Craft, where the longevity of an object is determined by the soul and precision of the maker. In a world of planned obsolescence, the tactile feedback of a hand-stitched seam or a hand-planed surface provides a level of structural integrity that an assembly line cannot replicate. You feel the density of the fibers and the way the material resists or yields to your touch. This sensory data allows you to adjust your pressure in real time, ensuring that every millimeter of the piece is optimized for durability and aesthetic grace.
THE STUDIO KIT
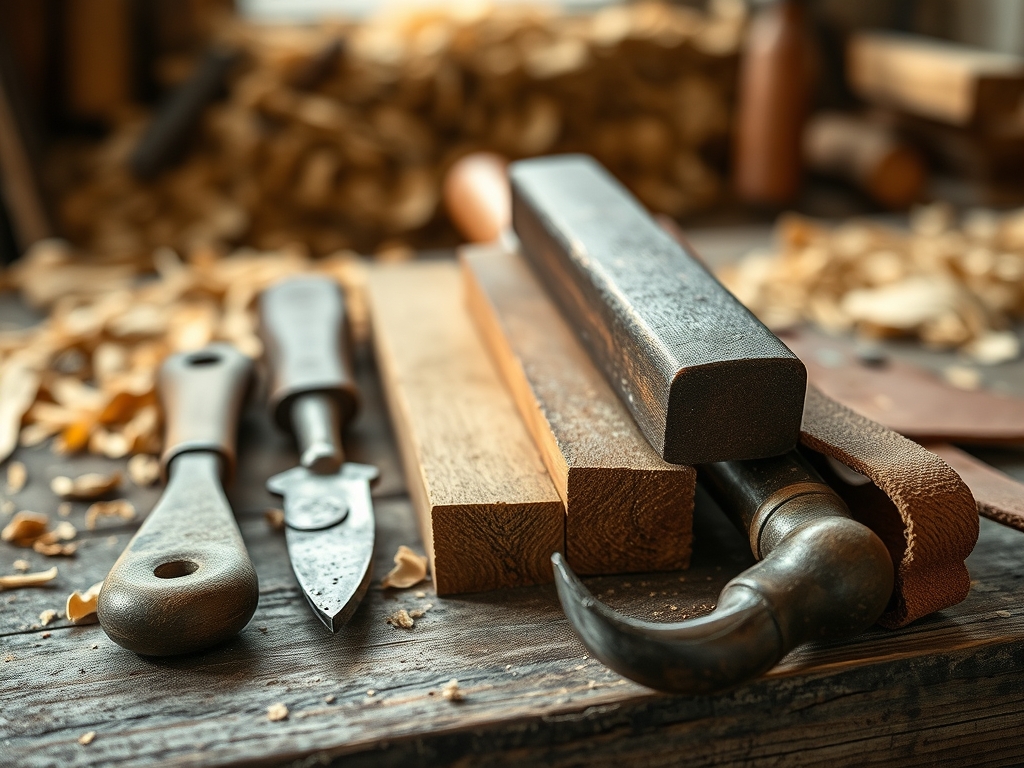
To master this craft, you need a kit that respects the physics of your medium. We start with a high-carbon steel round knife for fluid, curved cuts and a set of digital calipers to measure the exact thickness of your hide or wood down to the micron. You will also need a bone folder for crisp, permanent creases and a diamond-tipped awl to pierce through dense fibers without tearing the surrounding cellular structure. For those working with textiles, a rotary cutter with a tungsten carbide blade ensures that you do not distort the weave of the fabric during the layout phase.
Material selection is where the science truly begins. We look for porous surfaces that allow for deep penetration of oils and waxes. If you cannot source premium grade-A hides, consider Material Substitutions like cork leather or recycled ocean plastics. While these have different tensile strengths, they offer a fascinating challenge in terms of how they respond to heat and friction. Always check the gauge of your thread or wire; a mismatch in diameter can lead to premature failure of the joint under mechanical stress.
THE TEMPO
The "Maker's Rhythm" is not about speed; it is about the synchronization of breath and motion. You cannot rush the curing time of a natural adhesive or the absorption rate of a finishing oil. Typically, the preparation phase takes approximately four hours of focused layout and marking. This is followed by the construction phase, which can span twelve to twenty hours depending on the complexity of the internal architecture.
During this time, you enter a flow state where your internal clock aligns with the physical properties of the project. If you are burnishing an edge, you must wait for the exact moment when the friction-generated heat begins to liquefy the fibers just enough to seal them. Pushing too fast creates uneven burnish marks, while moving too slow fails to generate the necessary thermal energy. This temporal awareness is what separates a hobbyist from a master of The Sustainable Future Craft.
THE CORE METHOD
1. The Precision Layout
Before the first cut, you must map the grain direction of your material. In leather, the grain runs parallel to the spine, offering the highest tensile strength and the least amount of stretch. Use your calipers to mark your stitch lines with a tolerance of less than 0.5mm.
Mastery Tip: Understand that materials are anisotropic, meaning their physical properties change depending on the direction of the force applied. By aligning your structural seams with the natural grain, you prevent the piece from warping over years of heavy use.
2. The Controlled Piercing
When using your awl, the angle of entry is critical. You must maintain a consistent 45-degree pitch to ensure that the thread sits flush against the surface. This creates a "locking" effect where each stitch supports the next, preventing a total unraveling if one thread is eventually compromised.
Mastery Tip: This technique relies on capillary action. When you lubricate your thread with natural beeswax, the wax fills the microscopic voids in the fiber, creating a waterproof seal that protects the interior of the material from rot and oxidation.
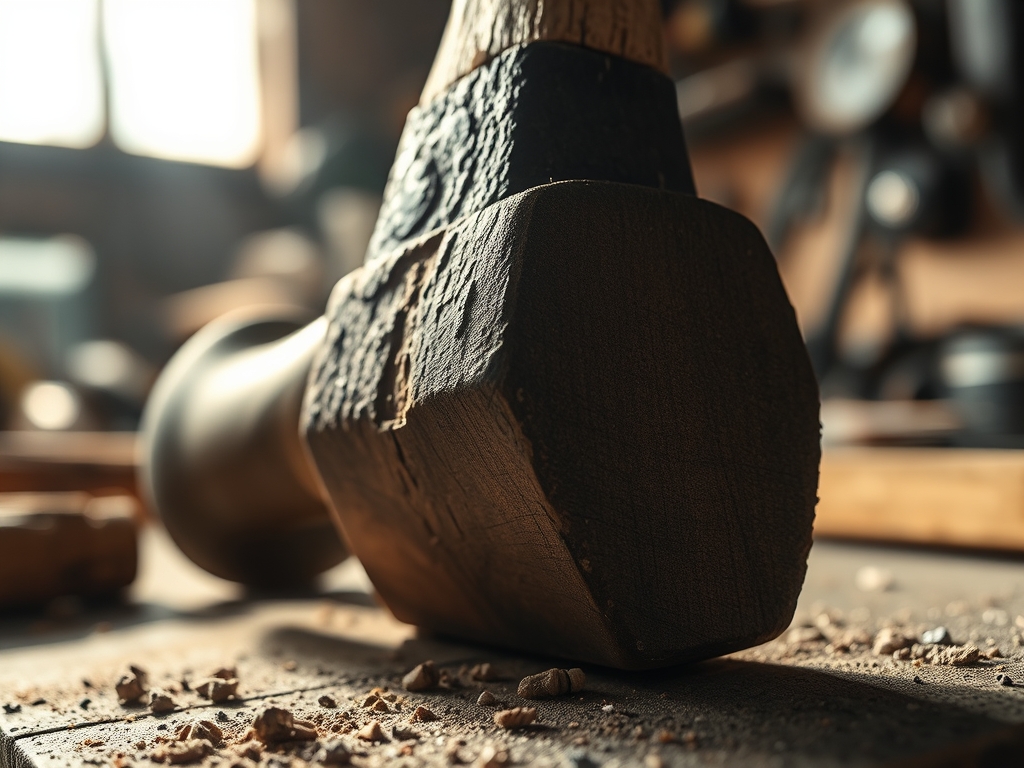
3. The Thermal Burnish
The final edge finish is achieved through friction. Using a wooden slicker, you apply rapid, consistent pressure to the edges. The goal is to reach a temperature where the natural proteins in the material begin to fuse together, creating a glass-like surface that is impervious to moisture.
Mastery Tip: This is a demonstration of surface tension. By compressing the fibers into a dense, smooth plane, you reduce the surface area available for environmental contaminants to cling to, effectively increasing the lifespan of the object by decades.
THE TECHNICAL LEDGER
Maintenance & Longevity: To keep your piece in peak condition, apply a pH-neutral conditioner every six months. This restores the internal lipids that prevent the fibers from becoming brittle. Avoid synthetic sprays that contain silicone, as they clog the pores and trap moisture inside the structure.
Material Variations:
- Sustainable: Organic hemp canvas or vegetable-tanned leathers using mimosa bark extracts.
- Recycled: Repurposed industrial felt or salvaged hardwoods with a high Janka hardness rating.
- Premium: Full-grain bridle leather or long-staple Egyptian cotton with a high thread count.
The Correction:
- The Over-Cut: If you slice past your mark, use a high-strength cyanoacrylate adhesive applied with a needle to fuse the fibers back together before the stress of stitching pulls them apart.
- The Uneven Stitch: If your tension is inconsistent, use a bone folder to massage the thread into the groove, redistributing the slack across the entire seam.
- The Scorched Edge: If friction creates a dark burn mark, stop immediately. Use a fine-grit sandpaper (400+) to remove the carbonized layer and re-hydrate the area with a drop of distilled water before resuming.
Studio Organization: Store your raw materials in a climate-controlled environment with a relative humidity of 45 percent. Use vertical racks to prevent "pressure flatting" of the fibers. Tools like your jeweler's saw or oscillating tool should be wiped with a light coat of machine oil to prevent surface oxidation.
THE FINAL REVEAL
Look at that finish! The way the light catches the burnished edge is nothing short of a scientific miracle. This piece is not just an accessory; it is a high-performance tool engineered to outlast its owner. Because you took the time to understand the tensile strength and the molecular bonding of your materials, you have created something that defies the modern "throwaway" culture. The weight feels substantial in your hand, the seams are perfectly aligned, and the smell of high-quality organic materials fills the room. This is the pinnacle of The Sustainable Future Craft. You did not just make a product; you mastered a process.
STUDIO QUESTIONS
What is the best way to prevent leather from stretching?
Always cut your structural pieces parallel to the spine of the hide. This orientation utilizes the natural grain direction where the fiber density is highest, providing maximum resistance to mechanical deformation and ensuring the piece maintains its original dimensions over time.
How do I choose the right thread gauge?
The thread should occupy approximately 70 percent of the hole created by your awl. If the thread is too thin, it will cut through the material; if it is too thick, the surface tension will cause the material to pucker.
Can I use synthetic glues for sustainable projects?
While synthetic glues offer high immediate bond strength, they often lack the porous breathability of natural adhesives like rabbit skin glue or starch paste. For a truly sustainable build, stick to biodegradable options that allow for future repairs and disassembly.
Why is my burnishing not turning out shiny?
You likely have too much moisture in the material or are not generating enough friction-based heat. Ensure the edge is slightly damp but not soaked, then increase your stroke speed with the bone folder to reach the necessary thermal threshold for fusion.

