
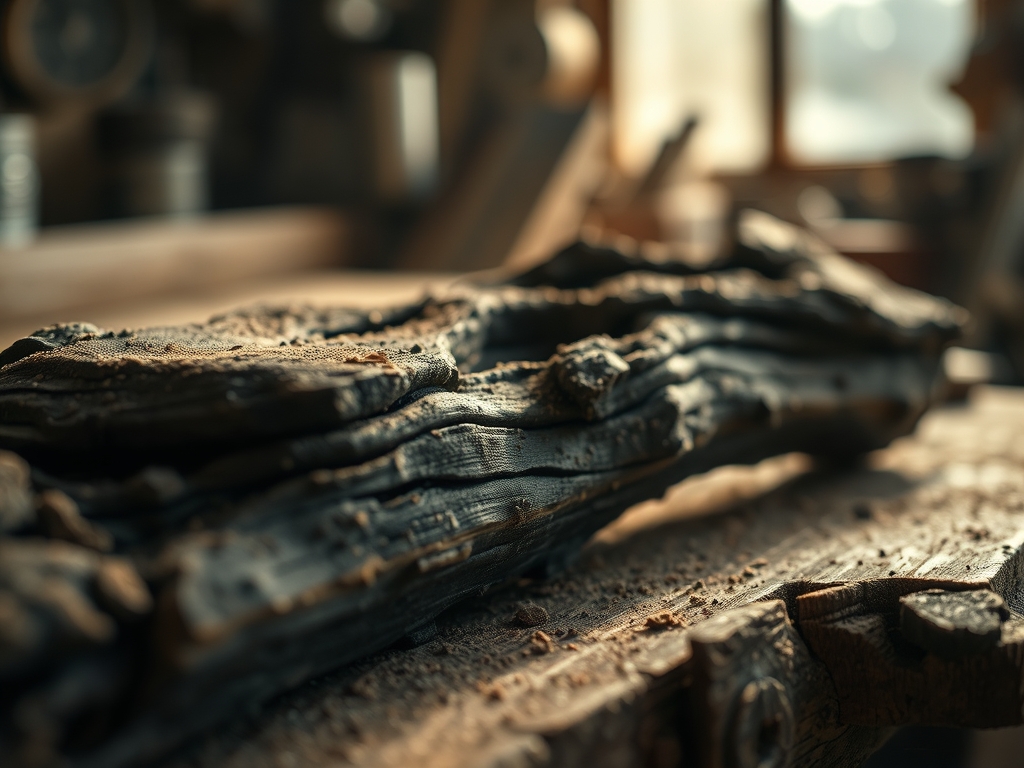
Imagine the smell of damp earth and cedar oil clinging to your clothes as you step into the woodshop. There is a specific, electric thrill in finding a piece of silvered oak that has been curing in the elements for years. We are not here to fell giants. Instead, we are Foraging For Dead Wood to find materials that have already surrendered their moisture to the atmosphere. When you pick up a branch that has naturally shed its bark, you are holding a specimen with a unique lignin structure that has been stabilized by seasonal cycles. The weight is deceptive; it feels hollow yet possesses a tensile strength that green wood simply cannot match. As you run your thumb over the grain, you can feel the ridges where the softer springwood has eroded, leaving behind a dense, skeletal map of the tree's history. This is the ultimate sustainable craft. We are taking what the forest has already discarded and transforming it into something with high-end, structural permanence. It is tactile, it is gritty, and it is scientifically fascinating.
THE STUDIO KIT
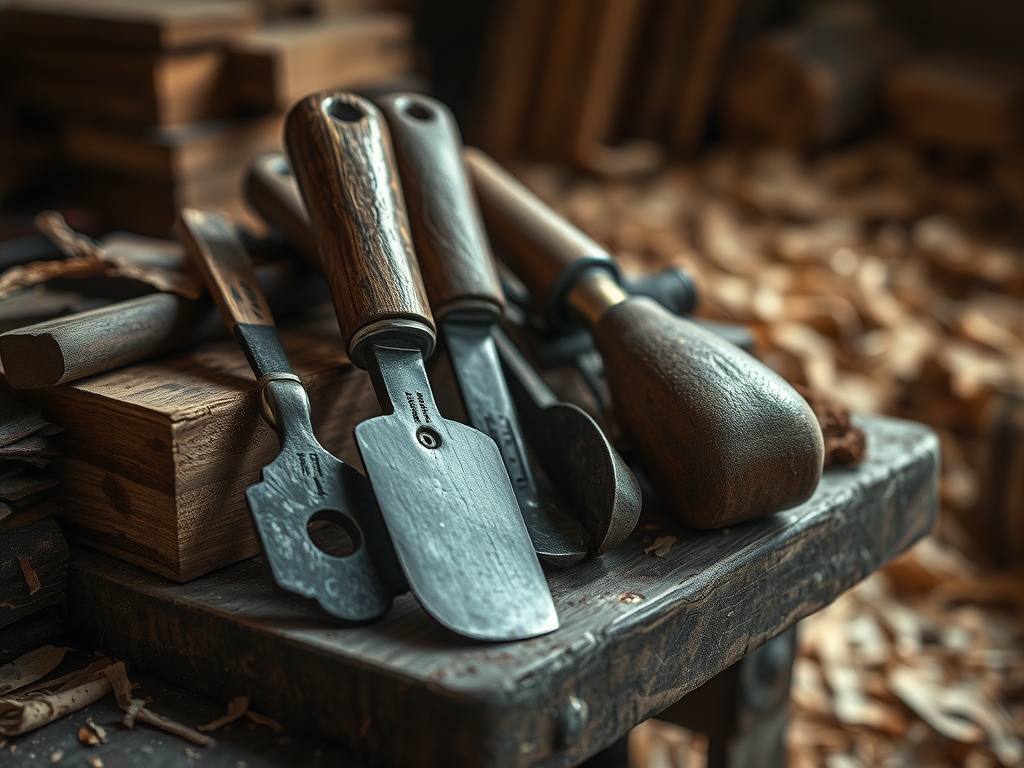
To master the art of working with found timber, your workbench needs more than just a standard hammer. You need precision instruments that respect the porous nature of aged cellulose.
- Digital Calipers: Essential for measuring the diameter of irregular branches to ensure they fit your hardware or joinery.
- Japanese Pull Saw: Unlike Western saws, these cut on the pull stroke, allowing for a thinner blade and a much narrower kerf, which prevents shattering brittle, dry fibers.
- Abrasive Mesh Sheets: Use these instead of standard sandpaper. The open weave prevents "clogging" from the fine, powdery dust characteristic of deadwood.
- Linseed Oil or Tung Oil: These penetrate the capillary pathways of the wood to provide deep-tissue hydration without causing the wood to swell or warp.
- Steel Wool (0000 Grade): Used to burnish the surface to a high-gloss finish after oiling.
Material Substitutions: If you cannot find hardwood like oak or maple, look for seasoned fruitwoods from local orchards. Avoid "punky" wood that crumbles under pressure; this indicates that fungal degradation has compromised the cellulose bonds, making it structurally unsound for load-bearing projects.
THE TEMPO
The "Maker's Rhythm" for foraged wood is dictated by the material's equilibrium moisture content. You cannot rush the stabilization process.
- The Extraction (2 Hours): This involves the physical act of Foraging For Dead Wood and transporting it. You are looking for pieces that are "bone dry" to the touch.
- The Acclimatization (48 Hours): Even dead wood needs to sit in your studio to adjust to the indoor humidity levels. This prevents the wood from cracking once you start cutting.
- The Refinement (3 Hours): This is the active phase of sawing, sanding, and shaping.
- The Curing (24 Hours): After applying oils or waxes, the wood needs a full day for the polymers to harden within the grain.
THE CORE METHOD
1. Assessing Structural Integrity
Before you bring a branch to the saw, perform a "stress test." Apply firm pressure across the grain. If the wood flexes and returns to its shape, the internal fibers are still intact. If it snaps cleanly with a sharp sound, it is perfect for carving. If it bends and stays bent, or crumbles into dust, it is too far gone.
Mastery Tip: The science of structural integrity in dead wood relies on the ratio of lignin to cellulose. Lignin acts as the "glue" that keeps the fibers together. In dead wood, the moisture has evaporated, leaving the lignin in a hardened, glass-like state.
2. Debarking and Cleaning
Use a drawknife or a sturdy chisel to remove any remaining bark. Bark is a haven for moisture and insects, both of which will ruin your project. Once the bark is removed, use an oscillating tool with a soft brush attachment to clear out the debris from the deep furrows of the grain.
Mastery Tip: Removing the bark exposes the cambium layer. By cleaning this surface thoroughly, you prevent capillary action from drawing moisture back into the wood during the finishing process, which could lead to rot.
3. Precision Sanding and Shaping
Start with a coarse 80-grit mesh and move up to 400-grit. Because dead wood is more brittle than green wood, you must sand in the direction of the grain to avoid "tear-out." Use your digital calipers frequently to ensure you aren't removing too much material if you are aiming for a specific gauge.
Mastery Tip: Sanding creates friction, which generates heat. Excessive heat can cause the dry fibers to "glaze," making it difficult for oils to penetrate. Work in short bursts to keep the surface tension low.
4. The Oil Infusion
Apply your chosen oil with a lint-free cloth. Watch as the wood "drinks" the liquid. This is the most satisfying part of the process, as the oil brings out the hidden amber and charcoal tones of the weathered wood. Let it sit for twenty minutes, then wipe away the excess.
Mastery Tip: The oil fills the micro-pores left behind by evaporated water. This creates a hydrophobic barrier, preventing the wood from absorbing atmospheric moisture and expanding, a process known as hygroscopic movement.
THE TECHNICAL LEDGER
Maintenance & Longevity
To keep your foraged pieces in gallery condition, avoid placing them in direct sunlight or near heat vents. Extreme temperature shifts cause the wood to expand and contract rapidly, leading to checking (small surface cracks). Re-apply a light coat of beeswax every six months to maintain the burnished sheen.
Material Variations
- Sustainable: Driftwood found on riverbanks is often pre-bleached by the sun and smoothed by water, requiring less sanding.
- Recycled: Old fence posts made of cedar or redwood offer a rustic, high-density alternative to forest finds.
- Premium: Rare "burl" sections found on dead stumps provide intricate, swirling grain patterns that are highly prized in woodworking.
"The Correction": Common Mistakes
- The Mistake: The wood cracks after cutting. The Fix: You likely cut into a section with high internal tension. Use a cyanoacrylate adhesive (super glue) mixed with fine wood dust to fill the crack; it creates a bond stronger than the wood itself.
- The Mistake: The finish looks blotchy. The Fix: This happens when some areas are more porous than others. Apply a "sanding sealer" before your final oil coat to even out the absorption rate.
- The Mistake: Hidden pests emerge. The Fix: If you see small holes or "frass" (sawdust), place the wood in a kiln or a low-temperature oven (150 degrees Fahrenheit) for three hours to neutralize any larvae.
Studio Organization
Store your foraged finds on a raised rack to allow for 360-degree airflow. Never store wood directly on a concrete floor, as concrete wicks moisture upward, which can lead to mold growth on the bottom of your specimens.
THE FINAL REVEAL
Look at that! You have taken a piece of "trash" from the forest floor and turned it into a museum-quality artifact. The finished piece should feel incredibly smooth, almost like polished stone, but with the warmth that only organic material can provide. The grain should pop with a high-contrast clarity that tells the story of every storm that tree survived. By Foraging For Dead Wood, you aren't just making a "thing"; you are performing a rescue mission for the forest's hidden gems. It is smart, it is sustainable, and frankly, it looks expensive.
STUDIO QUESTIONS
Is all dead wood safe to use for crafting?
Not necessarily. Avoid wood with soft, spongy sections or visible white mold, as these indicate fungal decay. Also, ensure the wood hasn't been treated with pesticides if you found it near a managed trail or farm.
How do I know if the wood is dry enough?
The most accurate way is using a moisture meter. For indoor furniture, you want a reading between 6% and 8%. If you don't have a meter, the wood should feel room-temperature, not cool, to the touch.
Can I use foraged wood for kitchen utensils?
Only if the species is non-toxic (like maple or cherry) and you seal it with food-grade mineral oil. Avoid mystery woods or those from trees known to have irritating sap, like oleander or certain pines.
What is the best tool for fine details on foraged wood?
A jeweler's saw or a high-quality rotary tool with carbide burrs is best. Because dead wood is brittle, these tools allow for high-speed, low-pressure removal of material, which prevents the grain from splintering or shattering during intricate work.

