Imagine the scent of freshly planed cedar mixed with the sharp, metallic tang of cold-pressed steel. There is a specific vibration that travels up your arm when a chisel bites into a knot; it is a grounding, electric shock that demands your absolute presence. I found my sanity at the workbench because Healing Through Hand Work is not just a hobby; it is a neurological recalibration that forces the brain to sync with the physical world. When my life felt like a series of intangible digital glitches, the resistance of a heavy-gauge copper wire or the stubborn grain of oak provided the friction I needed to stop sliding.
Crafting is the ultimate antidote to the burnout of the modern age. It requires you to respect the inherent laws of physics, from the tensile strength of a fiber to the thermal conductivity of a soldering iron. You cannot rush a chemical cure time or force a blade through a material it was not designed to cut. This forced patience creates a meditative state where the only thing that matters is the microscopic alignment of your tools. In this studio, we do not just make objects; we rebuild our internal structures by mastering the external ones.
THE STUDIO KIT
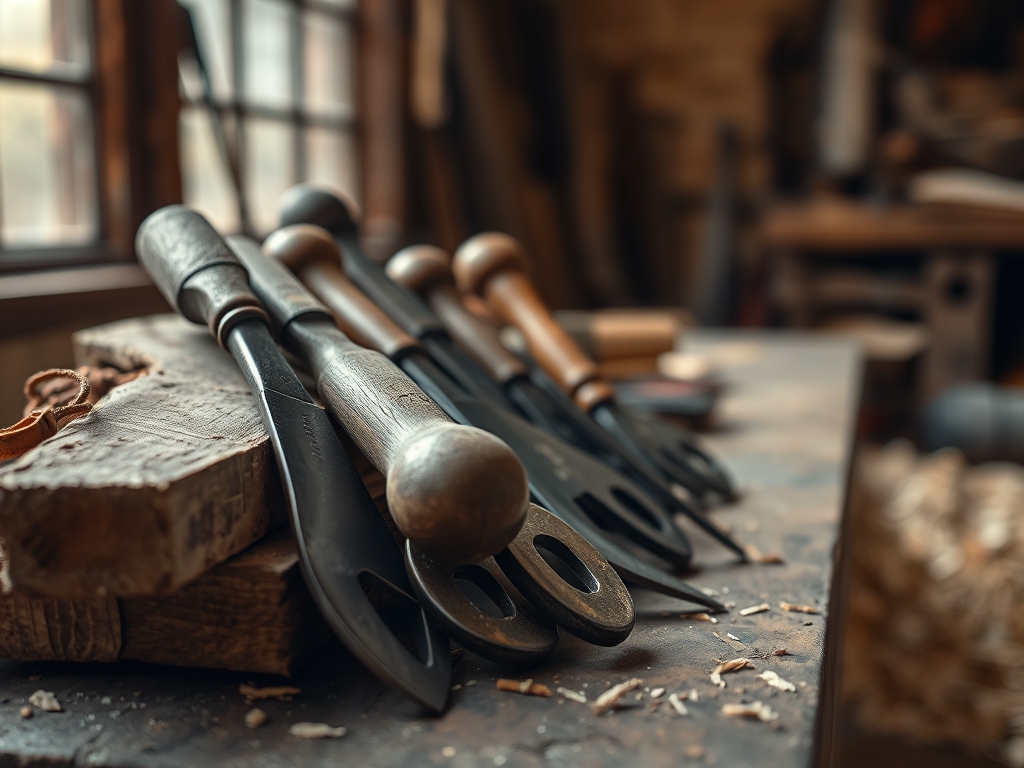
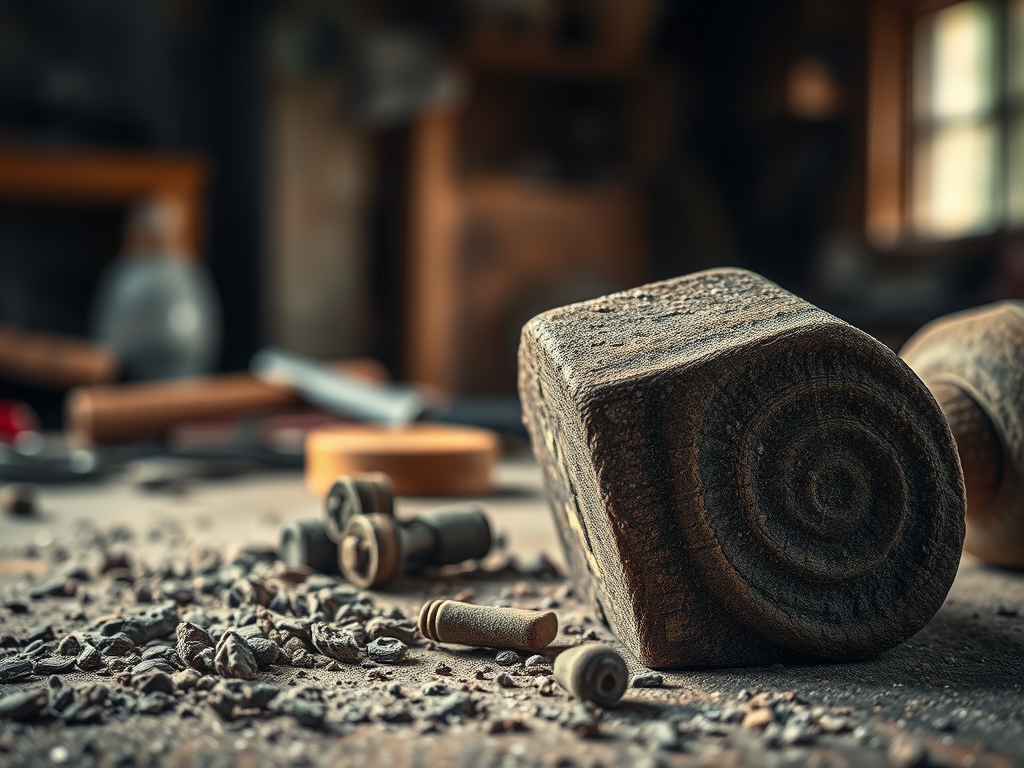
To begin this journey, you need a kit that respects the structural integrity of your medium. We are focusing on a hybrid project involving leather and wood, requiring tools that bridge the gap between organic and rigid textures. You will need a high-quality bone folder for crisp creases, a set of digital calipers for sub-millimeter precision, and a diamond-point awl for piercing through high-density hides. For the wooden base, an oscillating tool with a fine-grit sanding attachment is non-negotiable for achieving a professional finish.
The materials themselves carry specific technical properties. We are using vegetable-tanned leather, which is highly porous and reactive to moisture, allowing for permanent shaping. The wood should be a tight-grained hardwood like maple to ensure it does not splinter under the pressure of the fasteners.
Material Substitutions: If you cannot source maple, birch is a suitable alternative due to its similar Janka hardness rating. If leather is not your style, a high-density heavyweight canvas can work, though you must account for its lower tensile resilience by doubling the hem thickness. Always check the gauge of your hardware; using a screw that is too large for the pilot hole will cause internal stress fractures in the wood fibers, ruining the piece.
THE TEMPO
The "Maker's Rhythm" is a biological clock that ticks in sync with your materials. This project requires a total of twelve hours, but it is broken into distinct phases that allow for psychological decompression. The first phase is the Acclimation Period (2 hours), where you measure, mark, and prep. This is the most cognitive part of the process, requiring high focus to ensure your kerf allowances are accurate.
The second phase is the Mechanical Execution (6 hours). This is where the repetition of sanding, stitching, or carving takes over. This phase induces a "flow state" because the motor cortex is engaged in rhythmic, predictable movements. Finally, the Curing and Finishing phase (4 hours) involves applying oils or waxes. This is the slowest part, as you must wait for the capillary action of the wood or leather to draw the finish deep into the fibers. Rushing this stage leads to a superficial coat that will peel or crack over time.
THE CORE METHOD
1. Precision Mapping and Caliper Calibration
Before a single cut is made, you must map your project with absolute accuracy. Use your digital calipers to measure the thickness of your material at three different points. Natural materials vary in density; leather is often thinner at the flank than the shoulder.
Mastery Tip: Always account for the hygroscopic nature of organic materials. Wood and leather expand and contract based on ambient humidity. By leaving a 0.5mm tolerance in your joints, you prevent the material from buckling when the seasons change.
2. The Pilot Hole and Fiber Management
When joining wood to leather, you must create a path for your fasteners. Using a drill bit that matches the shank diameter of your screw, create pilot holes. This prevents the wood fibers from being pushed aside with such force that they split the grain.
Mastery Tip: This is all about displacement physics. A pilot hole removes material rather than just pushing it out of the way, which maintains the structural tension of the surrounding wood cells without exceeding their breaking point.
3. Burnishing the Edges for Longevity
Raw edges are the enemy of durability. Use a wooden burnisher and a small amount of tragacanth gum to friction-fit the fibers of your leather edges together. The heat generated by the friction causes the protein fibers to fuse, creating a smooth, hard surface.
Mastery Tip: This process utilizes thermodynamics. The heat from the friction melts the natural waxes within the leather, sealing the porous edge against moisture and preventing the "fuzzing" that occurs as the fibers break down over time.
4. Tension-Balanced Stitching
If your project involves hand-sewing, you must maintain consistent tension on every loop. Use a "saddle stitch" with two needles passing through the same hole in opposite directions. This creates a locking mechanism that will not unravel even if one thread is cut.
Mastery Tip: This technique relies on friction-locking. By crossing the threads, you create a mechanical bind where the thread's own surface friction holds the stitch in place, distributing the load evenly across the entire seam.
THE TECHNICAL LEDGER
Maintenance & Longevity: To keep your piece in peak condition, apply a pH-neutral leather conditioner every six months. This replenishes the oils lost to evaporation, keeping the fibers supple. For the wood, a light buffing with beeswax will maintain the hydrophobic barrier, preventing water spots.
Material Variations:
- Sustainable: Use reclaimed heart pine and cork "leather" for an eco-friendly build.
- Premium: Upgrade to Grade-A English Bridle leather and walnut for a high-contrast, luxury aesthetic.
The Correction:
- Mistake 1: The wood split during assembly. Fix: Use a cyanoacrylate adhesive (super glue) mixed with fine sawdust to fill the crack, then re-drill a larger pilot hole.
- Mistake 2: The leather is too stiff to bend. Fix: Lightly mist the "flesh side" (the fuzzy back) with distilled water to increase elasticity before shaping.
- Mistake 3: Uneven finish on the wood. Fix: Use a cabinet scraper to remove the top layer of finish without clogging the pores like sandpaper would, then reapply.
Studio Organization: Store your materials in a climate-controlled environment with 40 to 50 percent humidity. Leather should be stored flat to prevent permanent creasing, while wood should be "stickered" (stacked with spacers) to allow airflow and prevent warping.
THE FINAL REVEAL
There is a profound sense of triumph when you hold the finished piece. It has weight, it has texture, and it possesses a structural integrity that you engineered with your own hands. The leather feels warm and responsive; the wood is cool and steadfast. This object is a physical manifestation of your ability to focus, solve problems, and create beauty from raw, chaotic elements. When you look at it, you don't just see a craft; you see the hours where you were perfectly in sync with the world.
STUDIO QUESTIONS
Why does hand work feel so relaxing?
Hand work triggers the "effort-driven rewards circuit" in the brain. By using your hands to produce an object, you release neurochemicals like dopamine and serotonin, which naturally reduce stress and improve your overall mood and cognitive function.
What is the most important tool for a beginner?
A high-quality cutting tool, like a rotary cutter or a sharp Japanese marking knife, is essential. Clean cuts reduce material waste and ensure that your joints and seams align perfectly, which is the foundation of structural integrity.
How do I prevent my wood from warping?
Always seal all sides of the wood, including the parts that will be hidden. This ensures that moisture absorption is even across the entire piece, preventing the uneven expansion and contraction that leads to bowing or twisting.
Can I use any glue for leather-to-wood bonds?
No, you should use a contact cement. Unlike standard wood glue, contact cement remains slightly flexible after it cures, allowing the leather to move and breathe without snapping the adhesive bond over time.
How do I know if my leather is high quality?
Look for "full-grain" labels. This means the epidermal layer is intact, providing the highest tensile strength and the ability to develop a beautiful patina. Avoid "bonded leather," which is just shredded scraps glued together.