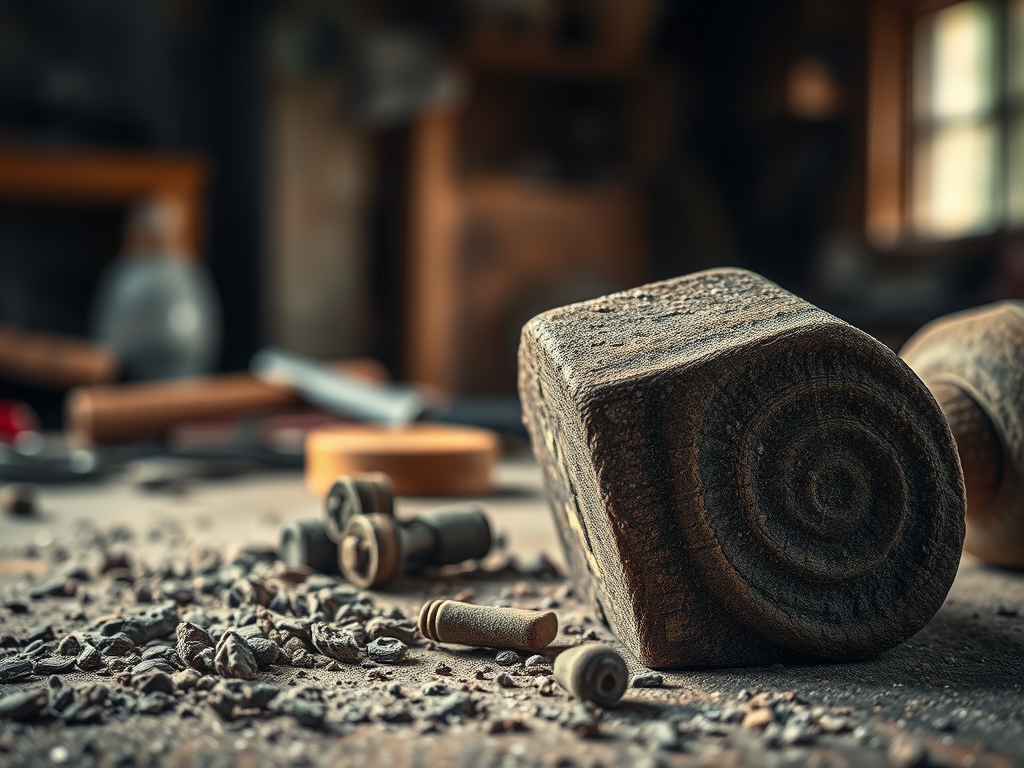
Imagine the sharp, cold bite of a mountain stream against your fingertips as you reach for a submerged piece of history. There is a specific, visceral thrill in Foraging For Woodworking Tools that retail therapy simply cannot replicate. You are not just looking for a rock; you are hunting for a specific mineral composition capable of realigning the molecular edge of a high carbon steel chisel. When you find the right stone, it feels dense and heavy for its size, possessing a homogenous grain structure that promises a consistent abrasion rate. This is where the physics of the shop meets the chaos of the wild. We are looking for sedimentary or metamorphic rocks with a high silica content, as these provide the "bite" necessary to shave away microscopic burrs. It is about the tactile feedback of the stone against the blade; a silent conversation between the earth and your edge.
THE STUDIO KIT
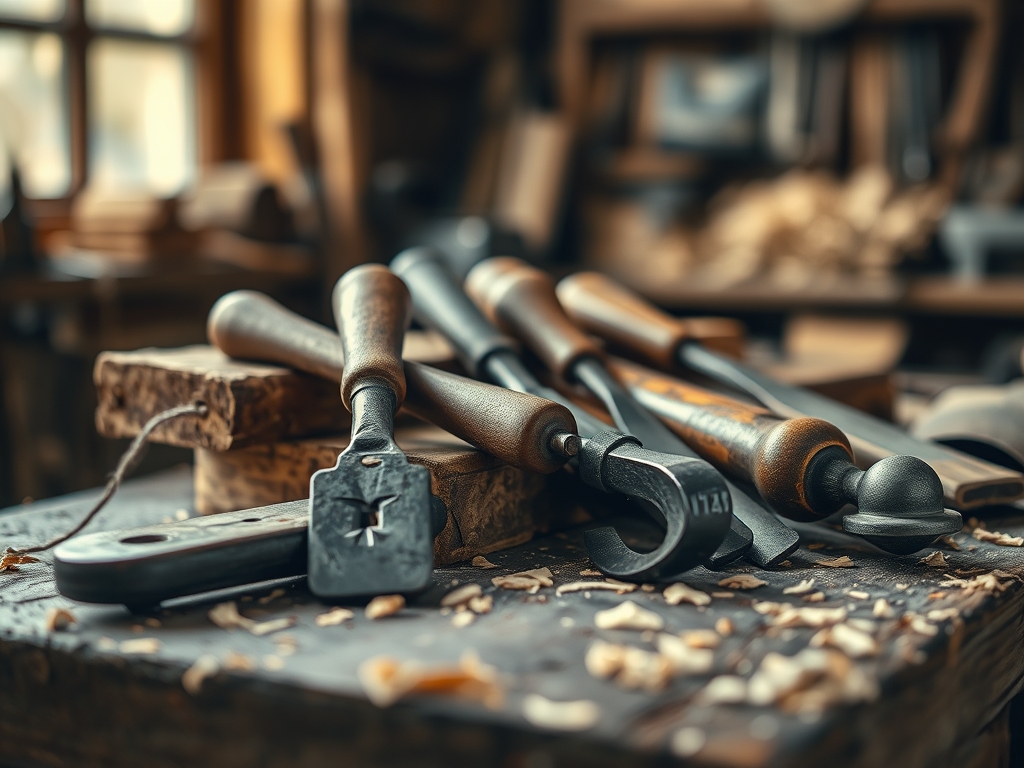
To transform a raw river find into a professional grade abrasive, your studio needs a few precision instruments. First, you will need a digital caliper to measure the flatness and thickness of your specimen; consistency is key to maintaining a proper sharpening angle. A diamond lapping plate or a coarse silicon carbide powder is essential for "lapping" the stone, which is the process of grinding it perfectly flat. For the foraging phase, carry a small spray bottle of water to reveal the stone's true color and porosity instantly.
Material Substitutions: If you cannot find a natural novaculite or slate, look for discarded ceramic tiles or even thick plate glass. While glass has no abrasive quality on its own, it acts as a perfect substrate for loose abrasive grits. For a natural lubricant, while many pros use refined mineral oil, you can substitute with a mixture of water and a drop of dish soap to break the surface tension, allowing the metal swarf to float away rather than clogging the stone's pores.
THE TEMPO
The "Maker's Rhythm" for creating a natural sharpening kit is divided into three distinct movements. The Discovery Phase takes the longest; expect to spend three to four hours hiking and testing stones for hardness using a "scratch test" with a pocket knife. If the knife easily carves a groove, the stone is too soft for tool steel.
The Refinement Phase requires about sixty minutes of focused, rhythmic labor. This is where you lap the stone flat. It is a meditative process where the sound shifts from a gritty crunch to a smooth hiss as the surface becomes level. Finally, the Curing Phase involves drying the stone slowly over twenty four hours to ensure no internal moisture causes thermal shock or cracking when you eventually apply honing oils.
THE CORE METHOD
1. The Hardness Appraisal
Before you lug a heavy bag of rocks home, perform a field test. Use a hardened steel file to strike the edge of the stone. If the file skips and leaves a metallic streak without gouging the rock, you have found a high density silicate.
Mastery Tip: This relates to the Mohs scale of mineral hardness. You are looking for a stone between 6 and 7. Anything softer will hollow out during use, ruining the flat geometry of your blade's primary bevel.
2. Squaring the Geometry
Once back in the studio, use an oscillating tool with a masonry blade to trim the stone into a manageable rectangular slab. This ergonomic shape allows for a consistent "X-pattern" stroke during the sharpening process.
Mastery Tip: By creating a rectangular footprint, you maximize the surface area contact. This ensures that the pressure applied by your hands is distributed evenly, preventing "dubbing" or rounding of the tool's edge.
3. Lapping the Surface
Place your stone on a flat workbench. Apply a slurry of silicon carbide grit and water. Using a circular motion, rub the stone against a diamond plate or a flat piece of granite. Periodically check the surface with your calipers and a straightedge.
Mastery Tip: This process utilizes capillary action to keep the abrasive slurry evenly distributed. A perfectly flat stone is the only way to achieve a "dead flat" back on a wood plane iron, which is the secret to those paper thin wood shavings.
4. The Final Burnish
After the stone is flat, you must smooth the grit. Use progressively finer sandpapers, ending at 1000 grit, to polish the stone's surface. This creates a "honing" surface rather than a "grinding" surface.
Mastery Tip: High grit polishing reduces the frictional coefficient. A smoother stone allows the steel to glide, meaning you are removing less material while aligning the microscopic "teeth" of the blade into a razor sharp line.
THE TECHNICAL LEDGER
Maintenance & Longevity: Natural stones are porous. After every session, wipe the stone down with a clean rag to remove "swarf" (the microscopic metal filings). If left to dry, this metal will rust inside the stone, effectively "glazing" it and rendering it useless.
Material Variations:
- Sustainable: Reclaimed slate from old roofing or billiard tables provides an incredible 8000-grit equivalent finish.
- Premium: Arkansas Novaculite is the gold standard, featuring a dense cryptocrystalline structure that never needs flattening.
- Recycled: Old spark plug insulators can be crushed and bonded to wood to create a ceramic sharpening "strop."
The Correction:
- Mistake: The stone feels "slick" and won't sharpen. Fix: The stone is glazed with old oil and metal. Re-lap the surface with coarse grit to open the pores.
- Mistake: The blade is getting a rounded edge. Fix: Your stone is not flat. Use a "pencil grid" test; draw lines on the stone and lap until they all disappear simultaneously.
- Mistake: The stone cracked. Fix: You likely used a "water stone" with oil. Never mix lubricants; the chemical interaction can weaken the tensile strength of the mineral bonds.
Studio Organization: Store your natural stones in a dedicated wooden box lined with felt. This prevents "clinking" which can cause micro-fractures. Keep them away from direct sunlight or heaters, as extreme temperature swings can cause the stone to delaminate along its natural grain lines.
THE FINAL REVEAL
There is nothing quite like the moment you take a chisel, dulled by hours of labor, and press it against a stone you pulled from the earth yourself. As you move the steel in a rhythmic dance, the "slurry" turns a dark grey, signaling that the stone is doing its job. After a final pass on a leather strop, the edge should be so keen it can shave the hair off your arm with zero resistance. You haven't just sharpened a tool; you have closed the loop between the natural world and your craft. The weight of the stone in your hand feels substantial, a permanent fixture of your studio that will likely outlast the very tools it maintains.
STUDIO QUESTIONS
How do I tell if a river stone is good for sharpening?
Perform a scratch test with a steel nail. If the nail leaves a silver mark without digging into the stone, the density is sufficient. Look for a uniform color and a fine, non-gritty texture to ensure a consistent sharpening surface.
Can I use any oil as a lubricant?
No, use only non-drying oils like mineral oil or honing oil. Vegetable oils will turn rancid and gummy over time, clogging the stone's pores and destroying its abrasive qualities. Water is a safe, clean alternative for most natural sedimentary stones.
How often should I flatten my natural stone?
Check for flatness every three to five uses. Place a straightedge across the surface; if you see light passing through the center, the stone is "dished." Lap it immediately to maintain the precision geometry required for professional woodworking.
What is the difference between a natural stone and a synthetic one?
Natural stones have irregular grit sizes that produce a "toothy" edge, which many woodworkers prefer for slicing wood fibers. Synthetic stones offer grit consistency but lack the unique tactile feedback and extreme longevity of a well-sourced natural mineral specimen.