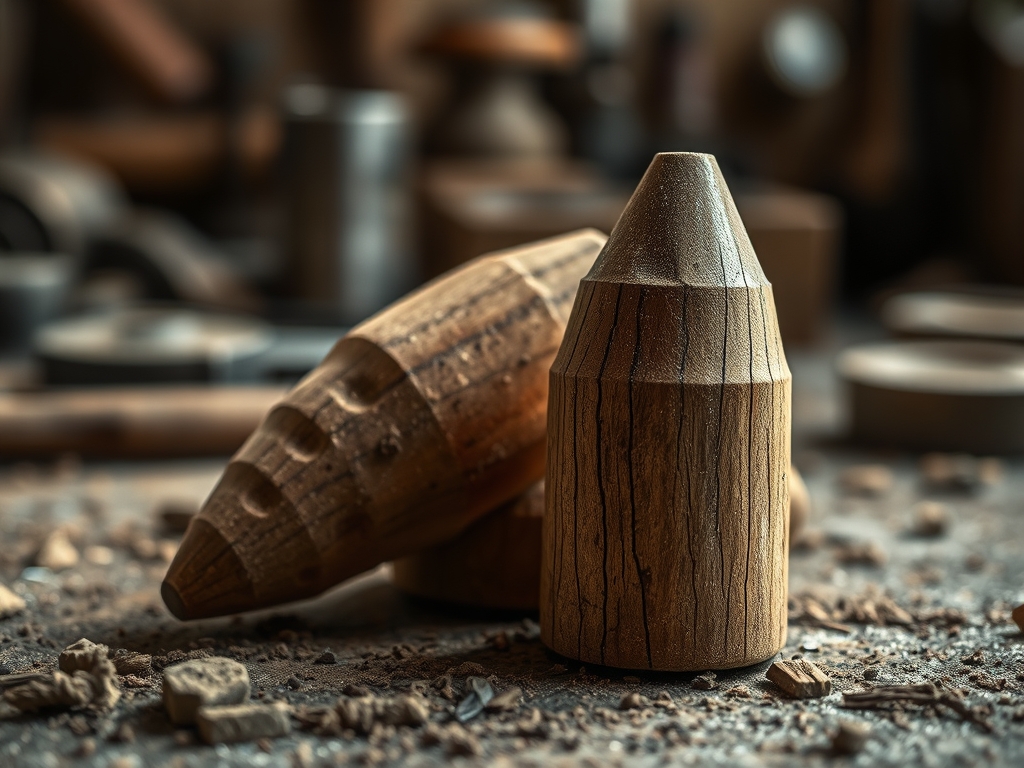
Imagine the scent of freshly planed hard maple filling your workshop; it is sweet, clean, and slightly toasted. When you run your thumb along the grain, you are feeling the vascular bundles of the wood, a complex network of cellulose and lignin that once transported nutrients. For any parent maker, the stakes are high because your client is a toddler who views every block as a teething biscuit. This is why Natural Finishing For Toys is not just an aesthetic choice; it is a critical safety protocol. We are dealing with porous substrates that can harbor bacteria or leach synthetic chemicals if not sealed correctly. By choosing edible, food grade oils, you are creating a barrier that is biologically inert and physically resilient. We want a finish that penetrates deep into the fibers rather than sitting on top like a plastic film. This ensures that even as the toy is dropped, chewed, and tossed, the protection remains part of the cellular structure of the wood itself. It is the ultimate fusion of organic chemistry and nursery safety.
THE STUDIO KIT
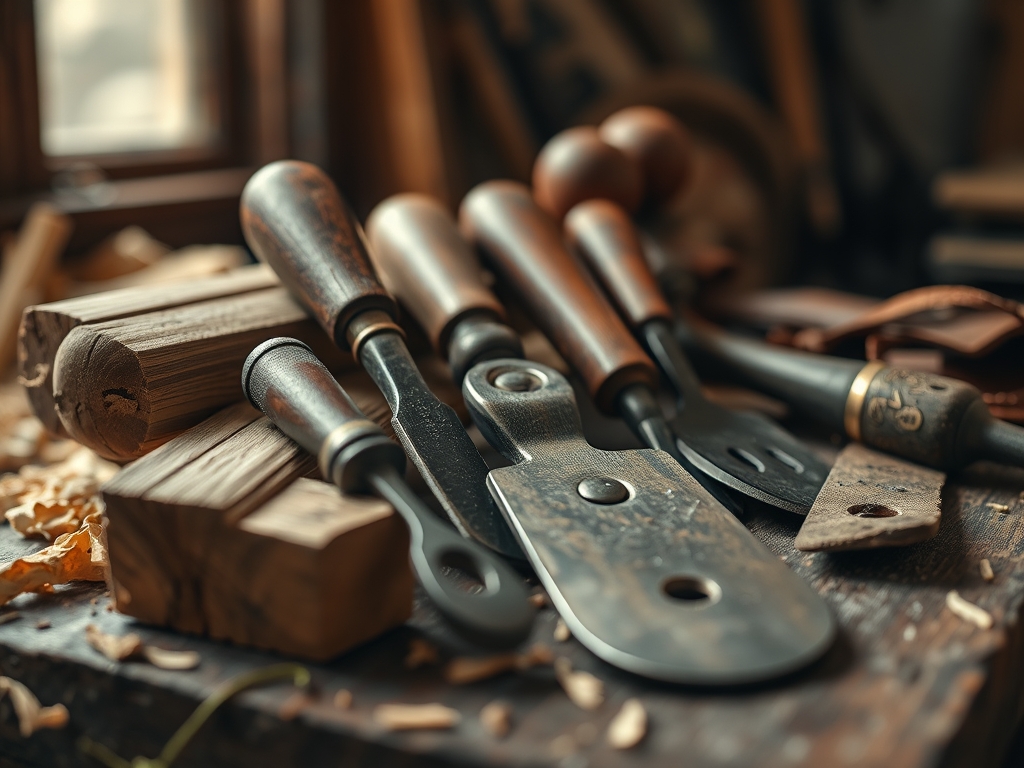
To achieve a professional grade finish, your workbench needs more than just a bottle of oil. You need tools that respect the tensile strength of the timber. Start with a set of digital calipers to measure the thickness of your toy components; consistency ensures that the oil absorbs evenly across all surfaces. You will need a high quality burnishing tool or a smooth bone folder to compress the wood fibers before the first coat. For application, skip the synthetic brushes and grab lint free linen rags or a natural bristle brush. The grit progression is your secret weapon; have sandpaper ranging from 120 up to 400 grit ready.
Material Substitutions: If you cannot find pure tung oil, which is prized for its polymerizing properties, you can substitute with fractionated coconut oil or pharmaceutical grade mineral oil. While mineral oil does not cure into a hard film, it is exceptionally stable and will not go rancid. For a vegan alternative to beeswax, use carnauba wax, which offers a higher melting point and a more durable tactile grip for tiny hands.
THE TEMPO
The "Maker's Rhythm" for finishing is a slow dance with evaporation rates. You cannot rush molecular bonding. The initial sanding and preparation phase takes roughly forty five minutes for a standard set of blocks. Once the first coat of oil is applied, you enter the "Saturation Window," which lasts about thirty minutes. This is when the wood is actively drinking. The "Curing Intermission" is the hardest part; depending on the humidity of your studio, you must wait twelve to twenty four hours between coats. A truly safe, heirloom quality toy requires three to five coats. Total active labor is low, but the total project duration spans three to five days. Respecting this tempo prevents the oil from becoming gummy, a common failure in polymerization.
THE CORE METHOD
1. Surface Preparation and Fiber Compression
Before a single drop of oil touches the wood, you must address the surface topography. Use your sandpaper to move through the grits, ending at 400. This removes the "fuzz" or loose tracheids left behind by saws. After sanding, use a damp cloth to "raise the grain," let it dry, and sand one last time.
Mastery Tip: This process utilizes capillary action. By raising the grain with water first, you ensure that the wood fibers do not swell and become rough later when the child inevitably gets the toy wet with saliva.
2. The Primary Oil Saturation
Apply your chosen oil liberally. You want the wood to look wet but not flooded. Watch for "dry spots" where the wood is particularly porous; these areas have higher absorption coefficients and will need more oil immediately. Use a circular motion to drive the oil into the end grain, where the wood is most vulnerable.
Mastery Tip: The science here is viscosity management. If the oil is too thick, warm the bottle in a bowl of hot water. Lowering the viscosity allows the oil to penetrate deeper into the intercellular spaces of the wood.
3. Burnishing the Surface
Once the oil has sat for twenty minutes, take your lint free cloth and rub vigorously. You are not just wiping away excess; you are generating friction heat. This heat encourages the oil to bond with the lignin in the wood.
Mastery Tip: This is known as friction polymerization. The mechanical energy from your rubbing helps cross link the oil molecules, creating a tougher, more water resistant barrier than a simple soak would provide.
4. The Wax Sealing Layer
After your final coat of oil has dried for twenty four hours, apply a thin layer of beeswax or carnauba wax. This acts as a sacrificial layer. It takes the brunt of the wear and tear, protecting the oil finish underneath. Use a bone folder to buff the wax into tight corners.
Mastery Tip: Wax provides a hydrophobic top layer. This increases the surface tension of the toy, causing liquids to bead up rather than soaking into the wood fibers and causing rot.
THE TECHNICAL LEDGER
Maintenance & Longevity: Natural finishes are "living" finishes. Every six months, or when the wood starts to look "thirsty" or dull, lightly sand with 400 grit and reapply a single coat of oil. This maintains the structural integrity of the toy for generations.
Material Variations:
- Sustainable: Use locally sourced walnut oil (ensure no nut allergies!).
- Recycled: Reclaim old cutting boards by sanding them down to fresh wood and starting the process.
- Premium: Use a blend of jojoba oil and beeswax for a finish that feels like silk and has a natural antimicrobial profile.
The Correction:
- The Gummy Surface: If the toy feels sticky, you applied too much oil or didn't wipe the excess. Fix: Wipe with a small amount of high proof alcohol to break down the excess, then re-sand.
- Graying Wood: This happens when moisture gets under the finish. Fix: Sand back to the raw wood and ensure you use a wax sealant next time.
- Blotchy Color: Common in woods like pine. Fix: Use a "pre-stain" of very thin shellac (food safe) to even out the pore density before oiling.
Studio Organization: Store your oil soaked rags in a sealed metal container filled with water. Some natural oils, like linseed, can undergo exothermic oxidation and spontaneously combust. Keep your finished toys in a cool, dry place with plenty of airflow to finish the curing process.
THE FINAL REVEAL
Look at that glow! When you hold the finished piece, it should feel warm and substantial, not slick or plastic. The natural grain is now "popping," showing off the iridescence of the wood fibers. More importantly, you have created a piece of gear that is chemically safe for the most sensitive users. The weight feels balanced, the edges are soft and ergonomic, and the finish is deep enough to withstand years of hard play. You have successfully navigated the physics of wood finishing to create something both beautiful and biologically secure.
STUDIO QUESTIONS
Which wood is best for natural oil finishes?
Hardwoods with tight grain, like Hard Maple or Cherry, are ideal. They have high fiber density, which prevents the oil from bleeding out and provides a smoother surface that is less likely to splinter during play.
Is olive oil safe for toy finishing?
No. Olive oil is a non-drying oil that does not polymerize. It will eventually go rancid inside the wood fibers, creating a bacterial hazard and an unpleasant odor. Stick to drying oils like tung or specialized food grade mineral oils.
How do I know if the oil is fully cured?
Perform the "Sniff Test." If you can still smell the oil, the volatile organic compounds or fatty acids are still evaporating. A fully cured toy will have a neutral, woody scent and will not leave an oily residue on paper.
Can I use these oils on painted toys?
Only if the paint is a porous medium like milk paint. The oil will soak through the milk paint and bind it to the wood. It will not work over acrylic or latex paints, as they create a non-porous film.
What is the best way to clean these toys?
Wipe with a damp cloth and mild soap. Never submerge them in water, as the hygroscopic nature of wood will cause it to swell and crack the finish. Re-oil the wood whenever it feels dry to the touch.