
Imagine the heavy, metallic scent of wet earth hitting your lungs after a summer storm. That is the smell of raw potential. When we talk about digging into the ground, we are not just playing in the dirt; we are scavenging for the chemical building blocks of art. To master the art of Natural Clay Glaze Secrets, you have to look past the brown mud and see the oxides, the silicates, and the fluxing agents waiting to be awakened by fire. It is a tactile rush that starts in your fingernails and ends in a kiln at two thousand degrees. We are hunting for minerals that have been pressurized for millennia just to give your pottery that perfect, glass-like finish.
The physics of it is honestly staggering. Every handful of creek-bed silt contains a specific mineralogical profile that dictates how it will melt or vitrify. You are looking for iron for those deep celadon greens, or maybe cobalt traces if you are lucky. This is about understanding the tensile strength of your clay body and how a wild-sourced glaze will shrink at a different rate than the vessel itself. It is high-stakes chemistry with a lot of soul. We are going to strip back the commercial curtain and find the raw, gritty heart of the earth together.
THE STUDIO KIT
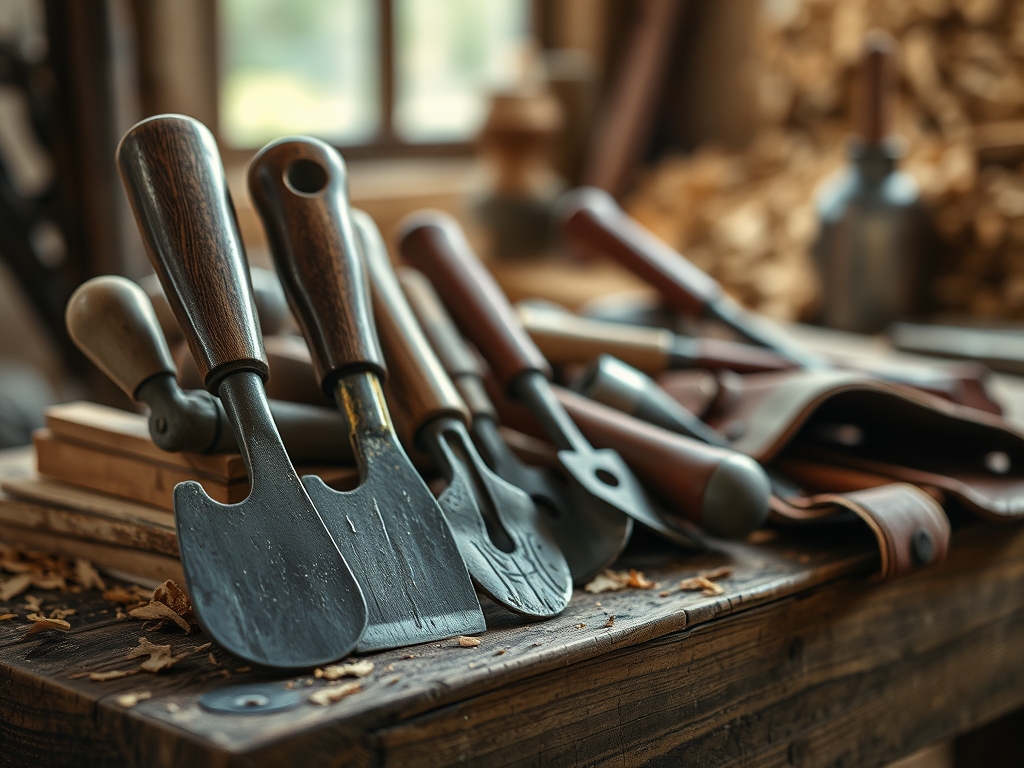
To begin your mineral hunt, you need a kit that can handle the abrasive nature of raw geological samples. Your primary tool is a sturdy geologist pick or a small mattock for breaking through compacted layers of shale or clay. You will also need a 30-mesh sieve and a 100-mesh sieve to refine your found materials. Without these, your glaze will be a chunky, uneven mess that ruins the surface tension of the melt.
For the laboratory side of the studio, grab a digital scale that measures to the 0.01 gram. Precision is everything when you are balancing silica-to-alumina ratios. You will also need a mortar and pestle (preferably granite or porcelain) to grind your found stones into a fine flour. For material substitutions, if you cannot find pure wood ash for a flux, you can process crushed eggshells to provide the necessary calcium carbonate. If your local soil is too sandy, you can supplement with a bentonite addition to improve the plasticity and suspension of your glaze slurry.
THE TEMPO
The "Maker's Rhythm" in mineral hunting is slow and deliberate. You cannot rush the earth. The initial extraction phase usually takes a full afternoon of hiking and digging. Once you bring your "spoils" back to the studio, the refining phase takes about forty-eight hours. This includes drying the raw earth, crushing it, and performing a hydration cycle where the minerals settle in water.
The testing phase is the longest beat in the metronome. You will spend roughly three to five days running line blends in the kiln. This is where you test different percentages of your found mineral against a known base. It is a rhythmic cycle of fire and cooling. You are waiting for the molecules to reach their eutectic point, the magical temperature where a mixture of substances melts at a lower point than any of its individual constituents.
THE CORE METHOD
1. Prospecting and Site Analysis
Locate a site with exposed strata, such as a riverbank or a construction cut. Look for color variations that indicate mineral deposits. Red streaks often suggest iron oxide, while white, chalky layers might be kaolin or calcium-rich deposits. Use your geologist pick to extract a five-pound sample, ensuring you avoid the "topsoil" which is too full of organic matter to be stable in a kiln.
Mastery Tip: Always check the porosity of your raw sample by performing a field "slake test." If the material crumbles and absorbs water instantly, it has a high capillary action, meaning it will likely integrate well into a liquid glaze suspension.
2. The Levigation Process
Place your raw minerals in a large bucket of water and stir vigorously to create a "slip." Let it sit for exactly thirty seconds. The heavy sand and pebbles will sink, while the fine glaze-grade particles remain suspended. Pour the top liquid into a second bucket through your 30-mesh sieve. This uses gravitational sedimentation to sort particles by weight and size.
Mastery Tip: The science here is all about Stoke's Law, which calculates the settling velocity of particles. By controlling the settling time, you are effectively "grading" your minerals for a smoother viscosity once they reach the melting phase.
3. Calcination of Raw Stones
If you have found hard rocks or shells, you must calcinate them before they can be ground. Place them in your kiln and fire them to roughly 1500 degrees Fahrenheit. This process drives off chemically combined water and carbon dioxide, making the material brittle and easy to pulverize with a mortar and pestle.
Mastery Tip: Calcining changes the crystalline structure of the mineral. By removing the "loss on ignition" (LOI) early, you prevent your glaze from bubbling or "pitting" during the final high-temperature firing.
4. Milling and Sizing
Take your dried, refined minerals and grind them until they pass through a 100-mesh sieve. The particle size must be microscopic to ensure a uniform melt. Use a triple-beam balance or digital scale to create your test batches. A standard starting point is the "Triaxial Blend," where you mix your found mineral with varying amounts of feldspar and wood ash.
Mastery Tip: Small particle size increases the surface area available for chemical reactions. This ensures that the fluxing agents can efficiently attack the silica particles, creating a durable, chemically bonded glass surface.
THE TECHNICAL LEDGER
To maintain the integrity of your found minerals, store them in airtight HDPE containers. Raw minerals can absorb atmospheric moisture, which changes their weight and throws off your chemical equations. Label every bin with the GPS coordinates of the find and the date.
Material Variations:
- Sustainable: Use "found" wood ash from hardwoods like oak or maple; it acts as a powerful high-temperature flux.
- Recycled: Crushed glass bottles can be ground into "frit" to lower the melting point of your wild clay.
- Premium: Incorporate small amounts of bone ash (calcium phosphate) for a milky, opalescent quality in the finished glaze.
The Correction:
- Crazing (Cracks): The glaze is shrinking more than the clay. Fix this by adding more silica to the mix to adjust the coefficient of thermal expansion.
- Crawling (Bald Spots): Usually caused by dust or oil on the pot. Fix this by ensuring the bisqueware is cleaned and the glaze slurry has a lower viscosity.
- Pinholing: Caused by gases escaping too late. Fix this by slowing down the "soak" time at the peak temperature of your kiln to allow the melt to smooth over.
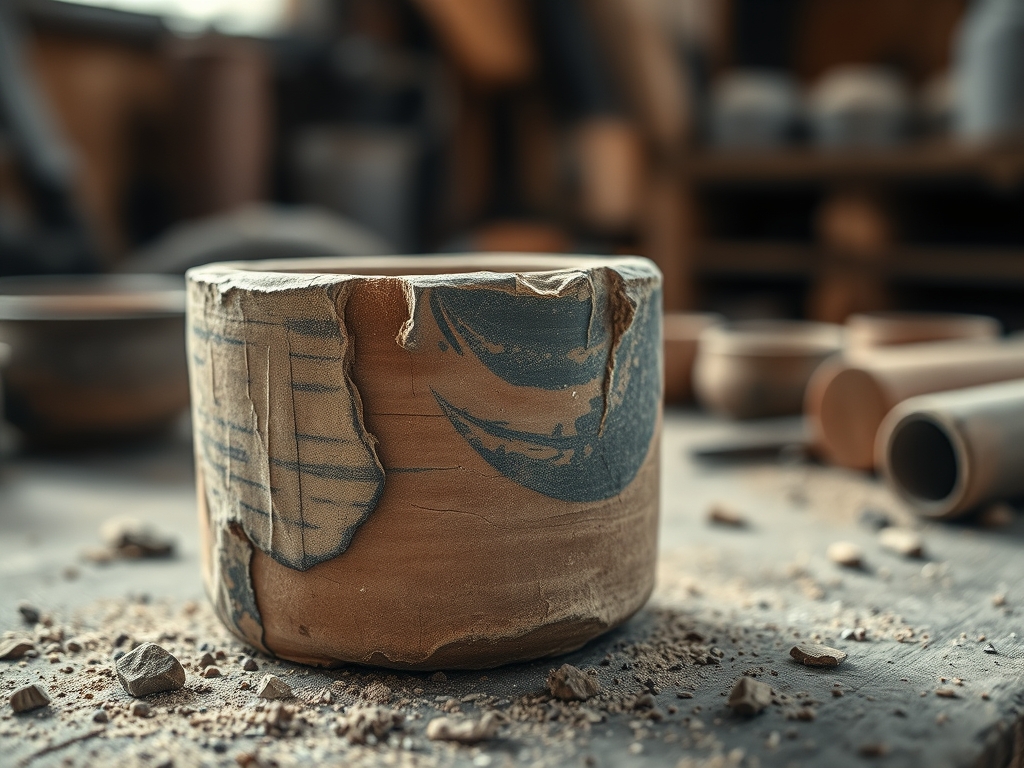
THE FINAL REVEAL
There is nothing quite like pulling a piece out of the kiln and seeing the literal "bones of the earth" turned into a shimmering, tactile coat of glass. The depth you get from natural minerals is impossible to replicate with store-bought chemicals. You will see variegation, iron spotting, and a rich depth of field that tells the story of the specific hill or stream where you spent your afternoon. It feels heavy, substantial, and incredibly professional. You have taken raw geology and turned it into high-end ceramic art.
STUDIO QUESTIONS
What is the best way to find iron-rich clay?
Look for deep red or orange soil near moving water. These "ochre" deposits are high in ferric oxide. Perform a streak test on unglazed porcelain; a vibrant red streak indicates a high iron content perfect for Natural Clay Glaze Secrets.
Can I use any rock I find in my glaze?
Most igneous rocks like granite or basalt work well because they contain feldspathic minerals. Avoid sedimentary rocks like limestone in high concentrations, as they can act as an overly aggressive flux and cause your glaze to run off the pot completely.
How do I stop my wild glaze from settling?
Natural minerals often lack the "float" of commercial glazes. Add 2% bentonite to your dry mix. This volcanic ash has a high cation exchange capacity, which helps keep the heavier mineral particles suspended in the water through electromagnetic repulsion.
Why did my glaze turn brown instead of green?
This is usually a result of the kiln atmosphere. Iron-rich minerals turn green in a reduction atmosphere (starved of oxygen) but will stay brown or red in an oxidation atmosphere. The chemistry of the fire is just as important as the earth.
Is it safe to use found minerals for dinnerware?
Only if the glaze is fully vitrified and acid-stable. Perform a "lemon test" by leaving a slice on the glaze overnight. If the color changes, the minerals are leaching, and the piece should be restricted to decorative use only.

