
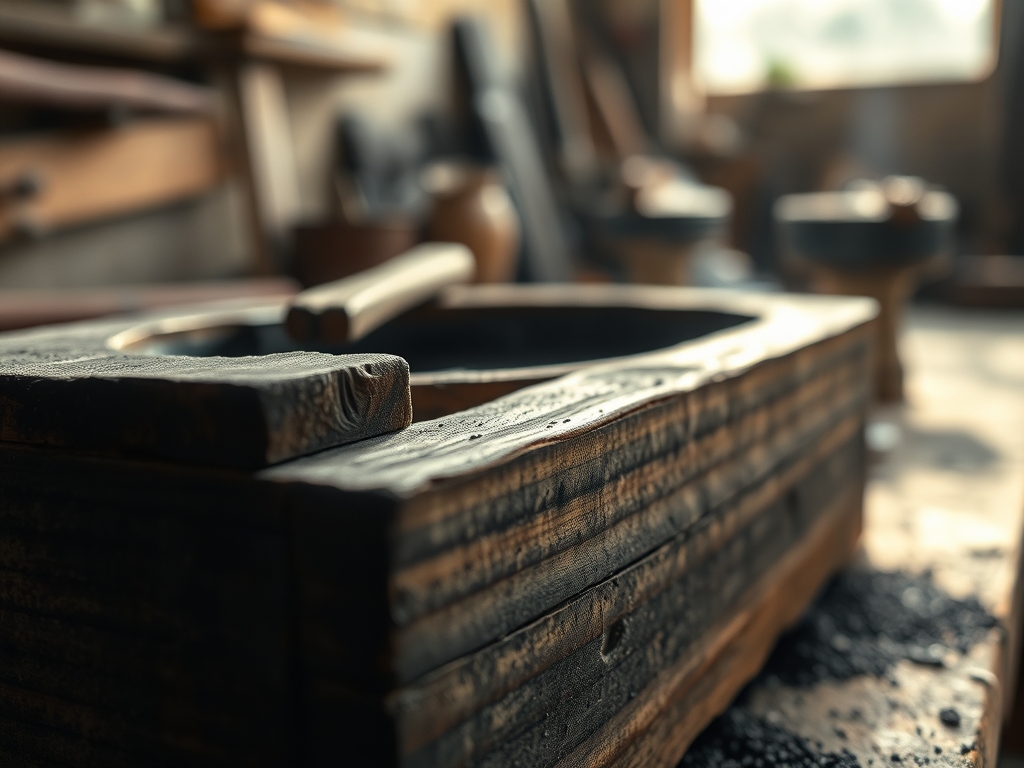
Imagine the sharp, metallic scent of cold water hitting a galvanized steel basin; it is a sensory wake up call that signals the start of a serious build. We are not just making a bucket today. We are constructing a vessel that must withstand the specific chemical pressures and constant moisture of a professional Natural Indigo Dyeing Setup. You can feel the weight of the wood in your hands; the grain is tight and resistant, promising the kind of structural integrity that only high density hardwoods can offer. Every fiber in the timber is a microscopic straw, and understanding how those fibers swell when wet is the difference between a leaky mess and a masterpiece. We are diving into the physics of fluid dynamics and the sheer tensile strength of reinforced joints. This is where high art meets the grit of the workshop. Grab your safety glasses and a strong espresso because we are about to build something that will outlive your favorite pair of denim jeans.
THE STUDIO KIT
THE STUDIO KIT
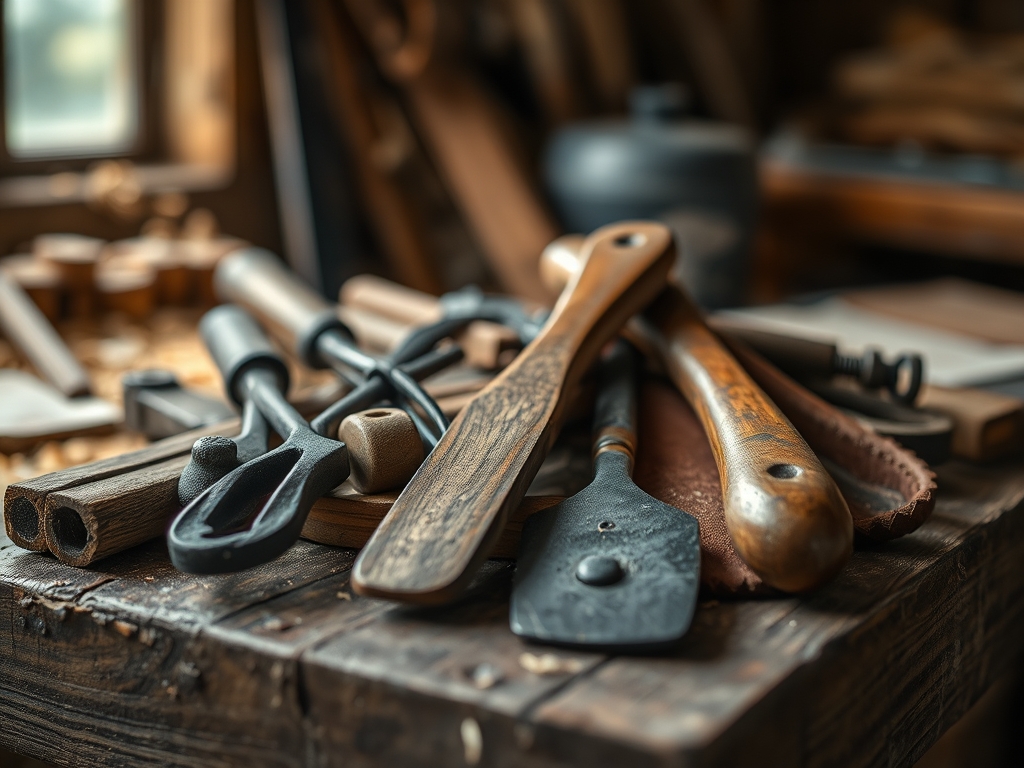
To build a vat that survives the alkaline environment of indigo, you need more than just a container; you need a fortress. We start with the primary vessel, ideally a thirty gallon food grade polyethylene drum or a custom built cedar vat. If you are going the timber route, you will need a Japanese pull saw for precision cross cuts and a block plane to ensure the staves are perfectly flush. For the hardware, we are looking at marine grade stainless steel bolts because standard hardware will corrode in weeks due to the high pH levels of the dye.
You must have your calipers ready to measure the wall thickness; consistency is vital for thermal retention. We also need a rotary cutter for prepping the textile swatches and a heavy duty drill with a spade bit for the drainage assembly. For material substitutions, if you cannot find cedar, white oak is your best friend because it contains tyloses, which are cellular structures that plug the wood pores and make it naturally water resistant. Avoid pine; its low density makes it prone to warping under the weight of thirty gallons of liquid.
THE TEMPO
The Maker's Rhythm is all about respecting the "cure." You cannot rush a vat build because the materials need time to settle into their new geometry. The initial construction phase takes about six hours of active shop time. This includes the measuring, cutting, and dry fitting of the frame. Once the structure is assembled, we enter the saturation phase. This is a forty eight hour window where the wood fibers absorb moisture and expand against the steel hoops, creating a natural, watertight seal through compressive force.
After the build, the "Reduction Rhythm" begins. This is the three day period where you balance the indigo chemistry. You are waiting for the bacteria to wake up and consume the oxygen. It is a slow, methodical dance of monitoring temperatures and pH levels. Do not try to bypass this; the physics of fermentation require a steady, cool hand and a lot of patience.
THE CORE METHOD
1. Frame Geometry and Load Distribution
We begin by calculating the hydrostatic pressure at the base of the vat. The weight of the water pushes outward with incredible force, so the bottom third of your vat requires the most reinforcement. Use your calipers to ensure the base plate is at least twenty percent thicker than the side walls.
Mastery Tip: This is all about structural integrity. By slightly tapering the staves toward the top, you create a conical wedge that uses gravity to tighten the joints as the vat fills.
2. Precision Seam Sealing
Instead of toxic glues, we use a traditional "swelling" technique. We dry fit the staves and then use a bone folder to burnish the edges of the wood. This compresses the surface fibers without removing material, creating a smoother interface for the water to seal.
Mastery Tip: This relies on capillary action. When water hits the burnished edges, it travels slower through the compressed grain, allowing the wood to expand uniformly before leaks can develop.
3. The Drainage Manifold
Using an oscillating tool, cut a precise aperture at the base for the brass ball valve. The valve must be seated with a silicone gasket to handle the expansion and contraction of the vat walls during temperature shifts.
Mastery Tip: This accounts for the coefficient of thermal expansion. Different materials grow at different rates; the gasket acts as a mechanical buffer so the wood does not crack the metal fitting.
4. Aeration Shielding
The final step is crafting a tight fitting lid with a gasket seal. Indigo is "vat" dye, meaning it is anaerobic. If oxygen gets in, the indigo "rusts" and becomes insoluble. We use a jeweler's saw to trim the fine edges of the lid for a vacuum like fit.
Mastery Tip: This manages surface tension and gas exchange. A heavy lid reduces the surface area exposed to air, keeping your indigo in its reduced, "green" state for longer.
THE TECHNICAL LEDGER
Maintenance & Longevity
To keep your vat in peak condition, you must never let the wood dry out completely. If the vat sits empty, the staves will shrink, and the hoops will fall off. Maintain a "hydration schedule" by keeping at least five inches of water in the bottom during the off season. Every six months, use a burnishing tool to smooth any raised grain caused by the alkaline solution.
Material Variations
- Sustainable: Reclaimed wine barrels are the gold standard for upcycled vats; they are already built to hold liquid and have a beautiful patina.
- Recycled: High density polyethylene (HDPE) blue drums are nearly indestructible and can be sourced from food importers.
- Premium: Custom copper lined vats offer incredible thermal conductivity, keeping your dye at the perfect fermentation temperature with minimal energy.
The Correction
- The Slow Leak: If a seam is weeping, do not use caulk. Instead, jam a sliver of dried cedar into the gap. The sliver will swell and plug the hole naturally.
- The pH Spike: If your vat becomes too acidic, the indigo will precipitate. Slowly add calcium hydroxide to raise the pH, stirring in a circular, vortex motion to avoid introducing oxygen.
- Hoop Slip: If the metal hoops slide down, the wood has shrunk. Use a hammer and a cold chisel to tap the hoops back into a high tension position.
Studio Organization
Store your vat on a raised pallet to allow airflow underneath. This prevents rot and allows you to check for leaks easily. Keep your Natural Indigo Dyeing Setup away from direct sunlight; UV rays can degrade the indigo molecules and cause the wood to check or crack.
THE FINAL REVEAL
Look at that silhouette! There is something incredibly grounding about a vat you built with your own two hands. It stands there like a silent partner in your craft, heavy with the potential of a thousand blue shades. When you lift the lid and see that shimmering, metallic "flower" on the surface of the liquid, you know the physics worked. The joints are tight, the temperature is holding, and the chemistry is humming. This is not just a tool; it is a living ecosystem. You have successfully merged heavy duty carpentry with delicate biochemistry. Now, grab those tongs and let's see what that first dip looks like!
STUDIO QUESTIONS
What is the best wood for a dye vat?
White oak or cedar are the premier choices. White oak contains tyloses which block liquid flow through the grain, while cedar offers natural rot resistance and a high strength to weight ratio for studio mobility.
Why is my indigo vat turning blue?
If the liquid turns blue, oxygen has entered the system. This is called oxidation. You must add a reducing agent like fructose or henna and stir gently to return the vat to an anaerobic state.
How do I prevent the vat from leaking?
The secret is pre-hydration. Fill the vat with plain water for forty eight hours before adding dye. This allows the wood fibers to reach maximum volumetric expansion, sealing the seams through internal pressure.
Can I use a plastic trash can?
Standard trash cans lack the hoop strength to hold the weight of thirty gallons of water. They will bow and eventually crack. Always use "food grade" HDPE barrels for a safe, durable setup.
How often should I check the pH?
Check the pH before every dyeing session using a calibrated meter. A healthy indigo vat thrives between pH 10 and 11.5. Maintaining this balance ensures the indigo remains soluble and bonds to the fiber.

