
Imagine the sensation of cold, dense earth pressing against your palms as the world outside simply fades into a gray blur. There is a primal, grounding magic in the way wet minerals respond to the slightest twitch of your thumb. I finally understood why everyone keeps talking about Healing Stress With Clay; it is not just an art form but a physiological reset for your nervous system. As the wheel began to spin, the centripetal force demanded my absolute presence. You cannot worry about your inbox when you are trying to stabilize a rotating mass of alumina and silica. The clay feels alive, a heavy and viscous partner that requires a firm hand and a soft heart. My first time working with mud and a wheel was less about making a perfect bowl and more about finding a rhythmic, tactile sanctuary. The grit of the grog against my skin acted as a physical anchor, pulling me out of my head and into the immediate, glorious mess of the present moment.
THE STUDIO KIT
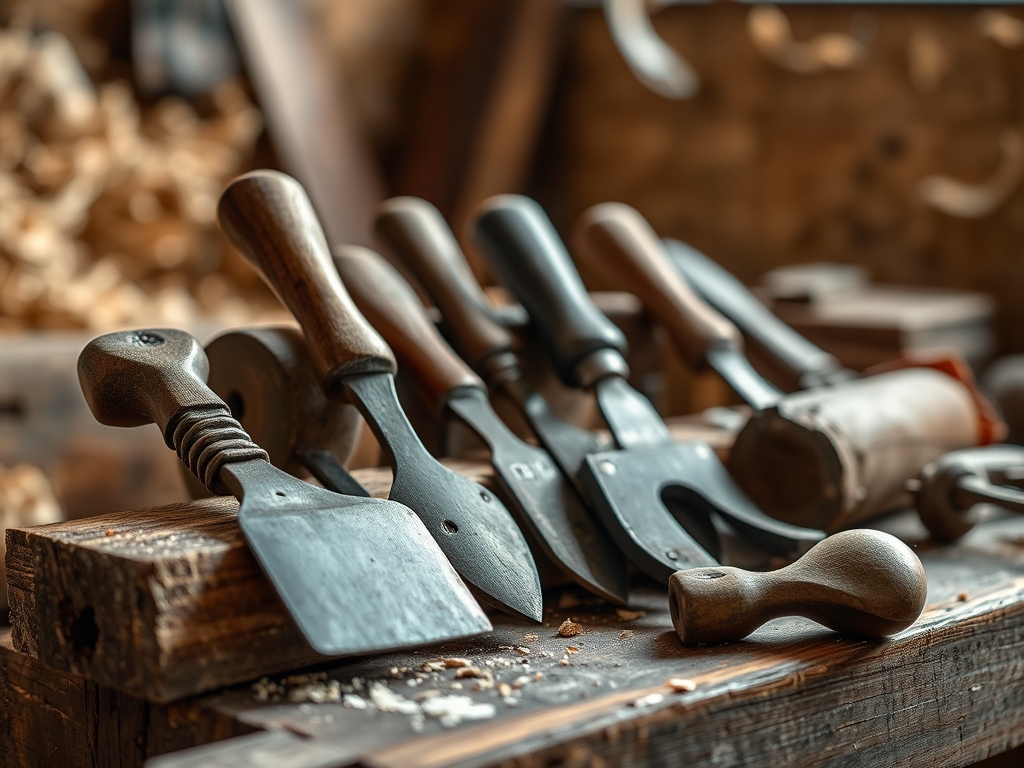
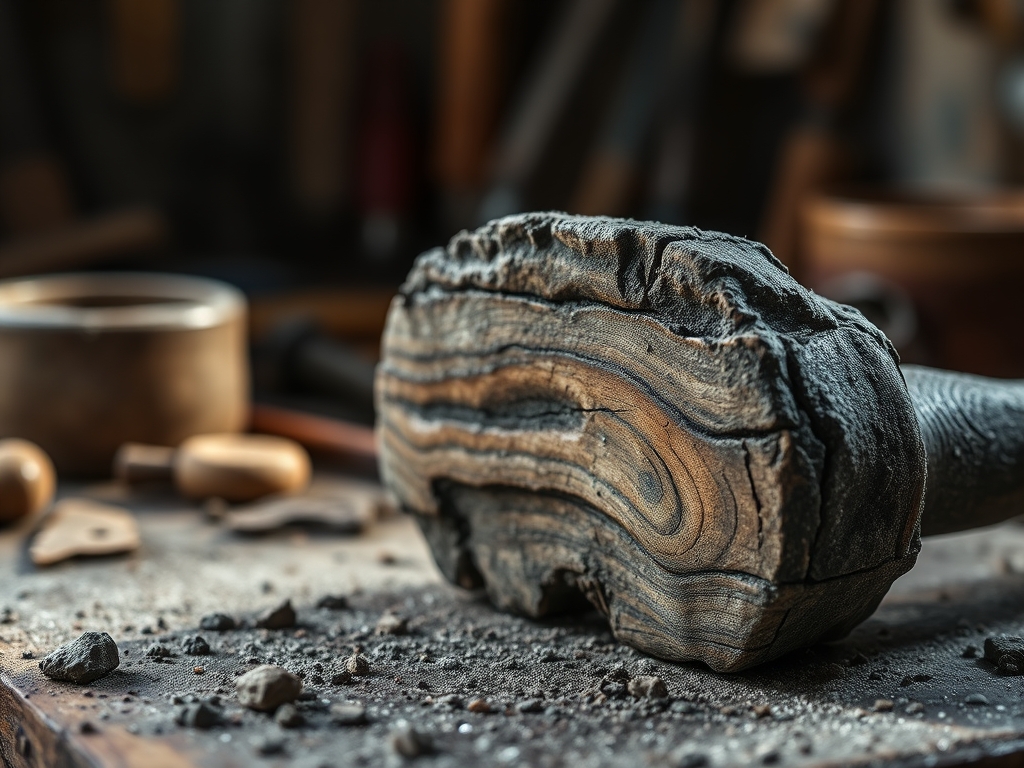
To begin this journey, you need more than just enthusiasm; you need a kit that respects the structural integrity of the medium. We start with a high-quality stoneware clay body, which is prized for its tensile strength and moderate porosity. You will also need a splash pan to catch the slurry, a toggle wire cutter for slicing through the dense block, and a synthetic sponge for moisture control. For the finer details, keep a metal rib and a wooden modeling tool nearby to burnish the surface and refine the silhouette.
Professional makers often reach for calipers to ensure the diameter remains consistent, especially if you are aiming for a specific gauge of thickness. If you cannot find a professional pottery needle, a standard awl or even a sturdy toothpick can serve as a "Material Substitution" for scoring the clay. Instead of a specialized chamois, a small strip of discarded leather or a piece of heavy plastic wrap can smooth the rim just as effectively. The key is to manage the moisture content so the clay remains plastic without becoming a puddle of unusable slip.
THE TEMPO
The "Maker's Rhythm" is a delicate dance with time. Pottery is not a sprint; it is a multi-day commitment governed by the evaporation of water. The initial "Throwing Phase" takes about thirty to sixty minutes of intense focus. Once the form is off the wheel, it enters the "Drying Phase," which can last anywhere from twelve to twenty-four hours depending on the humidity of your studio. You are waiting for the leather-hard stage, where the clay is firm enough to handle but still damp enough to trim.
Following this, the "Trimming and Refinement" takes another hour. The piece must then sit for several days to become bone dry before its first trip to the kiln. This slow progression is exactly what makes the process so meditative. You are forced to respect the natural desiccation rate of the earth. By aligning your personal energy with the drying cycle of the clay, you achieve a state of flow that is scientifically proven to lower cortisol levels.
THE CORE METHOD
1. Centering the Mass
The first step is to slam the clay onto the center of the wheel head and apply firm, steady pressure. You must use your core strength to "lock" your elbows against your hips, creating a human tripod. As the wheel spins, you use your palms to move the clay up into a cone and then back down into a puck. This process aligns the platelet structure of the clay particles.
Mastery Tip: This works because of fluid dynamics. By forcing the clay into the center, you are overcoming the inertia of the spinning mass. If the clay is not perfectly centered, the asymmetrical distribution of weight will cause the walls to collapse as they grow taller.
2. Opening the Well
Once centered, use your thumbs to press slowly into the middle of the puck. You want to stop about half an inch from the bottom to ensure the base has enough structural integrity to support the walls. Gently pull your fingers toward your body to widen the floor of the piece.
Mastery Tip: Pay attention to surface tension. If the clay feels "grabby," add a drop of water. However, too much water will break down the ionic bonds between the clay particles, leading to a "slump" where the clay loses its ability to stand upright.
3. Pulling the Walls
Place one hand inside the well and the other on the outside. Starting at the base, pinch the clay slightly and lift both hands at a synchronized speed. This thins the floor and moves the material upward to create height. Repeat this two or three times until you reach the desired ply or thickness.
Mastery Tip: This relies on capillary action and the plasticity of the material. You are essentially stretching the "skin" of the clay. If you pull too fast, you risk creating a spiral of thin spots that will fail during the firing process.
4. Compressing the Rim
After every pull, take a moment to gently press down on the top edge of your piece with a damp finger or a piece of chamois. This "compresses" the rim, making it denser and less likely to crack as it shrinks.
Mastery Tip: The rim is the most vulnerable part of the vessel because it has the highest surface-area-to-volume ratio. By compressing the particles, you increase the tensile strength of the edge, preventing radial cracks during the drying phase.
THE TECHNICAL LEDGER
Maintenance & Longevity: Your wheel and tools must be cleaned immediately after use. Dried clay dust is a respiratory hazard and can clog the mechanical bearings of your wheel. Wipe down all metal tools to prevent oxidation.
Material Variations:
- Sustainable: Reclaim your "slop" by drying it on a plaster bat and re-wedging it.
- Premium: Porcelain offers a translucent finish but has very low green strength, making it a challenge for beginners.
- Recycled: Mix different stoneware scraps to create a "marbled" body, though you must ensure they have similar shrinkage rates.
The Correction:
- The Wobble: If the piece starts to shake, you have lost center. Fix this by slowing the wheel and gently "collaring" the clay with both hands to bring it back to the midline.
- Thin Bottom: If you accidentally make the floor too thin, you cannot add clay back. Instead, use a needle tool to cut the piece off and start over; it is better than a pot that leaks.
- Air Bubbles: If a bubble appears in the wall, pop it with an awl and smear a tiny bit of clay over the hole to maintain the vacuum seal.
Studio Organization: To prevent degradation, store unfinished pieces in a "damp box" or under heavy plastic sheeting. This creates a micro-climate that slows evaporation, allowing the moisture to equalize throughout the form.
THE FINAL REVEAL
Looking at that first finished piece is an absolute rush. It might be a bit heavy at the base or slightly "organic" in shape, but it represents a physical manifestation of your focus. The surface is smooth where the metal rib passed over it; the rim is crisp and intentional. There is a profound sense of accomplishment in knowing you took a lump of raw earth and, through sheer ergonomic persistence, turned it into a functional object. It is not just a bowl; it is a trophy of your transition from high-stress chaos to grounded, tactile mastery.
STUDIO QUESTIONS
Why does the clay keep collapsing?
Collapsing usually occurs due to oversaturation. Too much water weakens the molecular bonds between the clay particles. Use a sponge to remove standing water from the interior to maintain the structural integrity of the walls during the throwing process.
How do I know when the clay is centered?
The clay is centered when it looks perfectly still while the wheel is spinning. If you close your eyes and place your hand on the clay, you should feel no lateral vibration or "bumping" against your palm.
Can I use any mud from my backyard?
Not without processing. Raw earth contains organic debris and unpredictable mineral compositions. To use wild clay, you must first levigate it to remove rocks and then test its vitrification point in a controlled kiln environment.
What is the best way to prevent cracks?
Slow, even drying is the secret. Cover your piece with plastic to ensure the thin rim and thick base dry at the same desiccation rate. This prevents differential shrinkage, which is the primary cause of structural failure and cracking.

