

Fresh sap smells like a secret. There is a specific, electric hum that happens when your hands first meet the raw, unyielding curve of a woody perennial. We are not just decorating; we are engineering with nature. This weekend, I found myself deep in the brush for the sole purpose of Foraging For Wild Vines to create a structural masterpiece for my workshop door. The tactile sensation of cold, damp bark against your palms is the first step in understanding the tensile strength of your medium. You can feel the moisture content through the dermis of your fingertips. If the vine snaps, the lignin has become too brittle. If it bends with a rhythmic, springy resistance, you have found the perfect candidate for a high-tension weave. This is about more than aesthetics. It is a study in structural integrity and the way organic fibers respond to mechanical stress. We are going to take that wild, chaotic growth and domesticate it into a perfect circle using nothing but physics and a bit of grit.
THE STUDIO KIT
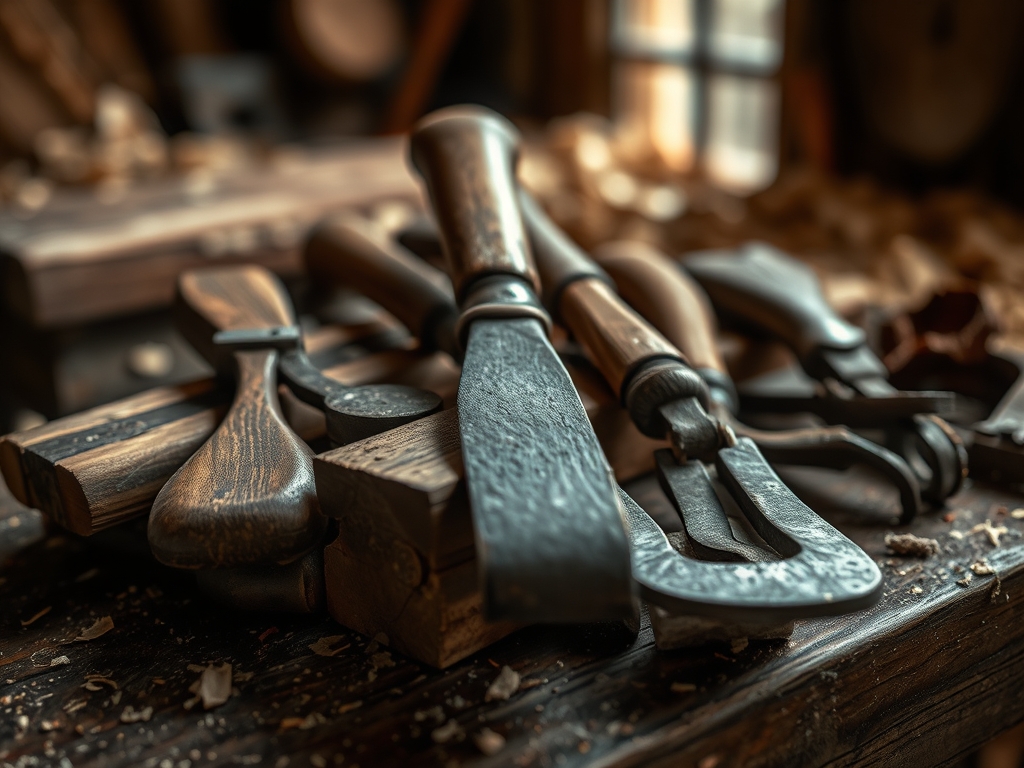
To master the art of the organic wreath, you need a kit that respects the **cellular density** of your materials. I do not play around with flimsy craft scissors. You need **bypass pruners** with a high-carbon steel blade to ensure clean cuts that do not crush the **vascular cambium** of the vine. For the finer details and securing stubborn ends, a pair of **needle-nose pliers** and a spool of **22-gauge floral wire** are essential. The gauge is critical; too thick and it becomes a visual distraction; too thin and it fails under the **elastic deformation** of the wood.
I also keep a heavy-duty awl on my bench. This allows me to create pilot holes or pry apart tight weaves without compromising the grain direction. For the finishing touches, a natural bristle brush is used to apply a light coat of linseed oil, which preserves the porous surface of the bark.
Material Substitutions: If you cannot find wild grapevine, look for wisteria or honeysuckle. Wisteria offers incredible flexibility but requires more drying time due to its higher water retention. If you are in an urban environment with zero access to the woods, you can substitute with soaked rattan or willow withes. The physics remains the same: you must manage the moisture equilibrium to prevent the fibers from shattering during the winding process.
THE TEMPO
The "Maker's Rhythm" for a wreath is a three-act play. Phase one is the Harvest and Hydration, which takes roughly two hours. You cannot rush the selection process. Phase two is the Primary Coil, the most intense part of the build, taking about forty-five minutes of high-energy manipulation. This is where you establish the circumferential tension. Phase three is the Refinement and Curing, a slower, more meditative hour where you tuck in the "wild" ends and allow the piece to settle into its new shape. Total active time is approximately four hours, but the wreath will continue to "set" over forty-eight hours as the internal moisture evaporates, locking the fibers into their permanent geometry.
THE CORE METHOD
1. The Foundation Loop
Start by selecting your thickest, most resilient vine to serve as the anchor hoop. Measure a length approximately three times the desired diameter of your finished wreath. Form a circle and overlap the ends by at least six inches. This overlap is vital for load distribution. Secure the junction by wrapping it tightly with wire, ensuring the wire bites slightly into the bark to prevent slippage.
Mastery Tip: This step relies on static friction. By overlapping the ends, you increase the surface area in contact, which prevents the hoop from springing open under the internal kinetic energy stored in the bent wood.
2. The Spiral Weave
Take a secondary, more flexible vine and tuck the "butt end" (the thicker base) into your foundation loop. Begin winding it around the anchor in a consistent helical pattern. Do not pull too tight initially; you need to leave space for subsequent layers. As you wrap, rotate the wreath in your hands to ensure an even weight distribution.
Mastery Tip: Observe the torsional stress on the vine. If you see the bark beginning to "check" or crack longitudinally, you are exceeding the material's elastic limit. Stop and move your hand further down the vine to increase the lever arm and reduce the localized pressure.
3. Integrating Lateral Shoots
As the wreath gains mass, start incorporating smaller lateral branches. These "feathers" provide the organic, wild aesthetic we are after. Instead of wiring these, use the mechanical interlock of the existing weave. Slide the ends of the new vines into the gaps created by your spiral.
Mastery Tip: This utilizes capillary anchoring. As the vines dry, they shrink slightly, which actually tightens the friction hold between the intertwined layers, creating a solid, monolithic structure without the need for adhesives.
4. The Tension Check and Trim
Once you have reached your desired thickness, hold the wreath by one side and give it a firm shake. If it feels "squishy" or loses its circularity, you need more radial reinforcement. Add one final long vine, wrapping it in the opposite direction of your primary spiral to create a "cross-brace" effect. Use your bypass pruners to trim any ends that disrupt the ergonomic balance of the piece.
Mastery Tip: By wrapping in the opposite direction, you are creating a bi-directional lattice. This cancels out the rotational force of the primary weave, ensuring the wreath stays flat against the door rather than warping into a "potato chip" shape.
THE TECHNICAL LEDGER
Maintenance & Longevity: Organic wreaths are subject to hygroscopic expansion. If kept outdoors, the wood will absorb atmospheric moisture and swell. To extend the life of your piece, spray it with a UV-resistant matte clear coat. This seals the stomata in the bark and prevents the sun from breaking down the cellulose bonds.
Material Variations:
- Sustainable: Foraged invasive species like Oriental Bittersweet (check local regulations first).
- Recycled: Stripped copper wire interwoven with the vines for a metallic sheen.
- Premium: Adding preserved eucalyptus or dried protea for high-color saturation.
The Correction:
- The Snap: If a vine breaks mid-weave, do not discard the whole piece. Use an awl to open a gap near the break and "splice" in a new piece using a scarf joint overlap.
- The Wobble: If the wreath is lopsided, use a clamping jig or heavy weights to hold it in a true circle while it dries.
- The Shedding: If bark is flaking off, use a burnishing tool (or a smooth stone) to rub the surface. This flattens the loose fibers and creates a polished, patina finish.
Studio Organization: Store your raw, unworked vines in a cool, high-humidity environment to maintain their pliability. Once the wreath is finished, hang it on a flat pegboard. Avoid stacking them, as the compressive force of the weight can permanently deform the lower wreaths before they are fully cured.
THE FINAL REVEAL
Look at that! You have successfully translated the chaotic energy of the forest into a structured, symmetrical form. The way the light catches the different textures of the bark—from the rough, fissured exterior to the smooth, inner pith—is pure magic. Your workshop door now has a sentinel that represents both your technical skill and your connection to the landscape. It is heavy, it is sturdy, and it smells like the great outdoors. This is high-density crafting at its finest; you did not just make a decoration; you built a biological sculpture.
STUDIO QUESTIONS
How do I keep the vines from snapping during the weave?
Maintain high internal moisture by soaking your vines in a tub of warm water for twenty-four hours prior to crafting. This increases the ductility of the fibers, allowing for tighter radii without structural failure or splintering.
What is the best way to secure heavy ornaments?
Use 18-gauge steel wire to create an anchor point directly around the main structural hoop. This ensures the load-bearing weight is distributed to the strongest part of the wreath, preventing the decorative elements from sagging or pulling the weave apart.
Can I use green wood for the entire project?
Yes, but account for volumetric shrinkage. As green wood loses water, the wreath will become slightly smaller and the weave will loosen. Compensate by winding your coils 10% tighter than the desired final tension to allow for this contraction.
How do I prevent mold on my organic wreath?
Ensure maximum airflow during the initial drying phase. Do not hang it against a flat surface until the moisture content has dropped below 15%. A light misting of diluted white vinegar can also act as a natural antifungal agent.

