
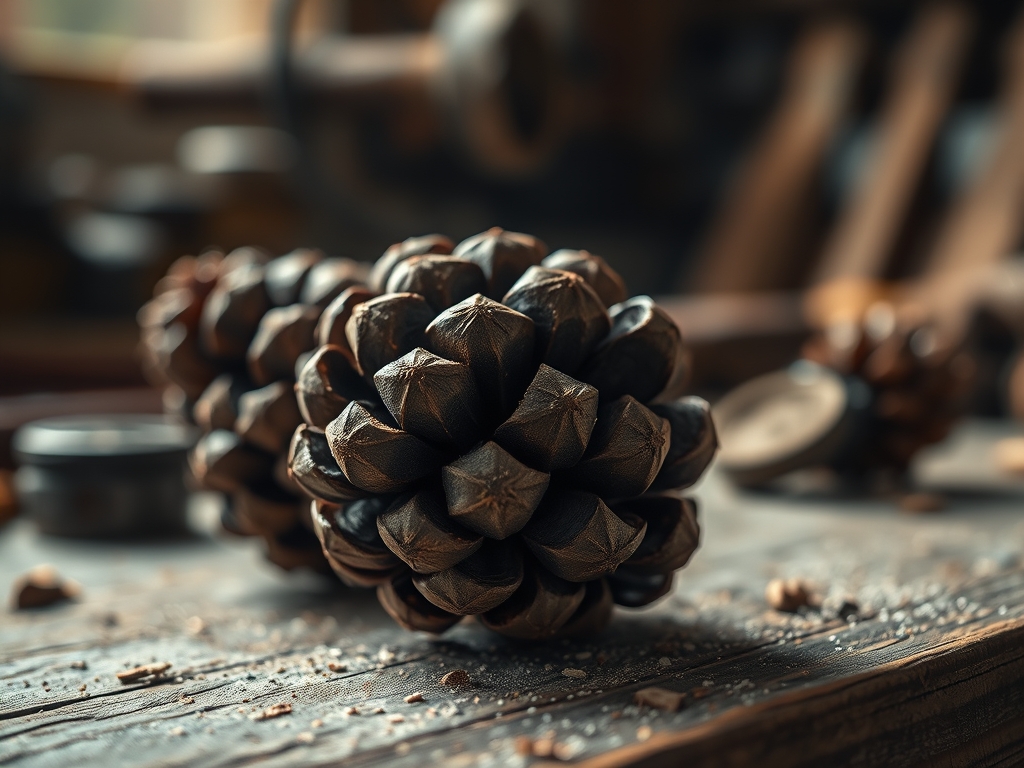
Imagine the sharp, biting scent of resin clinging to your fingertips while the autumn wind howls against the studio glass. There is a specific, tactile joy in preparing for the freeze by Foraging For Pine Cones in the damp undergrowth. You are looking for the open, desiccated scales of the Pinus sylvestris; these are nature's perfect geometric radiators. Each scale acts as a tiny wooden fin, designed by evolution to catch the air and distribute heat through a process of rapid thermal expansion. We are not just gathering yard waste; we are harvesting high-surface-area fuel cells. When you hold a dry pine cone, you feel its low density and high porosity. These structural voids are exactly what we need to trap oxygen and wax, creating a slow-burning chemical reaction that will defeat even the most stubborn, frozen logs. Grab your foraging basket and your heaviest work gloves. We are about to engineer the ultimate winter hearth hack using the physics of capillary action and the raw power of forest cast-offs. It is time to get messy, get technical, and get warm.
THE STUDIO KIT
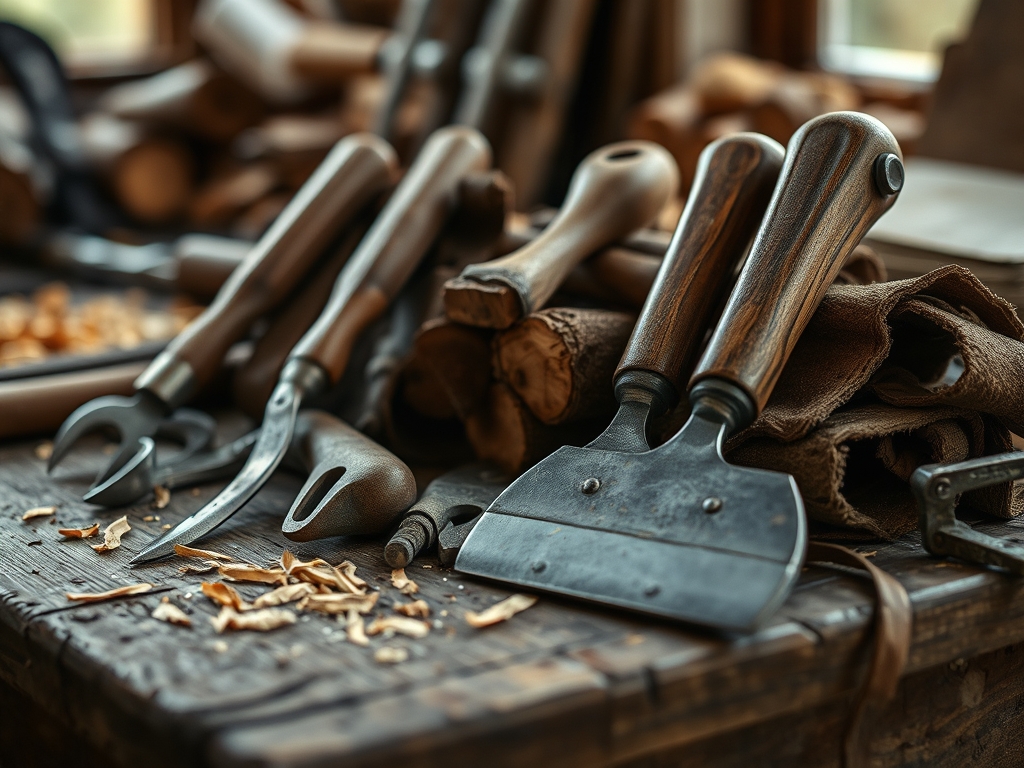
To execute this project with professional precision, you need a workstation that respects the chemistry of the materials. We are dealing with hydrocarbons and cellulose, so safety and organization are paramount.
The Essential Hardware:
- Double Boiler: Essential for maintaining a constant temperature below the flash point of the wax.
- Infrared Thermometer: To monitor the wax viscosity; you want a target temperature of 160 degrees Fahrenheit for optimal saturation.
- Long-Handled Tweezers or Tongs: For precise dipping without compromising the structural integrity of the cone scales.
- Drying Rack: A wire mesh or silicone mat to allow for even cooling and to prevent pooling at the base.
- Cotton Wick (24-ply): To provide the initial ignition source that will eventually transition to the resinous core.
Material Substitutions:
If you cannot find pine cones, you can substitute with dried corn cobs or tightly rolled corrugated cardboard. Both offer the high surface area required for oxygenation. Instead of paraffin, use soy wax for a cleaner burn, though it has a lower melting point and requires a thicker application to achieve the same BTU output. For an aromatic boost, incorporate dried rosemary or cinnamon sticks, which contain essential oils that act as natural accelerants.
THE TEMPO
The "Maker's Rhythm" for fire starters is a three-act play of preparation, saturation, and curing. You cannot rush the thermal transfer.
Phase 1: The Harvest (60-90 minutes): This is the most variable stage. Foraging depends on your local ecology and the moisture content of the ground.
Phase 2: The Desiccation (2 hours): Even if the cones feel dry, they likely hold internal moisture. A low-temperature bake in the oven (200 degrees Fahrenheit) ensures the cells are open and ready to receive the wax.
Phase 3: The Infusion (45 minutes): The actual dipping process is rhythmic and meditative. It takes about 30 seconds per cone to ensure the wax penetrates the porous fibers.
Phase 4: The Cure (4 hours to overnight): The wax must undergo full molecular stabilization. Moving them too early results in "blooming" or structural cracking.
THE CORE METHOD
1. Thermal Pre-Conditioning
Before you apply a single drop of wax, you must ensure your foraged materials are free of latent moisture. Place your pine cones on a baking sheet. The goal here is to drive out water molecules that occupy the intercellular spaces. As the heat rises, the pine cones will physically open their scales further. This increases the available surface area for the wax to bond.
Mastery Tip: This is a lesson in thermal expansion. If you skip this, the trapped moisture will turn to steam during the dipping process, creating air pockets that make the fire starter sputter and fail.
2. The Wax Liquefaction
Set up your double boiler. Do not use direct heat, as wax has a volatile flash point. Use your infrared thermometer to track the transition from solid to liquid. We are looking for a low-viscosity state. The thinner the liquid, the deeper it will penetrate the cellulose fibers of the pine cone via capillary action.
Mastery Tip: Monitor the viscosity. If the wax is too cool, it will simply "shell" the outside of the cone. If it is the correct temperature, it will soak into the grain of the wood, creating a much longer-lasting fuel source.
3. The Wick Integration
Wrap your 24-ply cotton wick around the base of the pine cone, threading it through the bottom-most scales. Use a bone folder or a small awl to tuck the ends securely. This creates a mechanical bond that ensures the wick stays put during the melting phase.
Mastery Tip: Think of this as the primary ignition lead. The wick provides the high-intensity flame needed to reach the ignition temperature of the wax-soaked wood.
4. The Precision Dip
Submerge the pine cone into the liquid wax for exactly five seconds. Lift it out and allow the excess to drip back into the pot. For a "premium" finish, wait thirty seconds for the first layer to tack up, then dip it again. This creates a secondary layer of fuel.
Mastery Tip: This utilizes surface tension. The first dip primes the surface, while the second dip builds the "fuel load." Observe the alignment in the step-by-step photos below to see the ideal coating thickness.
5. The Accelerated Cooling
Place the cones on your wire rack. If you want to add aesthetic elements like dried herbs or salt (for colored flames), sprinkle them on now while the wax is in its amorphous state. Do not move them until they are cool to the touch.
Mastery Tip: This is the crystallization phase. Rapid cooling can lead to brittle wax, so keep the studio at a comfortable room temperature to allow the molecules to settle into a stable lattice.
THE TECHNICAL LEDGER
Maintenance & Longevity:
Store your fire starters in a cool, dry place. Wax is a magnet for dust, which can affect the burn quality. A sealed tin or a heavy-gauge glass jar is ideal. If stored correctly, these have a shelf life of several years, as the wax acts as a preservative for the organic pine material.
Material Variations:
- Sustainable: Use filtered beeswax and recycled cotton twine.
- Premium: Add crushed frankincense resin to the wax for a high-BTU, aromatic experience.
- Industrial: Mix in a small amount of sawdust to the wax to create a "slurry" that burns significantly hotter.
The Correction:
- The Sputter: If the starter pops and goes out, your pine cones were not fully desiccated. Fix: Return the remaining batch to a low oven to finish drying.
- The Flash Burn: If the starter burns out in under two minutes, the wax was too hot and the coating was too thin. Fix: Re-dip the cones at a lower temperature to build a thicker fuel layer.
- The Wick Fail: If the wick burns away without lighting the cone, the wick was not properly saturated with wax. Fix: Always dip the wick along with the cone to ensure it carries the flame.
Studio Organization:
Keep your foraging supplies separate from your finishing tools. Use a dedicated rotary cutter for your wicks to prevent dulling your fabric shears. Label your wax types by melting point to avoid cross-contamination in future builds.
THE FINAL REVEAL
There is nothing quite like seeing a basket full of these handcrafted beauties sitting by the hearth. They look like frosted forest treasures, but they are actually high-performance tools ready to tackle the coldest nights. When you toss one into the grate, the wick catches instantly; the flame then climbs the wax-coated scales, eventually hitting the resinous heart of the pine cone. The result is a steady, roaring heat that makes starting a fire feel less like a chore and more like a triumph of engineering. You have taken raw, foraged materials and transformed them through the application of thermal physics and smart styling. Your winter just got a lot more sophisticated.
STUDIO QUESTIONS
How do I know if my foraged pine cones are dry enough?
If the scales are tightly closed, the cone is holding moisture. Dry cones will be fully "bloomed" and open. A quick snap test of a bottom scale should result in a clean, sharp break rather than a bend.
What is the best wax for a long burn time?
Beeswax has the highest melting point and density, providing the longest burn. However, a paraffin-soy blend offers a great balance of affordability and steady combustion. Always prioritize a high-melt-point wax for the most efficient heat output during the winter.
Can I use fresh pine cones for this project?
No, fresh cones are full of sap and moisture. They will smoke excessively and may not ignite. Always allow foraged cones to season for several months or use the oven-desiccation method to prepare the cellular structure for wax absorption.
Are these fire starters safe for wood stoves?
Yes, provided you use natural materials. Avoid using synthetic glitters or scented oils with low flash points. Stick to cotton, natural wax, and dried botanicals to prevent creosote buildup in your chimney or damage to your stove's catalytic combustor.

