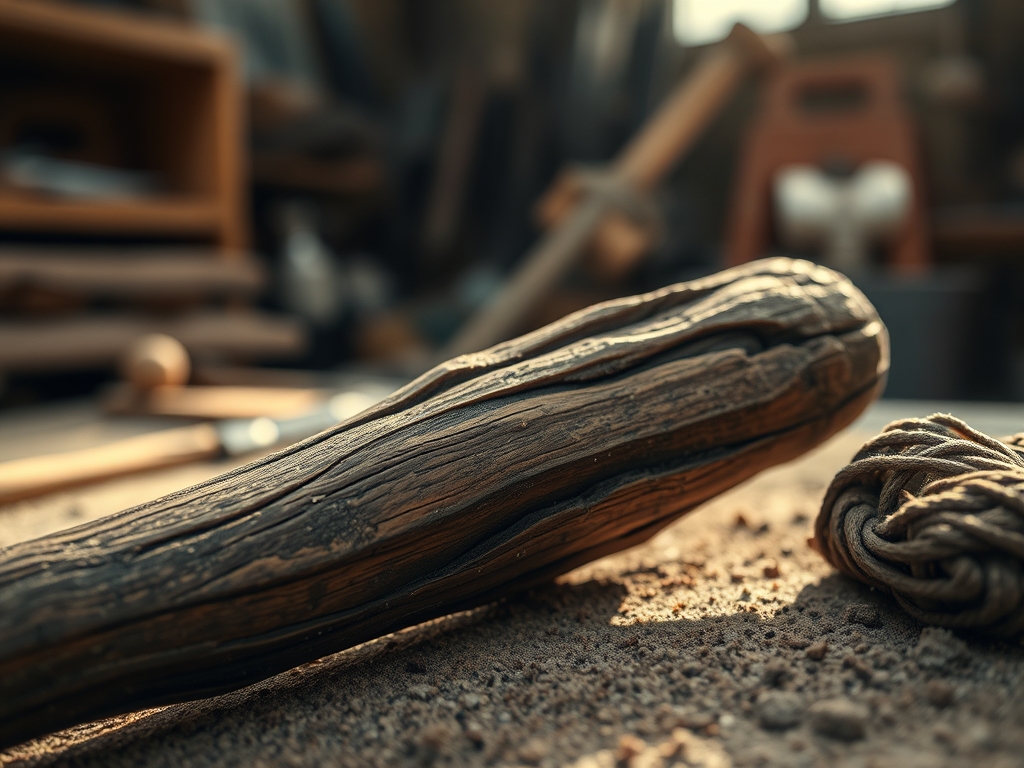
Walking through the woods is basically a high stakes grocery run for my soul. My eyes are constantly scanning the undergrowth for that perfect curve of wild grapevine or the weathered silver of a fallen birch limb. Working with Foraged Materials For Art is about more than just picking up sticks; it is a deep dive into the mechanical properties of the natural world. When you hold a fresh length of wisteria vine, you are feeling the tensile strength of a living hydraulic system. The way it resists a bend tells you everything about its internal moisture content and the density of its cellulose fibers. I love the grit of the bark against my palms and the smell of damp earth that clings to the nodes. It is tactile, messy, and intellectually stimulating because every piece is a unique engineering puzzle waiting to be solved. We are not just making decor; we are collaborating with the structural integrity of the forest.
THE STUDIO KIT
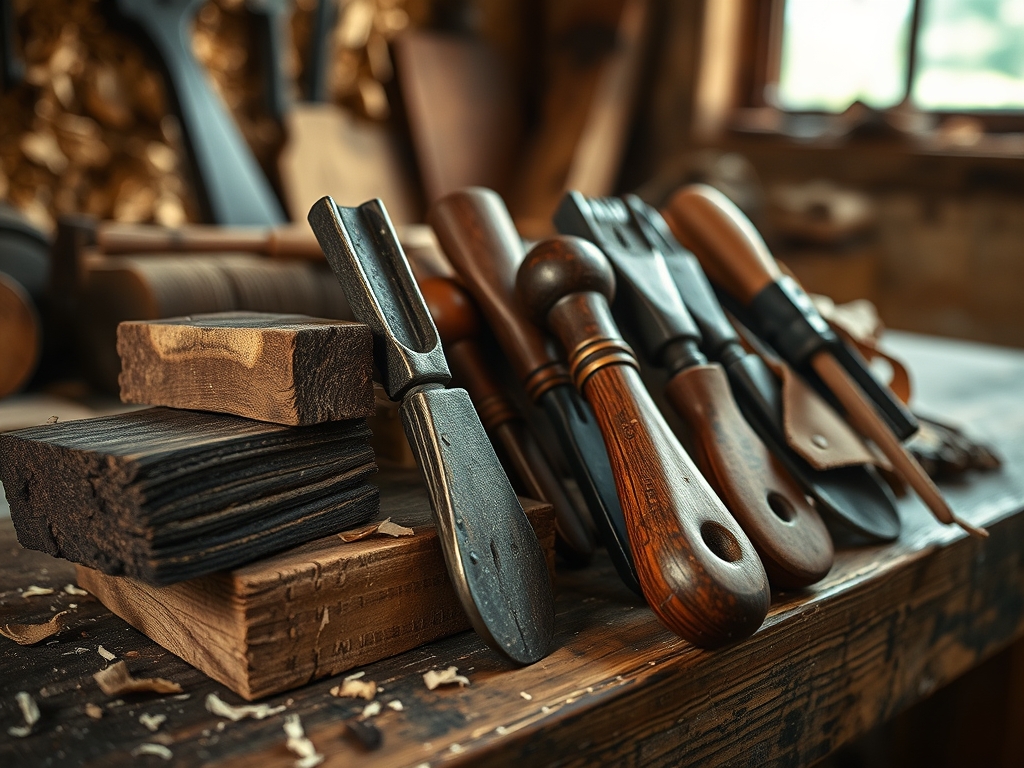
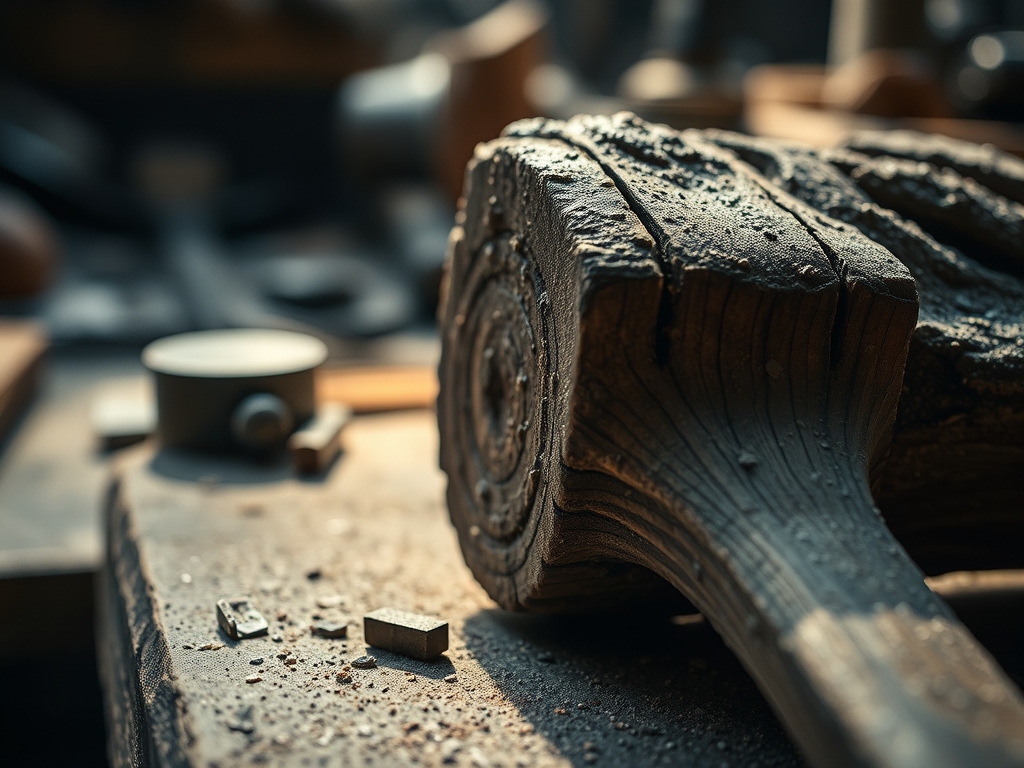
To transform raw nature into a stable masterpiece, you need a kit that respects the porous nature of wood. My go-to is a pair of high carbon steel bypass pruners for clean cuts that do not crush the delicate vascular cambium of the branch. I also keep a fine-toothed Japanese pull saw for thicker limbs; the kerf is so thin it preserves the grain beautifully. For detail work, a sharp awl is essential for pre-drilling holes to prevent splitting, and a bone folder helps strip bark without scarring the underlying wood.
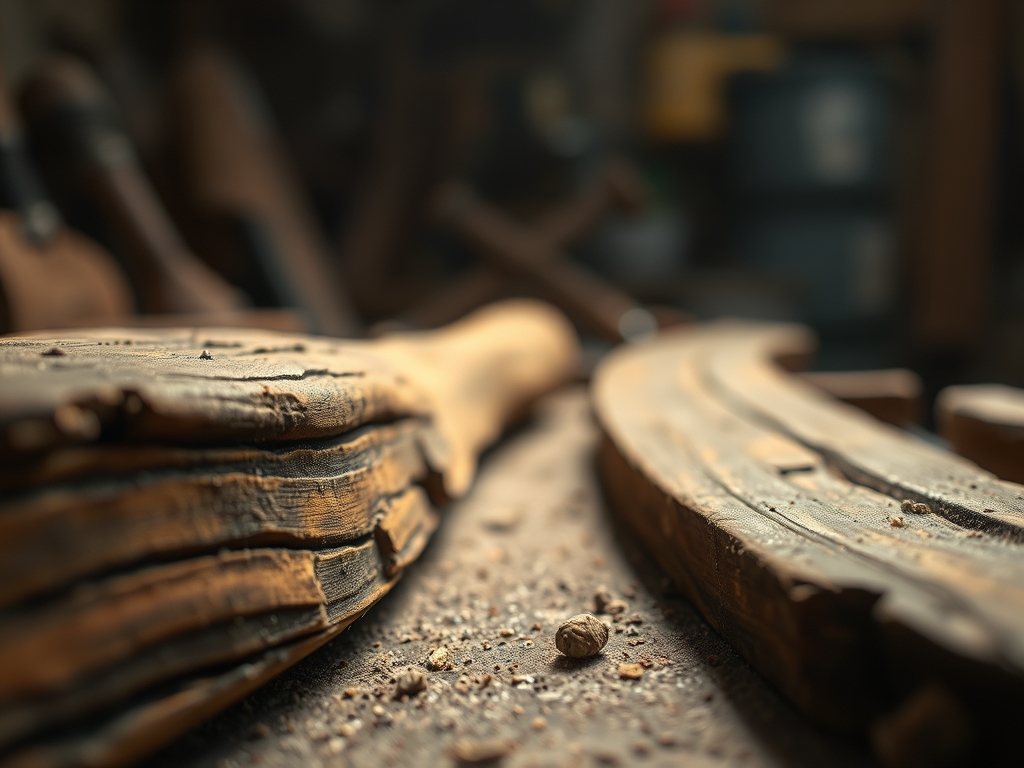
For the materials themselves, look for willow for flexibility or oak for rigid structural frames. If you cannot find specific vines, a great Material Substitution is soaked rattan or even heavy-gauge copper wire wrapped in raffia. These mimic the ply and flexibility of natural runners. You will also need a high-quality wood glue with a high solids content to bridge the gaps in uneven surfaces, and perhaps some linseed oil to burnish the final surface to a soft glow.
THE TEMPO
The "Maker's Rhythm" for foraged art is dictated by the seasons and the drying rack. You cannot rush the equilibrium moisture content. The initial collection and cleaning phase usually takes about two hours of active trekking and scrubbing. Once you bring your treasures home, the "Seasoning Phase" begins. This can take anywhere from three days to two weeks depending on the thickness of the material.
The actual construction is the "Flow State," which typically lasts four to six hours for a medium-sized sculpture or basket. You have to work while the fibers are still somewhat hygroscopic if you want them to bend without snapping. Finally, the "Curing Phase" requires forty-eight hours of undisturbed rest in a temperature-controlled environment to ensure the joints set and the wood does not warp as it loses its remaining internal hydration.
THE CORE METHOD
1. Hydration and Pliability
Before you start bending, you must assess the lignin flexibility. If your vines are brittle, they need a deep soak. Submerge your materials in a galvanized tub for at least twelve hours. This reintroduces moisture into the cell walls, making them much more forgiving during the manipulation process.
Mastery Tip: This works because of capillary action. The water molecules travel through the old xylem pathways, expanding the cell walls and reducing the internal friction between fibers, which prevents the wood from fracturing under stress.
2. Structural Framework Construction
Start with your heaviest, most rigid branches to create a "skeleton." Use your calipers to ensure the base pieces are of a similar gauge for balance. Secure the primary joints using a "square lash" technique with waxed linen thread or fine wire. This creates a stable foundation that can support the lighter, more decorative elements.
Mastery Tip: Focus on structural integrity by triangulation. In physics, the triangle is the only polygon that is inherently rigid. By bracing your frame in triangular patterns, you distribute the load across the joints rather than putting all the pressure on a single point of contact.
3. Weaving and Tensioning
Now, take your most flexible vines and begin weaving them through the frame. Use a "random weave" or a "twining" technique. As you pull the vine through, maintain a consistent tension. If you pull too hard, you risk snapping the vine; too loose, and the piece will rattle once the wood shrinks during the final drying process.
Mastery Tip: This step utilizes surface tension and friction. As the vines overlap, the rough texture of the bark creates "mechanical interlock." This means the piece becomes stronger and more cohesive the more layers you add, as each new vine adds another point of frictional resistance.
4. Refining and Burnishing
Once the shape is complete, use a rotary cutter or small snips to trim away any "whiskers" or stray fibers. Take your bone folder and rub it briskly over the surface of the wood. This is called burnishing. It compresses the surface fibers and creates a natural sheen without the need for heavy chemical varnishes.
Mastery Tip: Burnishing works by generating localized heat through friction, which softens the natural resins in the wood. When these resins cool, they create a hardened, protective "skin" that seals the porous surface against humidity changes.
THE TECHNICAL LEDGER
Maintenance & Longevity: To keep your foraged art from becoming brittle, apply a light coat of beeswax or walnut oil every six months. This maintains a barrier against oxidative stress and prevents the fibers from desiccation. Keep the pieces away from direct heat vents, as rapid temperature shifts can cause the wood to check or split.
Material Variations:
- Sustainable: Use invasive species like English Ivy or Oriental Bittersweet. Removing these helps the local ecosystem.
- Recycled: Incorporate stripped copper wire from old electronics to add a metallic "vein" to your organic shapes.
- Premium: Harvest "curly" willow or ghost wood for high-contrast textures and unique growth patterns.
The Correction:
- The Snap: If a branch breaks mid-bend, do not glue it. Instead, use a "scarf joint" by tapering both ends and overlapping them with a tight wrap of thread.
- The Wobble: If the frame is unstable, add a "diagonal brace" to the weakest corner to redirect the gravitational load.
- The Mold: If you see white fuzz, the wood was too wet. Wipe it with a diluted vinegar solution and increase the airflow in your studio immediately.
Studio Organization: Store your foraged stash vertically in breathable bins. Do not stack them horizontally, as the weight of the pile can crush the vascular structures of the bottom layers. Label your bins by "Flexibility Grade" so you know exactly which pieces are ready for weaving and which are for structural frames.
THE FINAL REVEAL
There is nothing quite like the moment you step back and see a wild, chaotic pile of sticks transformed into a sophisticated piece of art. The finished work has this incredible tactile quality that beckons people to touch it. It feels alive because it carries the geometry of the forest in its curves. When the light hits the burnished bark and the shadows play through the woven gaps, you realize you have captured a moment of natural growth and frozen it in time. It is high-energy, high-impact, and honestly, it makes you feel like a forest wizard with a very organized tool kit.
STUDIO QUESTIONS
How do I stop my vines from snapping?
Soak them in warm water to increase fiber elasticity. If they are still brittle, the lignin has likely bonded too tightly, meaning the material is too old for tight bends and should be used for straight structural elements instead.
What is the best way to clean foraged wood?
Use a stiff nylon brush and a mixture of water and mild soap. This removes loose debris and insects without damaging the vascular cambium. Ensure the wood is completely surface-dry before applying any adhesives or oils to the piece.
Can I use any type of vine for art?
Most vines work, but avoid toxic species like Poison Ivy. Look for vines with high tensile strength like grapevine or honeysuckle. Always test a small section by wrapping it around your finger to check for "snap-back" or breakage before harvesting.
How do I prevent the wood from shrinking?
All natural wood shrinks as it reaches equilibrium moisture content. To minimize the visual impact, weave your pieces tightly and allow the material to "season" for a few days in your studio before the final assembly and tightening of the joints.