Sticky fingers are the universal badge of a maker who has truly committed to the craft. There is a specific, tactile thrill in feeling the viscous pull of a resin against your fingertips; it is the physical manifestation of structural integrity. Today, we are diving deep into the ancient chemistry of stickiness by Foraging For Natural Adhesives right from the backyard. We are moving beyond the plastic bottles of the hardware store and tapping into the molecular bonds found in pine sap and hide scraps. This is not just about making things stick; it is about understanding the tensile strength of organic polymers and how they interface with porous surfaces. When you grasp the science of how a liquid transitions into a solid matrix, you unlock a level of self-sufficiency that most modern crafters can only dream of. We are going to harness the power of thermoplastic resins and protein-based glues to create bonds that can withstand the test of time and weather.
THE STUDIO KIT
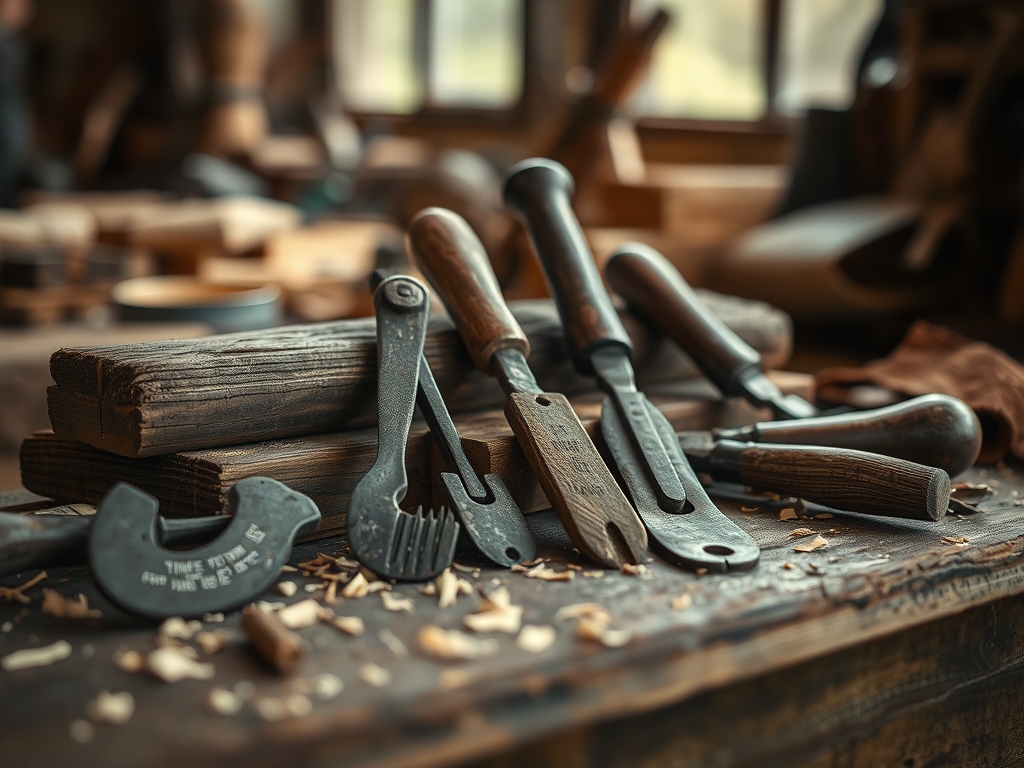
To master the art of natural bonding, your studio needs more than just a campfire. You require precision instruments to manage the viscosity and purity of your raw materials. Your primary tool will be a heavy-gauge stainless steel pot or a double boiler to prevent scorching the delicate protein chains. For filtration, a fine mesh sieve or several layers of cheesecloth are essential to remove forest debris that could create structural weak points. You will also need a digital thermometer to monitor temperatures; overheating pine resin can lead to brittleness, while under-heating hide glue prevents the necessary collagen denaturation.
For the actual application, keep a bone folder and a set of stiff-bristle natural brushes nearby. The bone folder is crucial for pressing joined surfaces together to eliminate air pockets, ensuring maximum surface contact. If you are working with thick resin, an oscillating tool with a sanding attachment can help prep the surfaces by increasing the surface area through micro-abrasions.
Material Substitutions: If you cannot find fresh pine resin, you can substitute with crushed rosin used by violinists. For those lacking access to raw animal hides for protein glue, high-quality unflavored gelatin serves as a refined substitute, offering a similar molecular weight and bonding profile. If you need a more flexible bond, adding a few drops of glycerin will act as a plasticizer, preventing the dried glue from cracking under stress.
THE TEMPO
The rhythm of making natural glue is dictated by the laws of thermodynamics and evaporation. You cannot rush a chemical bond. The Foraging Phase usually takes sixty to ninety minutes, depending on your local ecosystem and the yield of the trees. Once back in the studio, the Extraction Phase requires a slow, steady simmer of two to four hours. This is the "Maker's Rhythm," a meditative period where you monitor the reduction of the liquid.
The Application Window is surprisingly short; natural adhesives often have a high initial tack but a fast cooling or drying rate. You have roughly three to five minutes to align your pieces before the glue begins to set. Finally, the Curing Phase is the most critical. While the glue might feel dry to the touch in an hour, it requires a full twenty-four hours for the moisture to fully evacuate the interstitial spaces of the material, reaching its maximum tensile strength.
THE CORE METHOD
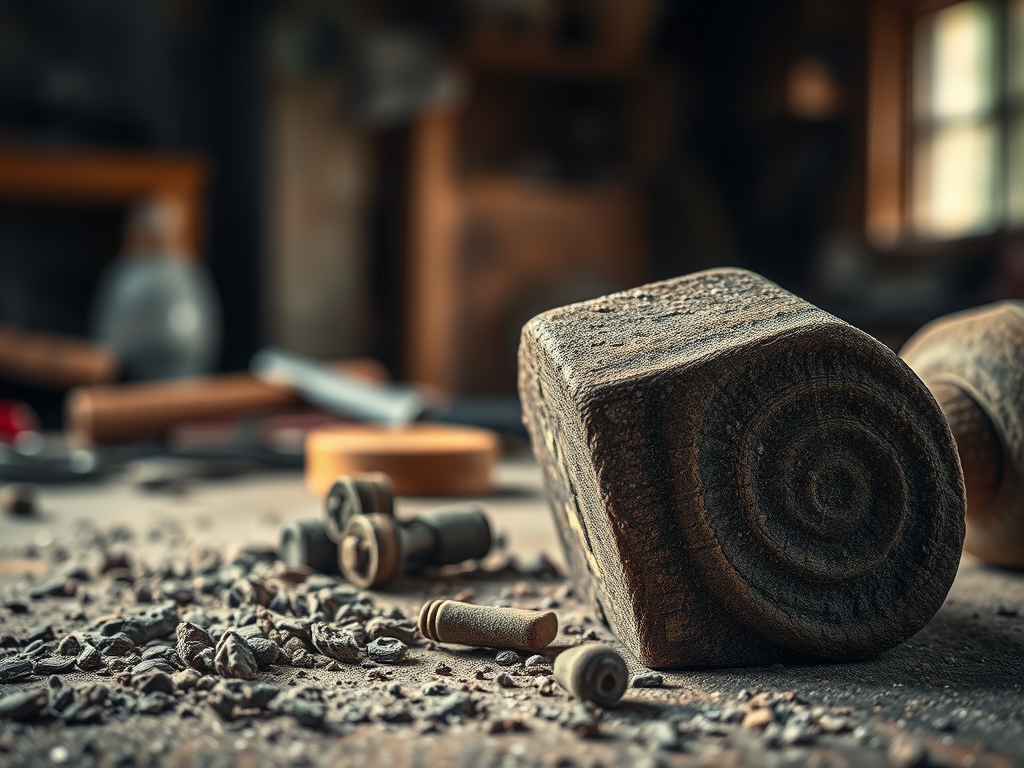
1. Resin Harvesting and Liquefaction
Begin by collecting hardened "tears" of resin from coniferous trees. Place the raw resin in your double boiler and heat it slowly until it reaches a fluid state. Avoid direct flame, as resin is highly flammable. Once liquid, pass it through your sieve to remove bark and pine needles.
Mastery Tip: This process relies on thermal transition. By keeping the temperature just above the melting point, you preserve the volatile terpenes that keep the resin from becoming too brittle. If the resin is too hard when cooled, reheat and stir in a small amount of charcoal powder to act as a reinforcing filler.
2. Collagen Extraction for Protein Glue
For a powerful wood-to-wood bond, simmer clean hide scraps or tendons in water. Do not let the water boil aggressively; a gentle simmer at roughly 140 degrees Fahrenheit is the "sweet spot" for breaking down the connective tissues into glue.
Mastery Tip: The science here is hydrolysis. You are breaking down complex proteins into simpler, sticky chains. If the temperature exceeds 160 degrees, the protein chains break too much, significantly reducing the shear strength of the final adhesive.
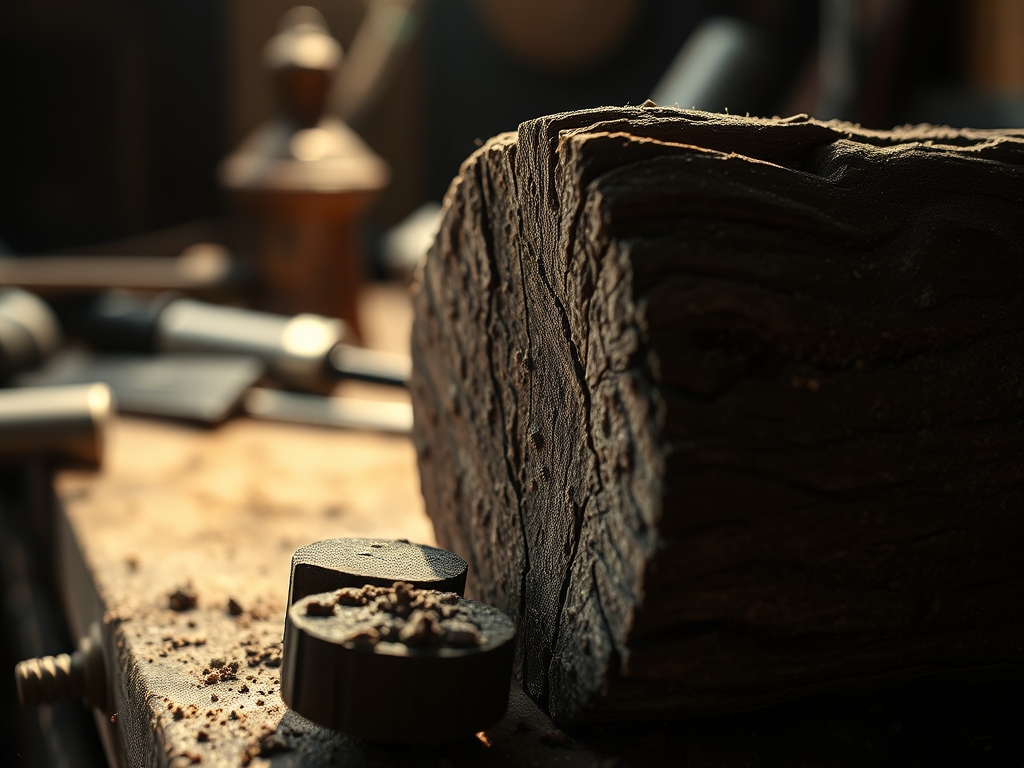
3. Surface Preparation and Burnishing
Before applying your foraged glue, use a rotary cutter or sandpaper to ensure the edges are perfectly flush. Apply a thin, even layer of the warm glue to both surfaces. Press them together and use your bone folder to burnish the joint, forcing the glue into the capillary structure of the material.
Mastery Tip: This utilizes capillary action. The glue is drawn into the microscopic pores of the wood or fabric. As it cools and the water evaporates, the glue "hooks" into the material, creating a mechanical bond that is often stronger than the surrounding fibers.
THE TECHNICAL LEDGER
Maintaining natural adhesives requires an understanding of organic degradation. Because these glues are bio-based, they are sensitive to moisture and microbial growth. To extend the shelf life of your liquid glue, add a few drops of clove oil, which acts as a natural preservative.
Material Variations:
- Sustainable: Use fallen branches and naturally seeping resin to avoid harming live trees.
- Recycled: Re-purpose old leather scraps for high-grade hide glue.
- Premium: Incorporate beeswax into pine resin for a "pitch" that remains slightly flexible, perfect for tool handles.
The Correction:
- The Glue is Brittle: This happens when the resin is over-processed. Fix: Re-melt and add a small amount of fat or oil to increase elasticity.
- The Bond is Weak: Likely caused by high moisture content in the substrate. Fix: Use a heat gun to pre-dry the surfaces before application.
- The Glue Won't Set: The mixture is too dilute. Fix: Simmer the glue longer to increase the solids-to-water ratio.
Studio Organization: Store your dried glue "cakes" in airtight glass jars. Keeping them in a cool, dark environment prevents the UV degradation of the polymers. When you are ready to work, simply break off a piece and reheat it in your studio pot.
THE FINAL REVEAL
Look at that bond! There is an incredible sense of pride in seeing two separate elements fused together by a substance you extracted from the earth. The finish is organic, the scent is reminiscent of a deep forest, and the structural integrity is professional-grade. When you run your hand over the joint, you shouldn't feel a seam; it should feel like a singular, continuous object. This is the pinnacle of the maker's journey: bridging the gap between raw nature and refined craft. You have successfully navigated the physics of adhesion and the chemistry of the wild.
STUDIO QUESTIONS
Can natural glues be used on non-porous surfaces like metal?
Pine pitch works best for metal because it creates a mechanical "wrapper" bond. However, pure protein glues require porous surfaces to anchor their molecular chains. Roughening the metal with a file can improve the mechanical grip.
How long does foraged pine resin glue last?
In a solid, dry state, pine resin glue can last for centuries. Once applied to a project, it remains stable as long as it is not exposed to extreme heat, which could cause the thermoplastic to soften.
Is natural hide glue reversible?
Yes, one of the best technical features of protein glue is its reversibility. By applying localized heat and moisture, you can soften the bond to make repairs without damaging the original material. This is why it is preferred by luthiers.
Does the species of tree matter for resin quality?
Absolutely. Pine and larch provide the most abundant and consistent resin yields. Each species has a different concentration of alpha-pinene, which affects the scent, clarity, and the eventual brittleness of the cured adhesive.