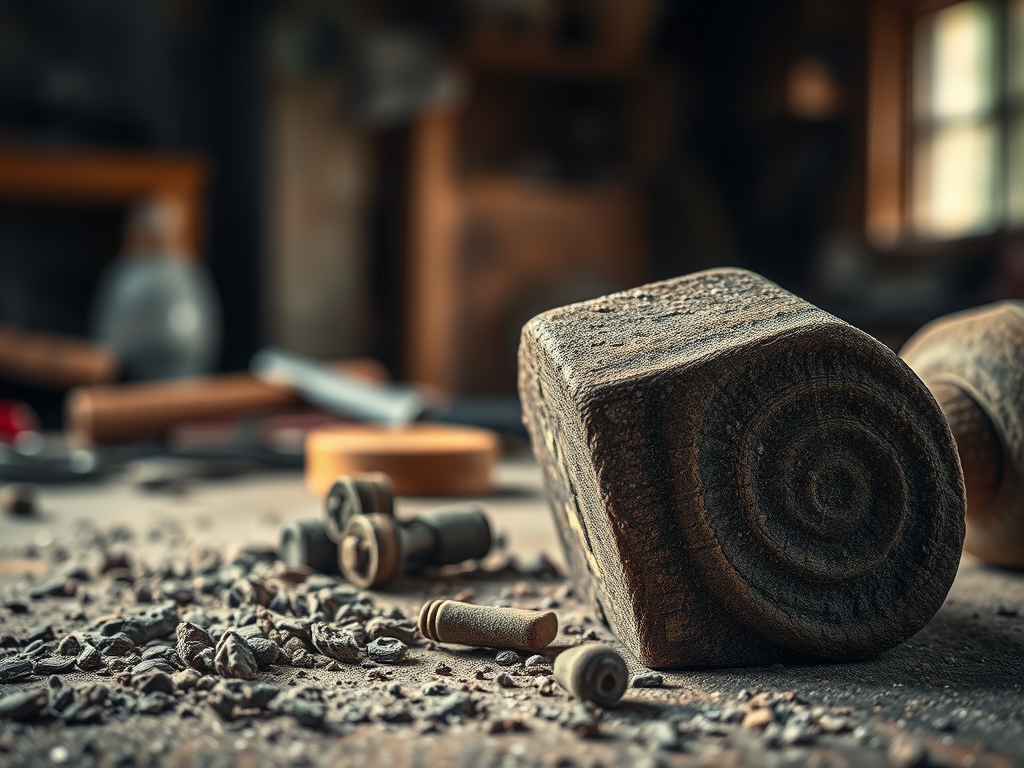
Run your fingers along the rough, desiccated skin of a fallen oak limb and you will feel the latent potential of structural art. There is a specific, electric thrill in Foraging For Rustic Handles because you are not just picking up yard waste; you are sourcing a functional lever that must withstand years of mechanical stress. The tactile feedback of a perfect branch is unmistakable. It should feel dense and cold, indicating a high moisture content has already evaporated, leaving behind a rigid cellular matrix. When we hunt for these pieces, we are looking for the intersection of ergonomic curvature and tensile strength. You want a specimen that fits the palm with a natural sweep but possesses the internal integrity to resist shearing forces when pulled. This is about more than just a rustic vibe. It is a study in lignin density and the way a tree reinforces its own joints against the wind. Grab your boots and your sharpest folding saw. We are heading into the brush to find a handle that feels like it grew specifically for your hand.
THE STUDIO KIT

To transform a raw find into a professional-grade door pull, you need a kit that respects the fibrous anatomy of the wood. You cannot simply bolt a stick to a door and expect it to last. We use digital calipers to measure the diameter at the mounting points, ensuring a flush fit against the door stile. A high-quality oscillating tool with a sanding attachment is essential for removing loose cambium without scarring the heartwood. For the mounting hardware, you will need stainless steel hanger bolts and a drill press or a very steady hand with an impact driver.
Material Substitutions: If you cannot find a hardwood branch like Oak or Hickory, look for Mountain Laurel or Rhododendron. These species offer incredible torsional rigidity even in thinner gauges. If you are working in an urban environment where foraging is limited, reclaimed teak garden furniture slats can be shaped using a spokeshave to mimic the organic flow of a natural branch while maintaining superior weather resistance.
THE TEMPO
The "Maker's Rhythm" for this project is dictated by the hygroscopic nature of the wood. You cannot rush the seasoning process.
- The Hunt (1-2 Hours): This is the high-energy phase. You are scanning for geometry and health.
- The Cure (2-4 Weeks): If the wood is green, it must sit in a temperature-controlled environment to reach equilibrium moisture content. Rushing this leads to checking and radial cracks.
- The Refinement (3 Hours): This is the flow state. Sanding, shaping, and fitting the hardware requires focused, repetitive motion.
- The Curing (24 Hours): Allowing the oils or resins to polymerize and bond with the cellulose fibers.
THE CORE METHOD
1. Assessing Structural Integrity
Before you even cut, perform a "stress test" by applying pressure against a solid object. We are looking for brittle failure. If the branch snaps with a clean, powdery break, the hemicellulose has degraded. We want a "green-stick" flex or a rock-hard resistance.
Mastery Tip: Wood strength is often tied to vessel element distribution. Ring-porous woods like Oak have large pores at the start of the growth ring, making them incredibly strong in tension but prone to splitting if you drill too close to the end grain without a pilot hole.
2. Debarking and Surface Prep
Use a drawknife or a sturdy chisel to strip the outer bark. You must reach the xylem layer, which is the smooth, hard surface beneath the protective skin. This layer provides the best surface for burnishing.
Mastery Tip: The capillary action of the wood is highest at the ends. If you leave the bark on, moisture gets trapped, leading to fungal decay. Removing the bark allows the wood to "breathe" and reach a stable state faster.
3. Creating the Flat Plane
A branch is round, but a door is flat. You must use a block plane or a rasp to create two perfectly parallel flat spots on the underside of the branch. These are your mounting "feet."
Mastery Tip: This creates a mechanical bond rather than just a point of contact. By increasing the surface area where the wood meets the door, you distribute the lateral load across a larger section of the door's grain, preventing the hardware from wobbling over time.
4. Precision Boring
Mark your centers using a center punch to prevent the drill bit from wandering. Drill your pilot holes at a 90-degree angle to the flat planes you created.
Mastery Tip: Use a bit that is 1/16th of an inch smaller than your bolt. This forces the threads to cut into the lignin, creating a high-friction interface that acts as a natural locking mechanism without the need for messy adhesives.
5. Finishing and Polymerization
Apply a tung oil or beeswax finish. Rub the finish in with a bone folder or a smooth stone to compress the surface fibers.
Mastery Tip: This is called burnishing. By applying pressure during the oiling process, you collapse the surface pores, increasing the hydrophobic properties of the handle and making it resistant to the oils from human hands.
THE TECHNICAL LEDGER
Maintenance & Longevity: Every six months, wipe the handle with a citrus-based wax. This replenishes the lipids in the wood and prevents the fibers from becoming brittle due to indoor climate control.
Material Variations:
- Sustainable: Foraged deadfall from local hardwoods.
- Recycled: Driftwood (must be soaked in fresh water to remove sodium chloride crystals which corrode hardware).
- Premium: Kiln-dried burl branches for maximum visual density.
The Correction:
- Mistake: The branch cracks after mounting. Fix: Fill the "check" with a mixture of sawdust and cyanoacrylate glue, then sand flush.
- Mistake: The handle feels "fuzzy." Fix: You have raised the grain. Lightly mist with water, let dry, and sand with 400-grit sandpaper.
- Mistake: Hardware is loose. Fix: Back the screw out, insert a small sliver of wood (a matchstick works) into the hole, and re-drive the screw to increase compression.
Studio Organization: Store your foraged branches horizontally on a racking system with spacers (stickers) between them. This ensures even airflow and prevents bowing or warping due to uneven drying.
THE FINAL REVEAL
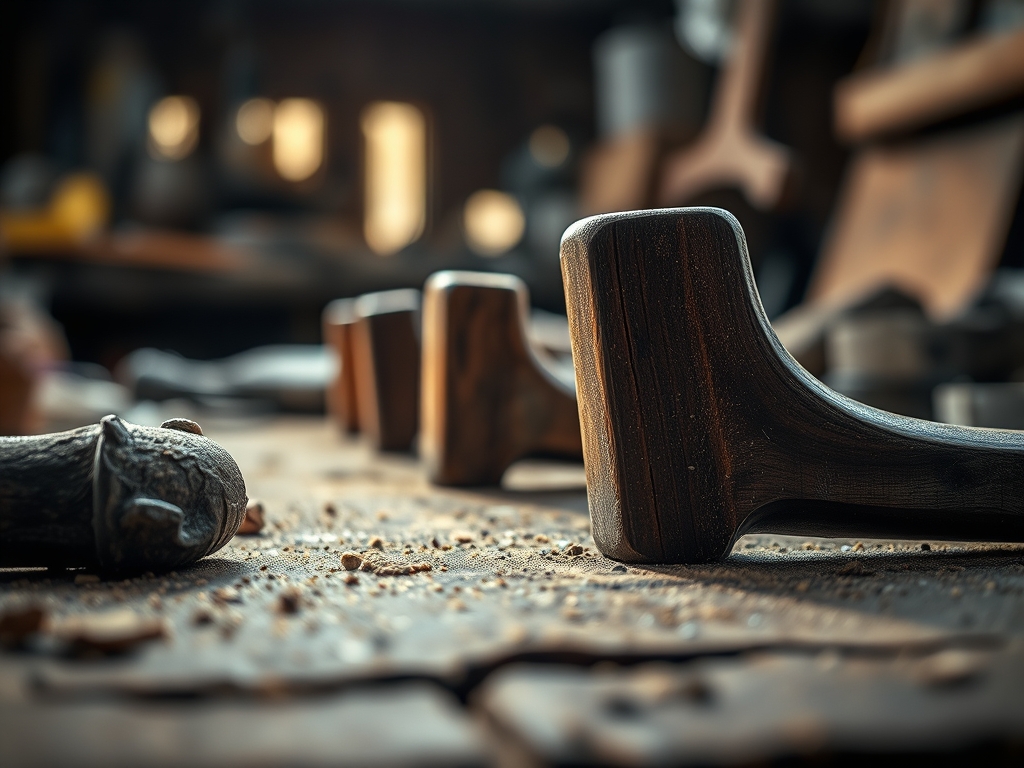
The finished handle is a masterpiece of biophilic design. When you grasp it, the wood feels warm, a stark contrast to the cold, sterile feel of industrial metal. The natural contours provide an ergonomic grip that feels custom-molded to the human hand. It is a functional sculpture that tells a story of the forest while performing a high-strain task with grace. Your door is no longer just an entrance; it is a tactile experience that grounds you every time you leave or enter your home.
STUDIO QUESTIONS
What is the best wood for a door pull?
Hardwoods like Oak, Hickory, or Maple are ideal due to their high Janka hardness rating. These species offer the necessary compressive strength to hold hardware securely while resisting the wear and tear of frequent daily use.
How do I prevent the wood from splitting?
Always drill pilot holes before inserting screws. This removes a portion of the wood fiber, reducing the internal hoop stress created when a screw displaces the material. For end-grain mounting, use a bit slightly larger than the screw shank.
Can I use a "green" branch immediately?
No. Green wood has high moisture content, which causes it to shrink as it dries. If mounted while wet, the wood will pull away from the hardware, causing the handle to become loose and potentially develop structural stress fractures.
How do I sanitize foraged wood?
Wipe the branch with a diluted borate solution or bake it in an oven at 200 degrees Fahrenheit for one hour. This kills any latent insect larvae or fungal spores without compromising the cellular integrity of the wood fibers.