
Imagine the scent of raw, vegetable-tanned leather mixing with the sharp, clean aroma of freshly shorn wool. Your hands trace the organic irregularities of a reclaimed oak surface; it is cool, dense, and ready for transformation. This is where we build The Sustainable Studio Dream. It is more than a workspace; it is a closed-loop ecosystem where every scrap of material possesses a calculated future. When you grip a heavy brass awl, you feel the weight of intentionality. We are moving away from the disposable culture of mass-produced kits and diving deep into the physics of longevity. We are looking at grain direction, fiber density, and the molecular bonds of natural adhesives. To live a zero waste life, you must understand that "waste" is simply a failure of design. We are going to engineer beauty from the remnants, turning high-gauge copper wire and linen offcuts into heirlooms. Grab your calipers; we are about to measure our way into a more conscious form of creation.
THE STUDIO KIT
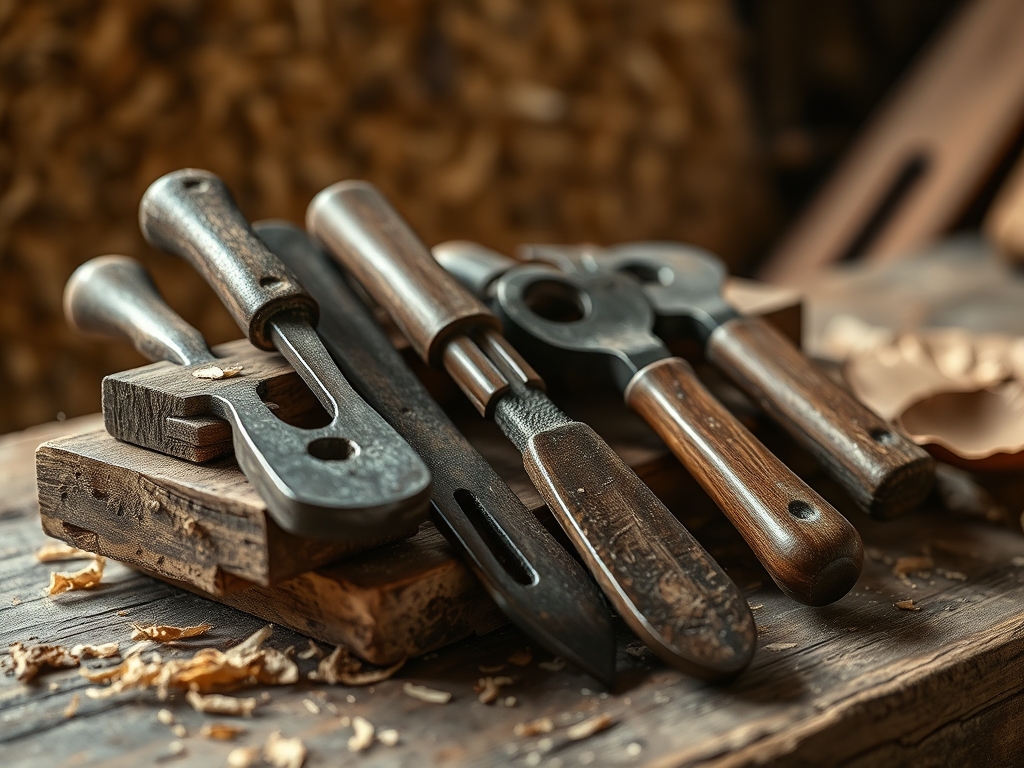
To execute this vision, your toolkit must be an extension of your own biomechanics. We start with a **Japanese pull saw**, which utilizes a thinner blade than Western push saws because the steel is under tension during the cut, preventing buckling and reducing kerf waste. For textile work, a **heavy-duty rotary cutter** with a tungsten carbide blade is essential for maintaining clean edges on high-density wool felt. You will also need a **bone folder** made from genuine bovine bone; its smooth, non-porous surface allows you to burnish paper or leather without leaving oily residues or damaging the delicate cellulose fibers.
Material Substitutions are the heartbeat of the zero waste philosophy. If you lack high-grade leather, look for cork fabric, which offers incredible tensile strength and natural antimicrobial properties due to the presence of suberin. Instead of synthetic glues, we utilize rabbit skin glue or wheat starch paste, both of which are reversible and biodegradable. Using a digital caliper, you can ensure that your material thickness is consistent to within 0.1mm, which is vital when calculating the friction fit of a joinery project.
THE TEMPO
The Maker's Rhythm is not about speed; it is about the synchronization of your heart rate with the physical resistance of your medium. We divide our process into three distinct phases. First is the Curation Phase (2 hours), where we audit our scrap bin and analyze the grain direction of every piece to ensure structural integrity. Next is the Active Construction (4 to 6 hours), a period of high-intensity focus where we utilize an oscillating tool for precision sanding or a jeweler's saw for intricate metal inlays. Finally, we enter the Curing Phase (24 hours), allowing natural oils or adhesives to stabilize at a molecular level. This tempo prevents "maker fatigue," a state where cognitive decline leads to measurement errors and material waste.
THE CORE METHOD
1. The Structural Audit
Before the first cut, you must map the tensile strength of your materials. For wood, this means identifying the heartwood versus the sapwood; for fabric, it means finding the true bias. Use a T-square to mark your cut lines, ensuring they follow the natural flow of the fibers to prevent future warping.
Mastery Tip: Understanding hygroscopy is vital here. Natural materials expand and contract based on atmospheric humidity. By acclimating your materials to your studio environment for 48 hours, you ensure that your precision joints will not fail when the seasons change.
2. Precision Extraction
Using a rotary cutter or a sharp X-Acto blade, extract your components using "nesting" patterns. This mathematical approach minimizes the negative space between shapes, drastically reducing offcuts. If you are working with metal, a jeweler's saw allows for tight radii that a standard hacksaw cannot achieve.
Mastery Tip: This step relies on shear stress. A sharper blade requires less downward force, which prevents the material from compressing or distorting during the cut. This maintains the geometric accuracy required for complex assemblies.
3. The Thermal or Chemical Bond
Whether you are soldering copper with a butane torch or applying a natural resin, the interface between two materials is a site of intense physics. Clean the surfaces with isopropyl alcohol to remove lipids that interfere with capillary action, ensuring the adhesive or solder flows deeply into the pores of the substrate.
Mastery Tip: Observe the surface tension of your bonding agent. If it beads up, the surface is too smooth or contaminated. Lightly scuffing the area with 400-grit sandpaper increases the surface area, creating a mechanical "tooth" for a superior bond.
4. The Burnish and Finish
The final stage involves closing the pores of your material to protect it from oxidation. Use your bone folder or a wooden burnisher to friction-heat the edges of leather or wood. This process realigns the surface fibers into a dense, protective barrier that shimmers without the need for synthetic lacquers.
Mastery Tip: This is the science of friction-induced polymerization. The heat generated by the burnishing tool helps natural waxes or oils penetrate deeper into the material, creating a hydrophobic seal that is entirely sustainable.
THE TECHNICAL LEDGER
Maintenance & Longevity: To keep your studio running, your steel tools must be wiped with camellia oil to prevent oxidation. Wooden handles should be treated with raw linseed oil to maintain their ergonomic grip and prevent splintering.
Material Variations:
- Sustainable: Organic hemp webbing (high tensile strength, low water footprint).
- Recycled: Pre-consumer industrial felt (excellent acoustic and thermal insulation).
- Premium: Grade A vegetable-tanned shoulder (superior density for carving).
The Correction:
- The Gap: If a joint has a visible gap, do not use plastic wood. Mix fine sawdust from the same species with hide glue to create a tonal-matched structural filler.
- The Tear: If fabric frays, use a fray check made from diluted cornstarch to stabilize the weave before re-sewing with a reinforced backstitch.
- The Oxidation: If copper or brass dulls prematurely, a paste of lemon juice and salt acts as a natural acid etchant to strip the tarnish without damaging the base metal.
Studio Organization: Store your materials in a climate-controlled zone away from direct UV light. Use acid-free archival boxes for textiles to prevent "acid migration," which causes yellowing and fiber degradation over time.
THE FINAL REVEAL
Look at that! You have taken a pile of disparate, "useless" scraps and engineered them into a functional masterpiece. The edges are crisp, the bonds are unbreakable, and the aesthetic is undeniably professional. There is a specific high-energy hum that vibrates through a finished piece when the physics are right. You have minimized waste not by sacrifice, but by superior skill. This is the tangible result of The Sustainable Studio Dream: a piece that feels heavy with quality and light on the planet.
STUDIO QUESTIONS
How do I prevent my natural glues from molding?
Add a few drops of clove oil or tea tree oil to your mixture. These act as natural fungicides, inhibiting microbial growth without compromising the adhesive's chemical bond or the structural integrity of your porous materials.
What is the best way to sharpen a rotary blade?
While you can use specialized sharpeners, the most sustainable method is using a diamond whetstone. Keep the blade at a consistent 15-degree angle to maintain the factory bevel, ensuring a clean shear through high-density fibers every time.
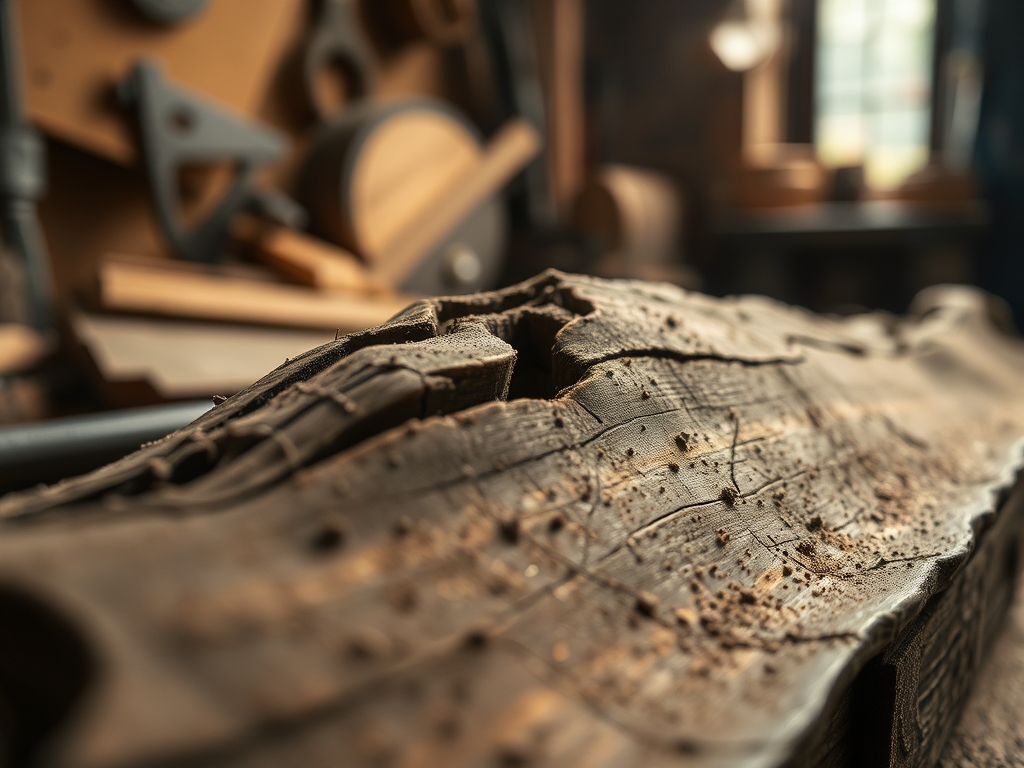
Can I use reclaimed wood for high-stress joints?
Yes, but you must check for internal checking or dry rot. Use a moisture meter to ensure the wood is between 6% and 8% moisture content. If it is too dry, it becomes brittle and prone to catastrophic failure.
Why does my leather edge look fuzzy after burnishing?
You likely skipped the sanding gradient. You must sand the edge with progressively finer grits (up to 800) to flatten the fibers before applying friction. Without a smooth foundation, the burnisher cannot create a uniform, glassy seal.

