
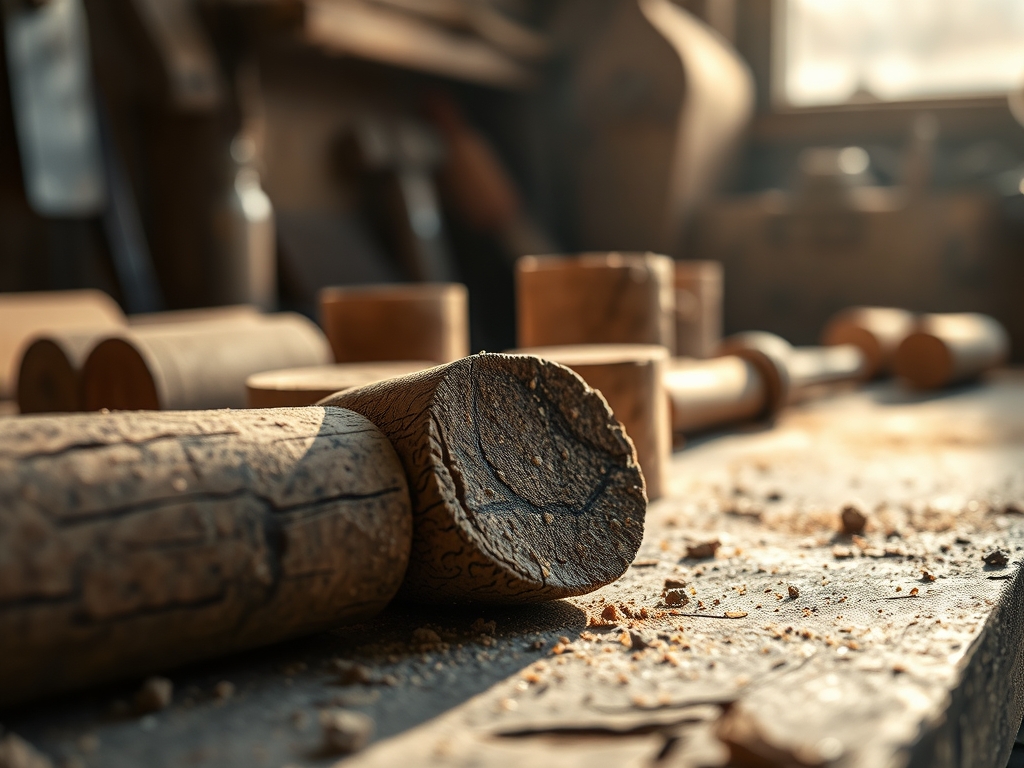
Imagine the scent of a sun-drenched Mediterranean forest floor combined with the crisp, clean snap of a high-end design studio. That is the sensory playground we are entering today. We are moving beyond the flimsy bulletin boards of your childhood and diving deep into the sophisticated world of quercus suber. This material is a marvel of evolutionary engineering. It is composed of millions of tiny, air-filled hexagonal cells that act like microscopic shock absorbers. When you press your thumb into a premium sheet, you are feeling the literal displacement of trapped air. This unique cellular structure is why we are obsessed with Natural Cork Crafts Basics for your desk setup. It is not just a surface; it is a high-performance, moisture-resistant, and fire-retardant skin for your workspace. We are going to harness its natural elasticity and high friction coefficient to build gear that feels as expensive as it looks. Grab your favorite espresso; it is time to get tactile.
THE STUDIO KIT
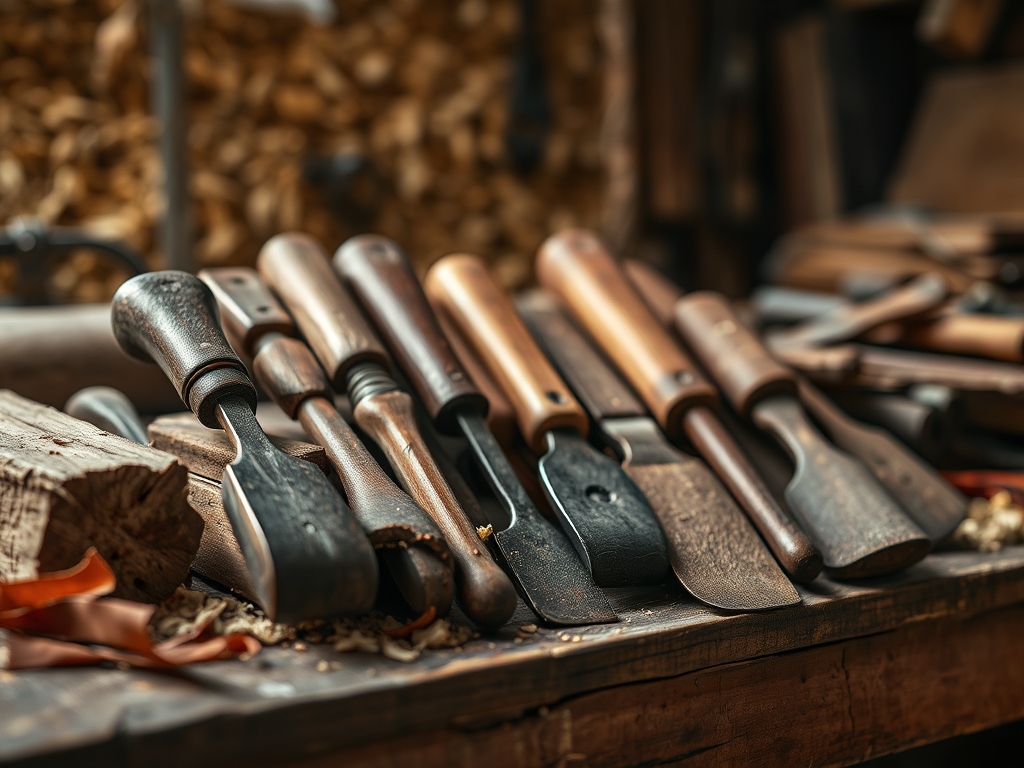
To master this medium, you need a kit that respects the material's porous nature and low shear strength. Unlike leather, which has long, interlocking protein fibers, cork is a honeycomb of suberin. This means your tools must be surgically sharp to prevent crumbling. You will need a heavy-duty rotary cutter with a fresh tungsten carbide blade to ensure clean edges. A stainless steel cork-backed ruler is non-negotiable; the grip prevents the tool from sliding during high-pressure cuts.
For assembly, we use contact cement or high-tack cyanoacrylate for instant bonding, as water-based glues can cause the cells to swell and warp. You should also have a bone folder for crisp creases and a digital caliper to measure the thickness of your sheets, which usually range from 1mm to 6mm. If you cannot find premium cork fabric, a high-quality synthetic vegan leather with a felt backing can serve as a material substitution, though it lacks the thermal insulation properties of the real deal.
THE TEMPO
The "Maker's Rhythm" for cork is surprisingly fast but requires a steady hand. Because we are dealing with a material that does not "heal" once punctured, every cut must be intentional. Plan for a sixty-minute acclimatization phase where your material sits in your studio to reach ambient humidity. The layout and measuring phase will take about thirty minutes. The actual execution, the cutting and bonding, usually occupies a focused two-hour window. This is the flow state where you move with the grain. Finally, allow a full twenty-four hours for the adhesives to fully polymerize before you load your new gear with heavy tech accessories.
THE CORE METHOD
1. The Precision Mapping
Start by laying your cork sheet flat on a self-healing cutting mat. Use your calipers to verify the gauge across the entire surface. Even natural materials have slight variations in density. Use a silver ink pen to mark your cut lines on the reverse side. This prevents visible ink from bleeding into the lenticels (the small pores) of the finished face.
Mastery Tip: Always account for the bend radius. Because cork is a cellular solid, it compresses on the inside of a fold and stretches on the outside. If your material is 3mm thick, you must add 1.5mm to your measurements for every 90-degree fold to maintain structural integrity.
2. The Controlled Shear
When you begin your cut, do not try to slice through the entire thickness in one pass. Apply moderate pressure and use multiple strokes. This prevents the blade from dragging and tearing the delicate cell walls. Keep your blade at a 45-degree angle to the surface to minimize frictional resistance.
Mastery Tip: This technique utilizes the physics of minimal displacement. By using multiple light passes, you ensure that the downward force does not exceed the material's lateral tensile strength, resulting in a factory-smooth edge.
3. Edge Burnishing and Sealing
Once your pieces are cut, the edges might look slightly raw. Use a fine-grit sandpaper (400 grit or higher) to lightly buff the perimeter. Follow this by applying a thin layer of beeswax or a dedicated edge sealer using a wood burnisher. Friction creates heat, which melts the wax into the pores.
Mastery Tip: This process utilizes capillary action. The heat from the burnisher lowers the viscosity of the wax, allowing it to penetrate deep into the cellular structure. This creates a waterproof barrier that prevents the edges from fraying or absorbing skin oils.
4. The Molecular Bond
Apply your adhesive to both surfaces and wait for it to become "tack-free" to the touch. This is crucial. Align your pieces perfectly before they touch; with contact cement, you only get one chance. Once joined, use a heavy roller or a bone folder to apply uniform pressure across the entire bond line.
Mastery Tip: The strength of a contact bond relies on surface tension and the exclusion of air. By rolling the surface, you are forcing the adhesive molecules into the microscopic voids of the cork, creating a mechanical interlock that is often stronger than the material itself.
THE TECHNICAL LEDGER
Maintenance & Longevity: Cork is naturally antimicrobial, but it can dry out over time. Every six months, wipe your gear with a damp cloth and a drop of pH-neutral soap. Avoid alcohol-based cleaners, as they can dissolve the suberin, the natural waxy substance that keeps the cork flexible.
Material Variations:
- Sustainable: Standard bark harvested every nine years; best for general use.
- Recycled: Composed of ground granules and binders; higher density but less flexible.
- Premium (Cork Fabric): Cork shaved into micro-thin layers and bonded to a fabric backing; highest tensile strength for wallets and bags.
The Correction:
- The Ragged Edge: If your cut looks chewed, your blade is dull. Fix it by sanding the edge with 220 grit then 400 grit paper.
- The Bubbled Surface: This happens if the glue was too wet. Use a fine needle to puncture the bubble and inject a tiny amount of glue, then weight it down.
- The Cracked Fold: You folded against the grain without scoring. To fix, reinforce the back with a thin strip of washi tape or fabric.
Studio Organization: Store your cork sheets flat in a climate-controlled environment. If you must roll them, ensure the "show side" faces out to prevent compression wrinkles. Keep them away from direct UV light to prevent the natural pigments from fading.
THE FINAL REVEAL
Look at that! You have successfully transformed raw, sustainable bark into a sleek, professional piece of office architecture. The way the light hits the natural variations in the grain is absolutely stunning. It feels soft and warm to the touch, yet it possesses a durability that rivals synthetic polymers. Your desk now has a soul. This isn't just a project; it is a statement on how high-tech work can coexist with high-touch materials. You have mastered the physics of the pore, and your workspace is better for it.
STUDIO QUESTIONS
How do I stop cork from crumbling while cutting?
Ensure you use a brand-new tungsten carbide blade and make multiple light passes. Never "saw" the material; use a single, fluid motion to maintain the structural integrity of the cell walls and prevent jagged edges.
Can I sew cork on a standard machine?
Yes! Cork fabric has surprising tensile strength. Use a denier needle (size 80/12 or 90/14) and a longer stitch length to prevent the needle perforations from acting like a "tear here" line in the material.
Is cork truly waterproof for office use?
Cork contains suberin, a natural waxy substance that is highly hydrophobic. While the surface resists spills and moisture, you should seal the edges with beeswax to prevent liquid from entering the intercellular spaces via capillary action.
What is the best way to clean cork gear?
Use a soft, lint-free cloth dampened with a mixture of warm water and a tiny amount of pH-neutral soap. Avoid harsh chemicals or vigorous scrubbing, which can damage the delicate tactile surface of the bark.
How do I remove a permanent crease?
Lightly mist the area with water and use a pressing cloth with an iron on the lowest heat setting. The steam helps the compressed air cells expand back to their original geometric volume, smoothing out the surface.

