
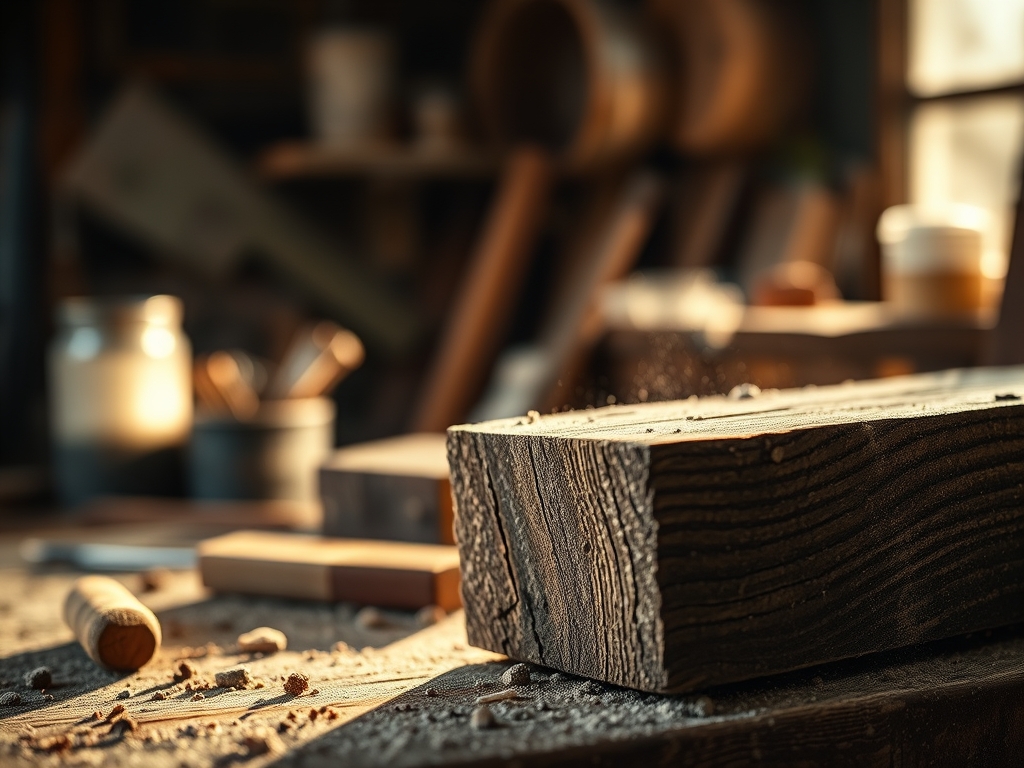
The scent of freshly planed cedar hits your lungs before you even step into the light; it is a sharp, resinous greeting that tells you exactly how the grain will behave under a blade. We are diving deep into the soul of making today. I am talking about the visceral connection between your hands and the raw substrate. To truly master this, we must embrace Integrated Workshop Values by balancing technical precision with ecological mindfulness in every single cut. This approach ensures that our creative output respects the source material while pushing the boundaries of structural integrity. When you feel the weight of a high carbon steel chisel in your palm, you are not just holding a tool; you are engaging with centuries of metallurgical evolution. We are here to make things that last, using methods that do not deplete our spirit or our planet. It is about the friction of the sander, the tension in the thread, and the absolute honesty of a well executed joint that requires no wood filler to hide its flaws.
THE STUDIO KIT
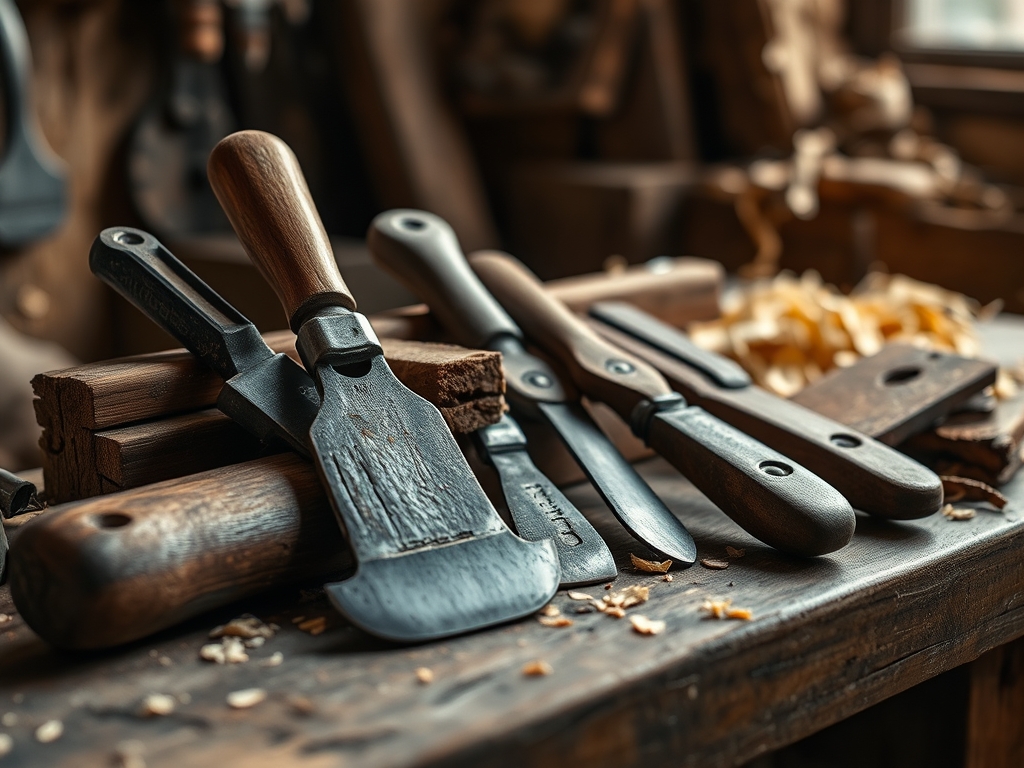
To execute this project with professional flair, your bench needs to be curated for both tactile feedback and mechanical advantage. We start with the digital calipers to ensure our tolerances stay within a hair's breadth of a millimeter. For marking, skip the dull carpenter pencil; we are using a marking knife to sever the wood fibers, preventing tear-out during the actual cut. You will also need a bone folder for crisp, geometric creases if you are working with heavy-gauge paper or leather, and a rotary cutter with a tungsten carbide blade for shearing through textiles without distorting the weave.
Material Substitutions: If you cannot source reclaimed white oak, look for thermally modified ash. It offers similar tensile strength and moisture resistance but with a lower carbon footprint. For adhesives, swap out petroleum-based glues for a high-solids aliphatic resin; it creates a bond stronger than the wood itself by penetrating the porous cellular structure of the timber.
THE TEMPO
The "Maker's Rhythm" is not about speed; it is about the synchronization of your heart rate with the mechanical frequency of your tools. We break this down into three distinct movements. Phase one is the Calibration Phase (60 minutes), where we true our squares and sharpen our irons. Phase two is the Execution Phase (4 to 6 hours), which is the flow state where the bulk of the material removal happens. Finally, we enter the Refinement Phase (2 hours), where we burnish surfaces and apply finishes.
Technical Fact: The hygroscopic nature of organic materials means they expand and contract with humidity. Allowing your materials to acclimate to your studio environment for 48 hours is not "waiting"; it is a crucial step in ensuring the long-term stability of your joinery.
THE CORE METHOD
1. Mapping the Grain
Before the first cut, we must analyze the anisotropy of the material. This means understanding that the strength of the piece varies depending on the direction of the fibers. By aligning our structural loads with the longitudinal axis of the grain, we maximize the modulus of elasticity.
Mastery Tip: Always read the "cathedrals" on the face of the board. If the grain slopes downward, your blade should follow that direction to avoid "lifting" the fibers, which causes unsightly surface tear-out.
2. Precision Marking and Scoring
Using your marking knife, create a physical "wall" for your saw to sit in. This is not just a visual guide; it is a mechanical registration point. By scoring the surface, you are pre-cutting the lignin bonds that hold the fibers together.
Mastery Tip: This technique utilizes shear stress to create a cleaner edge than a crush-based cut from a saw tooth alone. It ensures that the exit side of your cut remains pristine.
3. The Controlled Removal
Whether you are using an oscillating tool for intricate notches or a hand saw for tenons, the key is consistent pressure. Let the tool do the work. Over-pressing causes heat friction, which can dull your blades through thermal softening of the steel.
Mastery Tip: Watch the "kerf" or the width of the cut. A standard thin-kerf blade removes less material, which conserves your stock and requires less energy to push through the workpiece.
4. Surface Refinement and Burnishing
Once the shape is achieved, we move to grit progression. Start at 80 grit to level the surface and move up to 320. For a truly professional finish, use a burnishing tool to compress the surface fibers.
Mastery Tip: Burnishing works through plastic deformation. By rubbing a harder material against a softer one, you collapse the surface pores, creating a natural luster and increasing the material's resistance to liquid penetration via capillary action.
THE TECHNICAL LEDGER
Maintenance & Longevity: To keep your tools in peak condition, wipe down all steel surfaces with camellia oil after every session. This prevents oxidation without leaving a sticky residue that attracts sawdust.
Material Variations:
- Sustainable: Cork fabric or mycelium-based composites offer incredible shock absorption.
- Recycled: HDPE plastics can be melted and planed just like timber, offering a high strength-to-weight ratio.
- Premium: Grade 5 Titanium or stabilized burl wood provides unmatched durability and aesthetic depth.
The Correction:
- The Gap: If a joint has a visible gap, do not just fill it with putty. Mix fine sanding dust from the same board with clear resin to create a color-matched structural filler.
- The Burn: If your router bit leaves a burn mark, it means your feed rate was too slow. Remove it with a cabinet scraper rather than sandpaper to maintain a flat surface.
- The Split: If the material splits during fastening, you skipped the pilot hole. Use a drill bit that matches the root diameter of the screw, not the thread diameter.
Studio Organization: Store your lumber horizontally on a rack with "stickers" (small spacers) between boards. This allows for even airflow on all sides, preventing the internal stresses that lead to warping or cupping.
THE FINAL REVEAL
Look at that! The way the light catches the burnished edges and the perfect "snap" of the joinery is pure magic. You have taken raw, chaotic elements and organized them into a functional masterpiece using Integrated Workshop Values. This piece is not just an object; it is a testament to your patience and your technical prowess. It feels substantial, balanced, and incredibly smooth to the touch. You did not just make something; you engineered it to survive the test of time while keeping your environmental impact at a whisper.
STUDIO QUESTIONS
How do I prevent wood from splitting when using screws?
Always drill a pilot hole matching the screw's inner shank diameter. This removes material rather than displacing it, which reduces the internal hoop stress that causes the wood fibers to pull apart and crack.
What is the best way to clean a gummed-up saw blade?
Use a dedicated pitch and gum remover or a simple solution of laundry detergent and water. Removing the baked-on resin reduces friction and heat, which significantly extends the edge retention of your carbide teeth.
Why does my finish look blotchy on softwoods like pine?
Softwoods have uneven density between earlywood and latewood. Apply a pre-stain conditioner or a thin coat of shellac to seal the more porous areas, ensuring the final pigment absorbs at a consistent, even rate across the surface.
Can I use a bone folder on materials other than paper?
Absolutely. A bone folder is essential for leatherwork to burnish edges and for textiles to set permanent creases without scorching the fibers. It uses localized pressure to rearrange the material's structure without adding damaging heat.

