
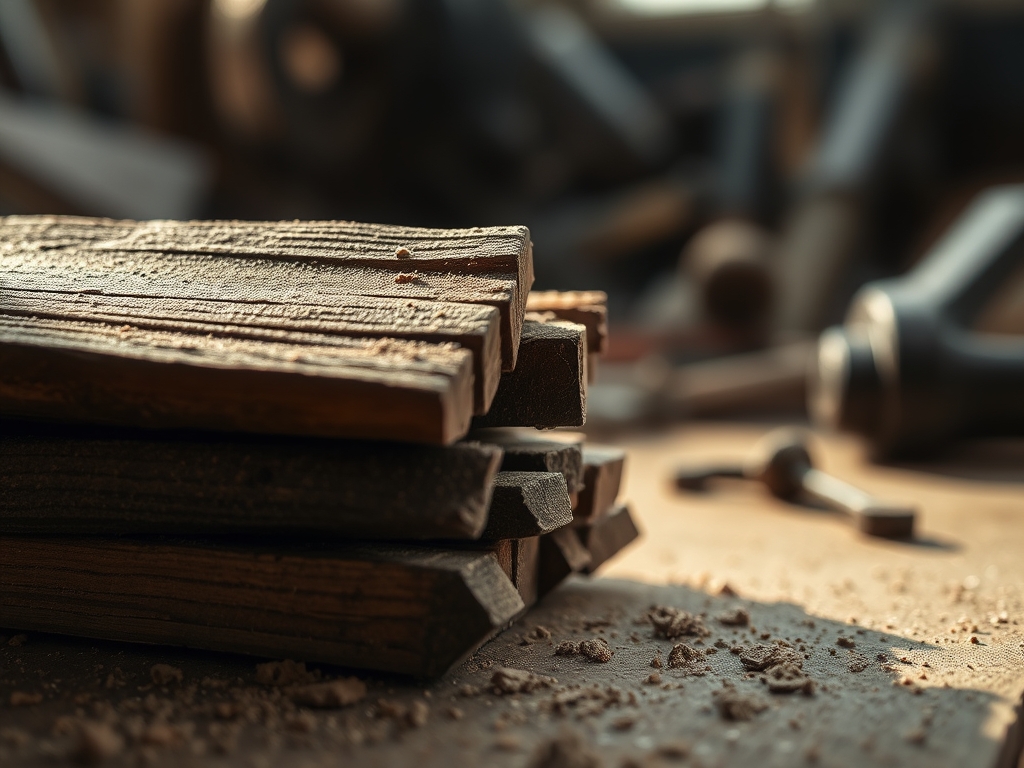
Close your eyes and listen to the high pitched whine of a table saw echoing from a neighbor's garage. To most people, that sound is just a weekend chore, but to us, it is a dinner bell. I can almost smell the toasted vanilla scent of toasted white oak and the sharp, peppery bite of walnut dust hanging in the humid air. My hands are already itching to feel the weight of a discarded offcut. Foraging For Hardwood Scraps is not just about being thrifty; it is a tactical mission to rescue high density cellulose fibers from a landfill fate. When you pick up a piece of raw timber, you are feeling the literal history of a tree's struggle against gravity and wind. The weight in your palm tells you everything you need to know about its specific gravity and moisture content. We are looking for those dense, tight-grained pieces that the big furniture shops toss aside because they are too small for a table leg but perfect for a masterpiece.
THE STUDIO KIT
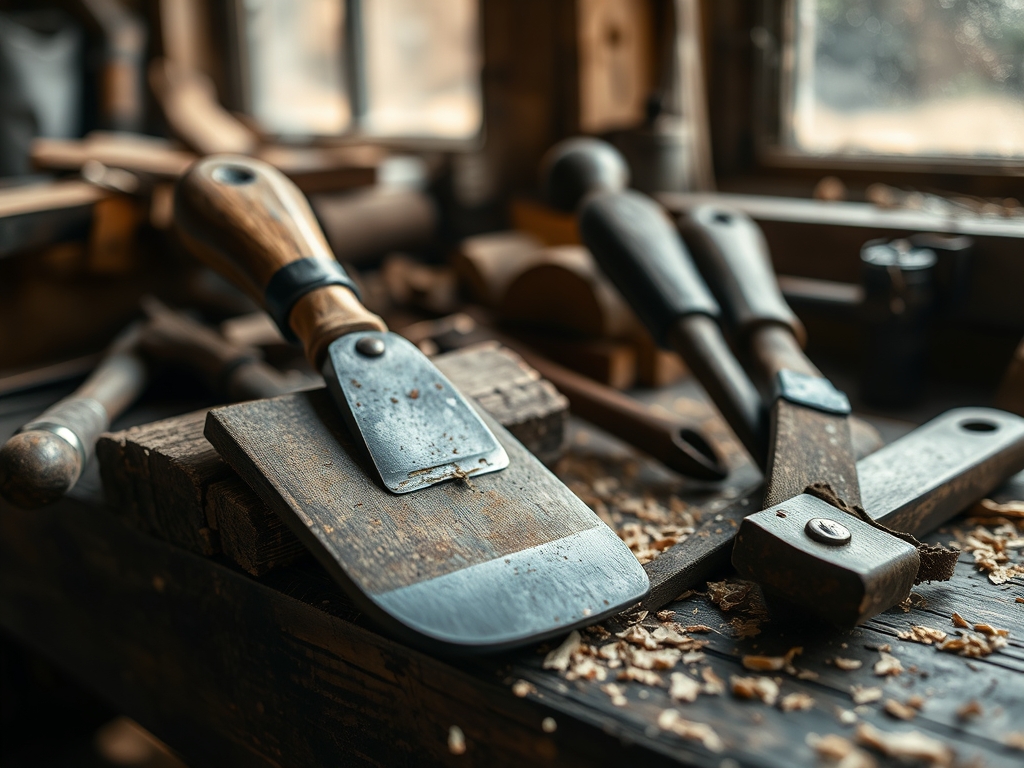
To transform these rugged finds, your workbench needs to be a sanctuary of precision. You will need a digital caliper to measure thickness down to the thousandth of an inch; this ensures your joinery is seamless rather than sloppy. A high quality Japanese pull saw is essential for its thin kerf, which minimizes material waste during delicate cuts. For surface preparation, keep a set of card scrapers handy to burnish the wood fibers without the muddying effect of sandpaper. You will also need a marking awl for high precision layout lines that a pencil simply cannot match.
In terms of materials, gather your foraged treasures like cherry, maple, and walnut. If you cannot find a specific hardwood, look for Material Substitutions like high density fiberboard for jigs or bamboo flooring offcuts for structural components. Bamboo has an incredible tensile strength that rivals steel in certain applications. Always have a bottle of PVA glue with a high solids content and a variety of clamping pressures available to ensure the molecular bond between surfaces is stronger than the wood itself.
THE TEMPO
The Maker's Rhythm is a biological syncopation between your heartbeat and the tool's vibration. You cannot rush the physics of wood. The Acclimation Phase takes about forty eight hours; this is where you let your foraged scraps sit in your studio to reach equilibrium moisture content. If you skip this, your project will warp as soon as you apply a finish.
The Milling Phase usually consumes three hours of intense focus, where you square up your stock and reveal the hidden grain patterns. The Assembly Phase is a fast paced twenty minute window before your adhesive begins to "skin over" and lose its tack. Finally, the Curing and Finishing Phase requires a patient twenty four hours. This is the time when the polymers in your oils or waxes cross-link with the wood fibers to create a protective, hydrophobic barrier. Total active time is about six hours, but the calendar time spans three days.
THE CORE METHOD
1. The Triage and Grain Analysis
Before you make a single cut, you must perform a visual stress test on your foraged scraps. Look for checking, which are small cracks at the end of the board caused by uneven drying. Use your marking awl to probe the density of the earlywood and latewood rings. You are looking for a consistent grain orientation to ensure the piece remains stable over time.
Mastery Tip: Understand the anisotropic nature of wood. Wood expands and contracts significantly more across the grain than along its length. By aligning your grain direction across all joined pieces, you prevent internal stresses from shearing your glue joints during seasonal humidity shifts.
2. Squaring the Geometry
Foraged scraps are rarely square. Use a block plane or a jointer to create one perfectly flat face and one perpendicular edge. This creates your "Reference Surface." Check your progress constantly with a machinist's square to ensure a perfect ninety degree relationship. This is the foundation of all structural integrity in woodworking.
Mastery Tip: This step relies on the physics of planarity. If your base is not perfectly flat, any subsequent joinery will multiply the error exponentially. A flat surface allows for maximum surface area contact during glue-up, which utilizes capillary action to pull the adhesive deep into the porous tracheids of the wood.
3. Precision Joinery and Dry Fitting
Now we use the jeweler's saw or pull saw to create our joints. Whether you are choosing a classic dovetail or a simple lap joint, the fit should be "piston-tight." This means the pieces slide together with slight resistance but do not require a hammer. Perform a dry fit without glue first to ensure the mechanical interlock is sound.
Mastery Tip: The science here is all about interference fits. When two pieces of wood are pressed together tightly, the fibers compress slightly and then expand into the microscopic voids of the opposing piece. This creates a physical bond that supports the chemical bond of the glue.
4. Adhesive Application and Compression
Apply a thin, even layer of glue to both mating surfaces. Use a silicone brush to ensure total coverage without pooling. Apply clamps with enough force to see "squeeze out" but not so much that you starve the joint of glue. The pressure should be even across the entire bond line.
Mastery Tip: Excessive clamping pressure can actually weaken a joint by forcing all the resin out of the wood pores. You want to maintain a glue line thickness of approximately 0.002 to 0.005 inches. This thickness allows the long-chain polymers in the glue to bridge the gap between the cellular structures of the two wood pieces.
THE TECHNICAL LEDGER
Maintenance & Longevity: To keep your foraged treasure from degrading, apply a food-grade mineral oil or a hard-wax oil every six months. This replenishes the lipids in the wood and prevents the fibers from becoming brittle and desiccated.
Material Variations:
- Sustainable: Reclaimed pallet wood (ensure it is heat-treated, marked "HT").
- Recycled: Old tool handles made of hickory or ash.
- Premium: Foraged burl wood found in forest deadfall, offering complex interlocked grain.
The Correction:
- Mistake: Glue starvation. Fix: Use a syringe to inject fresh adhesive into the gap and re-clamp immediately.
- Mistake: Tear-out during planing. Fix: Dampen the wood fibers with a touch of water to soften the lignin before taking a very shallow pass.
- Mistake: Misaligned grain. Fix: If the piece hasn't cured, slide it into alignment; if it has, you must saw the joint apart and re-mill the faces.
Studio Organization: Store your hardwood scraps in a vertical rack with spacers (stickers) between them. This allows for omni-directional airflow, preventing the growth of mold and ensuring the wood does not develop a "cup" or "bow" due to moisture trapped on one side.
THE FINAL REVEAL
Look at that! What was once a muddy, forgotten chunk of timber in a trash bin is now a glowing, tactile piece of art. The way the light catches the chatoyancy of the maple grain is nothing short of magic. You have successfully navigated the physics of cellular structures and the chemistry of adhesives to create something that will outlast us both. The weight is balanced, the surfaces are silky smooth to the touch, and the joints are invisible. You didn't just make a thing; you rescued a piece of the natural world and gave it a second life through sheer technical skill and a bit of grit.
STUDIO QUESTIONS
How do I identify wood species in the wild?
Look at the pore structure and end grain. Oak has large, open vessels called tyloses; maple is diffuse-porous with a very smooth, tight texture. Use a 10x jeweler's loupe to see the specific cellular arrangements unique to each species.
Is it safe to use foraged wood from pallets?
Only if they are marked with the "HT" stamp, meaning heat-treated. Avoid "MB" stamps, which indicate methyl bromide fumigation. This chemical is a toxic pesticide that can off-gas in your studio and irritate your lungs during sanding.
Why does my foraged wood keep cracking?
This is likely due to internal stresses caused by rapid drying. If the exterior dries faster than the core, the wood shrinks unevenly and pulls itself apart. Slow down the drying process by sealing the end grain with wax.
What is the best way to clean dirty scraps?
Use a stiff nylon brush to remove loose debris, followed by a light pass with a cabinet scraper. Avoid soaking the wood in water, as this can cause the fibers to swell and potentially trigger rot or fungal growth.
Can I mix different wood species together?
Yes, but you must match their shrinkage coefficients. Combining a very stable wood like teak with a high-movement wood like beech can lead to structural failure if the environment undergoes significant temperature or humidity changes.

