

Imagine the sharp, clean scent of fresh cedar hitting your lungs as you run your thumb across a raw grain. It is a tactile rush; the wood feels alive, thirsty, and incredibly vulnerable to the elements. To keep that organic beauty from graying into a brittle mess, you need my favorite Natural Wood Sealant Tips. We are moving beyond the chemical stenches of polyurethane and diving into the physics of cellular protection.
The grain of a board is essentially a bundle of microscopic straws. These cellulose tubes are designed by nature to transport water. Once the tree is felled and cured, those tubes remain open, ready to suck up rain and dew through capillary action. If you do not plug those pores with something stable, the wood will swell and shrink until the internal tensile strength fails, leading to deep checks and structural rot. We are going to build a molecular shield using oils and waxes that mimic the tree's own defense systems. It is about working with the material, not just suffocating it under a layer of plastic.
THE STUDIO KIT
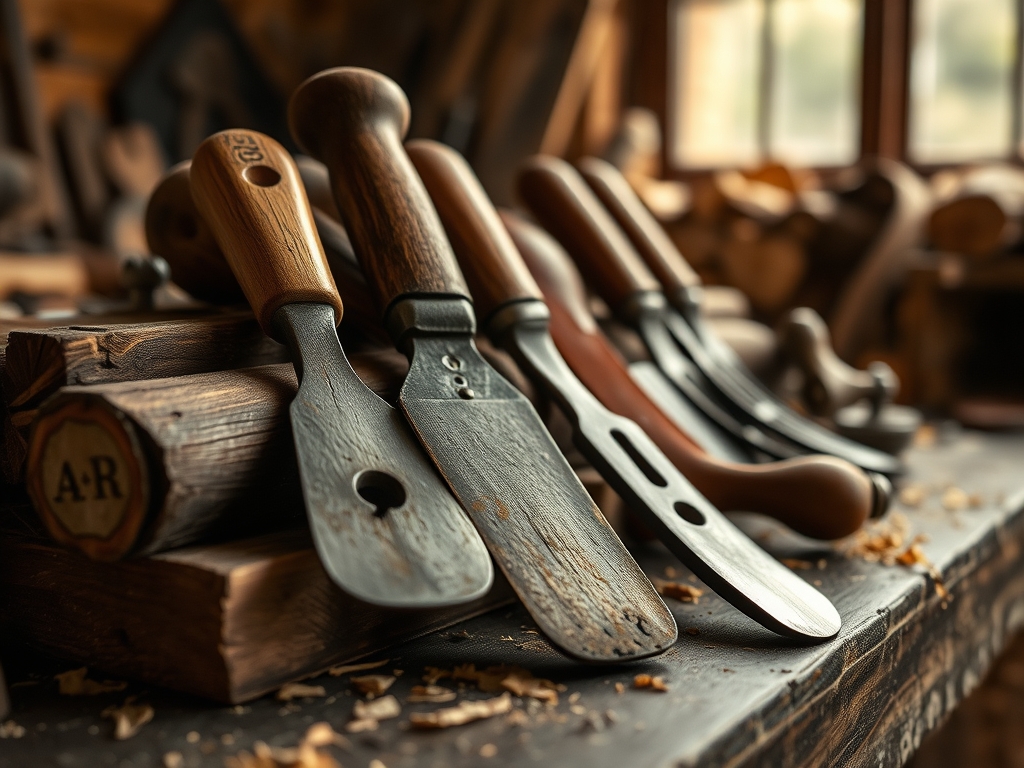
To execute this properly, your workbench needs a specific set of high-performance tools. First, grab a set of digital calipers to measure the thickness of your stock; consistent thickness ensures even absorption rates. You will need a high-grit oscillating sander (start at 120 and move to 220) to open the pores without crushing the wood fibers. For the application, a natural bristle brush is superior to synthetic because the flag ends of the hair hold the viscous oil more effectively.
Your primary material is Raw Tung Oil or Polymerized Linseed Oil. These are not "finishes" in the traditional sense; they are hardening oils that undergo a chemical reaction called polymerization when exposed to oxygen. You will also need Carnauba wax for a final hard-shell buff. For Material Substitutions, if you cannot find pure Tung oil, hemp oil is a fantastic sustainable alternative with a similar molecular weight. Avoid "Boiled Linseed Oil" from big-box stores, as it often contains metallic driers like cobalt or lead to speed up the cure time. We are keeping this studio toxin-free, so stick to the food-grade stuff.
THE TEMPO
The Maker's Rhythm for natural sealing is a slow dance. You cannot rush the oxidative drying process. Phase one is the Preparation, which takes about an hour of focused sanding and dusting. Phase two is the Saturation, where you apply the first heavy coat; this requires about thirty minutes of active work followed by a twenty-minute "soak" period.
The real test of patience is the Cure Interval. Natural oils do not "dry" by evaporation; they cure through an exothermic reaction with oxygen. You must wait 24 to 48 hours between coats. A truly weather-resistant outdoor piece requires three to five coats. Total project time spans about a week, but the actual hands-on labor is minimal. It is a rhythmic cycle of apply, wipe, and wait.
THE CORE METHOD
1. Preparing the Cellular Surface
Before a single drop of oil touches the wood, the surface must be mechanically perfect. Use your oscillating tool to sand with the grain. If you sand across the grain, you create microscopic "valleys" that trap excess oil, leading to a gummy, uneven finish. Use a tack cloth or compressed air to remove every speck of dust from the pores.
Mastery Tip: The science here is all about Surface Area. By sanding to 220 grit, you increase the available surface area for the oil to bond with the cellulose fibers. If you go too high (like 600 grit), you actually burnish the wood, closing the pores and preventing the sealant from penetrating deep into the heartwood.
2. The Initial Saturation
Apply your chosen oil liberally. You want the wood to look "wet" for at least fifteen minutes. Watch for "dry spots" where the wood is particularly thirsty; these are areas of lower density or end-grain where the capillary action is strongest. Feed those spots more oil until the surface tension holds a consistent sheen across the entire board.
Mastery Tip: This stage utilizes Capillary Action. The oil travels down the vertical tracheids of the wood. By maintaining a wet surface, you ensure the oil reaches deep enough to create a moisture-proof plug that prevents water from entering later.
3. The Polymerization Wipe
After twenty minutes, take a lint-free cotton rag and wipe away every bit of excess oil. The surface should feel damp but not tacky. If you leave puddles, they will dry into a soft, wrinkled film that will eventually peel. You want the oil in the wood, not on it.
Mastery Tip: We are managing Oxidative Polymerization. The oil needs access to oxygen to turn from a liquid to a solid. If the layer is too thick, oxygen cannot reach the bottom, leaving you with a sticky mess that never fully hardens.
4. The Burnished Shield
Once the final coat of oil has cured for 48 hours, apply a thin layer of Carnauba wax using a bone folder or a soft cloth for tight corners. Buff it vigorously. The friction creates heat, which melts the wax into the top layer of the oil finish, creating a hydrophobic barrier.
Mastery Tip: This creates a Hydrophobic Interface. The wax has a very low surface energy, meaning water droplets will bead up and roll off due to high contact angles rather than spreading out and soaking in.
THE TECHNICAL LEDGER
Maintenance & Longevity: Natural finishes are not "one and done." To maintain structural integrity, you should apply a "maintenance wipe" once a year. Simply clean the surface and rub in a light coat of oil to replenish what the UV rays have broken down.
Material Variations:
- Sustainable: Walnut oil is a byproduct of the food industry and works beautifully for light-use items.
- Premium: Pure Tung oil offers the best water resistance but requires the longest cure time.
- Recycled: You can often find "mis-mixed" natural stains at local specialty shops that can be blended for custom tints.
The Correction:
- The Gummy Surface: If you forgot to wipe the excess, the surface will be sticky. Fix this by rubbing the area with a rag soaked in more oil or a citrus-based solvent to dissolve the "skin," then wipe clean.
- Raised Grain: If the wood feels fuzzy after the first coat, the oil has lifted loose fibers. Lightly sand with 320 grit and re-apply.
- Spotting: If water leaves white rings, the wax layer is too thin. Buff in another layer of hard wax to increase the moisture barrier.
Studio Organization: Store your oil-soaked rags in a sealed, water-filled metal container. Because the curing process is exothermic, crumpled rags can actually generate enough heat to spontaneously combust. Safety is the ultimate technical skill.
THE FINAL REVEAL
Look at that glow! When you finish a project with natural sealants, the wood takes on a depth that plastic coatings simply cannot replicate. The grain pops with a three-dimensional quality, and the tactile feel is warm and organic. You have successfully used physics and chemistry to turn a vulnerable piece of lumber into a weather-resistant masterpiece. It is sturdy, it is safe for your garden, and it smells like a dream. You are not just a crafter; you are a materials scientist with a very stylish aesthetic.
STUDIO QUESTIONS
What is the best natural sealant for high-moisture areas?
Pure Tung oil is the gold standard. It creates a flexible, waterproof bond that does not yellow over time. It penetrates deep into the wood fibers, providing a more durable barrier against rain and humidity than most other plant-based oils.
How often do I need to reapply natural sealants?
For outdoor furniture, plan on a light reapplication once every twelve months. Check the surface by dropping a bit of water on it; if the water fails to bead up and instead soaks in, it is time for a maintenance coat.
Can I use olive oil to seal my outdoor wood?
No. Olive oil and other non-drying kitchen oils will go rancid over time. They do not undergo polymerization, meaning they stay liquid inside the wood, attracting bacteria and eventually causing a foul odor and a sticky, unhygienic surface.
Is heat necessary for the oil to penetrate better?
While not strictly necessary, warming the oil in a double boiler to about 100 degrees Fahrenheit reduces its viscosity. This lower viscosity allows the oil to flow more easily into the tight cellular structure of hardwoods, improving the depth of the seal.

