
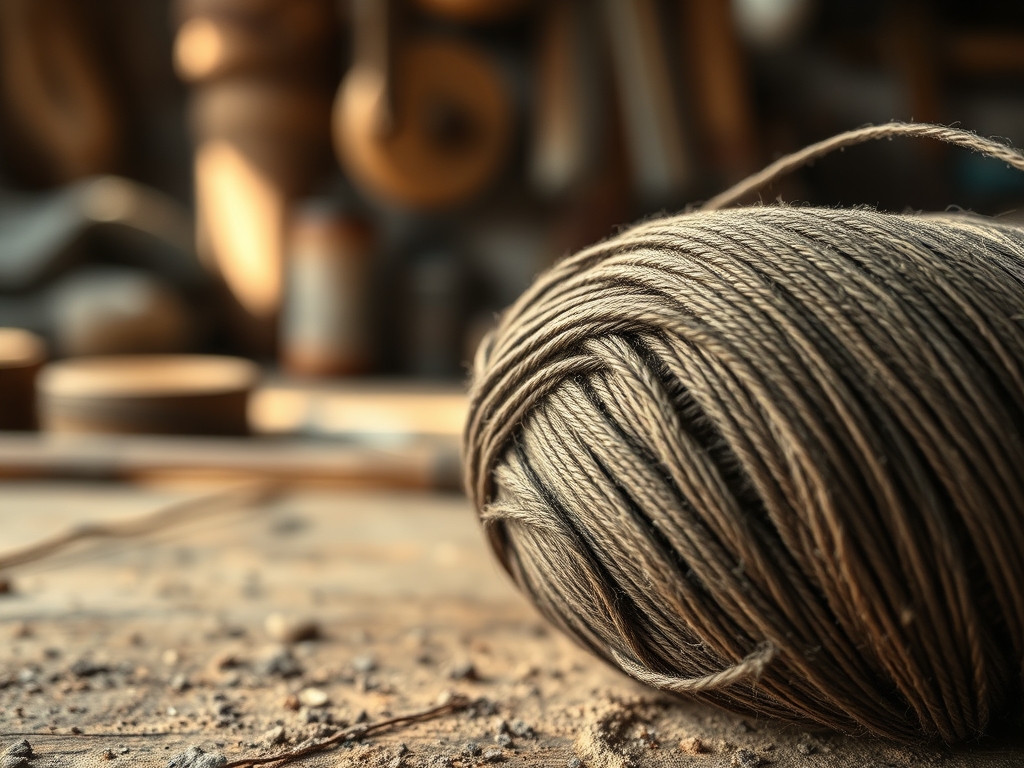
The scent of crushed rosemary and damp earth is currently competing with the crisp, clean smell of unbleached muslin in my studio. There is a specific, grounding weight to a fresh cone of raw fiber that begs for a transformation. We are diving deep into the science of Natural Cotton Thread Dyeing today; it is the ultimate way to synchronize your stitching with the organic palette of the world outside. This is not just a craft project. It is a molecular overhaul of your sewing kit. When you hold a spool of high quality cotton, you are feeling the cellular structure of the Gossypium plant. Those tiny fibers are thirsty for pigment, but they are also stubborn. Unlike protein fibers like wool or silk, cellulose fibers require a bit of a chemical handshake to accept a permanent color. We are going to master that handshake using nothing but heat, water, and the hidden chemistry of common plants. Grab your favorite mug of tea because we are about to turn your thread stash into a botanical masterpiece.
THE STUDIO KIT
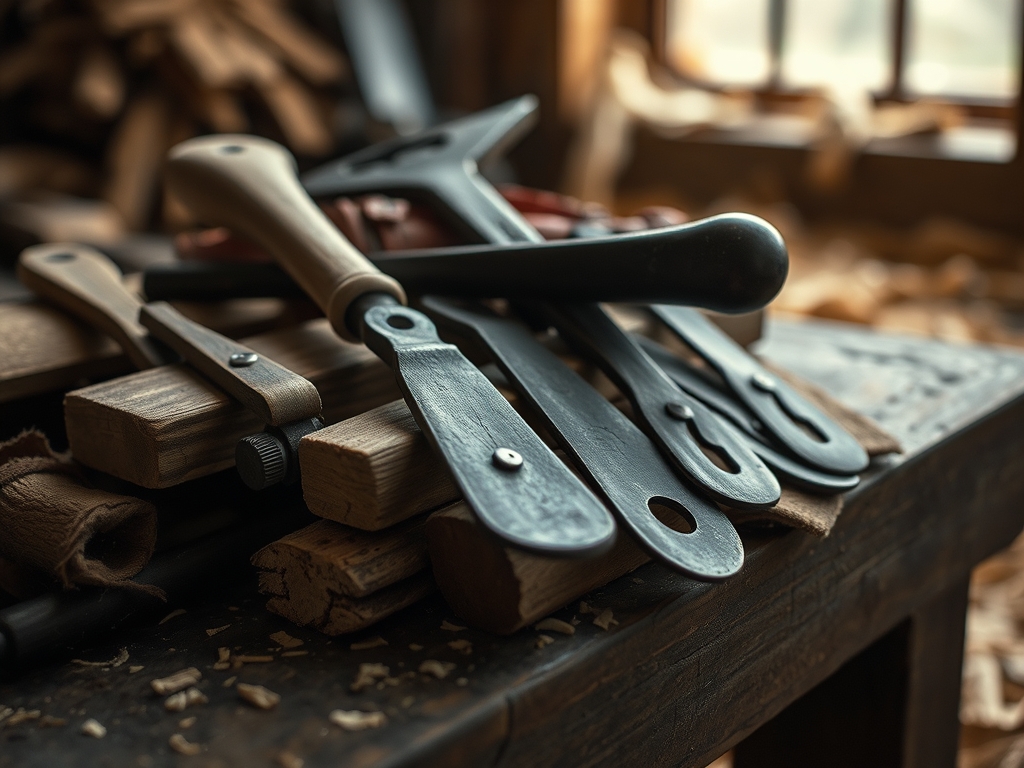
To execute this properly, you need a setup that respects the tensile strength of your materials. At the heart of the operation is your thread selection. I recommend a long-staple Egyptian cotton or a high-ply mercerized thread. Mercerization is a technical process where the thread is treated with sodium hydroxide to increase its luster and affinity for dye. You will also need a stainless steel stockpot; do not use aluminum, as it acts as an uncontrolled mordant and will shift your colors unexpectedly.
For your botanical pigments, gather avocado pits for dusty pinks, onion skins for rich ambers, or black walnut hulls for deep, earthy browns. You will also need a digital scale to measure your dry goods by weight. To ensure the dye bonds to the fiber, we use a mordant, typically potassium aluminum sulfate (alum). You will also need a glass stirring rod or a stainless steel spoon to avoid cross-contamination.
Material Substitutions: If you cannot find alum locally, you can use soy milk as a pre-treatment. The proteins in the soy coat the cellulose fibers, essentially tricking the dye into thinking it is bonding to a protein fiber like silk. For the thread, if you do not have pure cotton, a hemp or linen cord will also work beautifully due to their high porosity.
THE TEMPO
The "Maker's Rhythm" for botanical dyeing is a slow, deliberate dance. This is not a project you can rush in twenty minutes. You are working with the thermal kinetic energy of the water to force pigment into the fiber core.
- The Scouring Phase (1 hour): This is the deep clean that removes waxes and oils.
- The Mordanting Phase (2 hours + overnight soak): This prepares the "molecular anchors."
- The Extraction Phase (1 to 2 hours): Simmering your plants to release the tannins and pigments.
- The Dyeing Phase (1 hour + cooling time): The actual color transfer.
Expect a total active time of about four hours, spread across two days. The "rest" periods are vital; as the dye bath cools, the molecular agitation slows down, allowing the pigment to settle deeply into the fiber's medulla.
THE CORE METHOD
1. Scouring the Fiber
Before we talk color, we must talk cleanliness. New thread is often coated in "size" or factory oils that repel water. Place your thread in a pot with a drop of pH-neutral detergent and simmer. This increases the capillary action of the cotton, ensuring the dye can travel deep into the twist of the ply.
Mastery Tip: Observe the bubbles. If the water beads on the surface of the thread, the oils are still present. Once the thread sinks and stays submerged, the surface tension has been broken, and it is ready for the next step.
2. The Mordant Bath
Dissolve your alum in hot water. Add your pre-wetted thread and simmer gently. The mordant acts as a chemical bridge between the plant pigment and the cotton fiber. Without this, your beautiful colors will simply wash away the first time they hit the laundry.
Mastery Tip: Do not let the water boil aggressively. High heat can damage the structural integrity of the cotton, leading to fraying or a loss of tensile strength. Maintain a "lazy simmer" to keep the fibers relaxed.
3. Pigment Extraction
Chop your plant material into small pieces to increase the surface area. Place them in a separate pot of water and bring to a simmer. You are looking for a concentrated "tea." For avocado pits, you will see the water turn a surprising deep red. For onion skins, it will be a vibrant burnt orange.
Mastery Tip: Use a fine-mesh strainer or cheesecloth to remove all plant debris before adding the thread. Any small particles left in the bath can cause uneven "hot spots" of color on your thread, ruining the uniform finish.
4. The Color Immersion
Submerge your mordanted thread into the strained dye bath. Use your stirring rod to ensure the thread is not tangled and that every millimeter of the ply is exposed to the liquid. Let it simmer for an hour, then turn off the heat and let it sit until the water is cold.
Mastery Tip: Remember that wet fiber always looks two shades darker than dry fiber. This is due to the refractive index of water. Do not be afraid to leave the thread in the bath overnight for maximum saturation.
THE TECHNICAL LEDGER
Maintenance & Longevity
Natural dyes are "living" colors. To prevent fading from UV exposure, store your dyed thread in a dark drawer or an opaque container. When sewing with these threads, use a microtex needle to reduce friction, which can sometimes "buff" the color off the surface of the fiber.
Material Variations
- Sustainable: Use kitchen scraps like pomegranate skins or carrot tops.
- Recycled: Unravel old cotton sweaters to salvage the yarn for dyeing.
- Premium: Invest in organic sea island cotton for a thread that feels like silk but takes dye like a dream.
The Correction
- The Splotch Fix: If your thread is patchy, it usually means it was too crowded in the pot. Re-scour and re-dye in a larger vessel to allow for better fluid dynamics.
- The Pale Problem: If the color is too light, your mordant ratio was likely off. Re-mordant the thread and try a second dip in a fresh, concentrated dye bath.
- The "Crocking" Issue: If the color rubs off on your fingers, you did not rinse well enough. Rinse in a bath of water and a splash of vinegar to help set the pH and remove excess pigment.
Studio Organization
Store your finished spools on a dedicated thread rack organized by plant source. Use a caliper to measure the thickness of your different dyed batches and label them by gauge. Keeping a "dye journal" with swatches and temperature logs is the best way to ensure repeatability in your work.
THE FINAL REVEAL
There is nothing quite like the sight of a row of wooden spools loaded with thread you dyed yourself. The colors are soft, sophisticated, and perfectly coordinated. When you run this thread through your sewing machine or use it for hand-quilting, the tactile feedback is different; it feels more substantial, more intentional. You have taken a standard utility item and elevated it to a piece of art. Your stitches will now carry the literal essence of the garden, creating a garment or quilt that has a story woven into every single seam.
STUDIO QUESTIONS
Why does my thread feel stiff after dyeing?
This is usually caused by residual minerals or excess mordant. A quick rinse in a lukewarm water bath with a tiny bit of textile softener will restore the ergonomic flexibility and softness of the cotton fibers.
Can I use synthetic thread for this process?
No. Polyester and nylon are non-porous plastics. They require "disperse dyes" and extremely high heat to open their molecular structure. Natural plant pigments will simply slide off the surface of synthetic fibers without bonding.
How do I make the color lightfast?
Using a proper mordant like alum is the first step. Additionally, choosing plants high in tannins, such as oak galls or walnut hulls, creates a more permanent bond that resists fading from sunlight and washing.
What is the best way to dry the thread?
Hang your dyed skeins in a shaded, well-ventilated area. Avoid direct sunlight during the drying process, as the UV rays can trigger photodegradation before the pigment has fully cured within the fiber's cell walls.
Do I need to wash the thread after dyeing?
Yes. Always perform a final rinse until the water runs clear. This ensures that no "loose" pigment remains on the surface, preventing the color from bleeding onto your fabric when you eventually wash your finished sewn project.

