
Imagine the scent of freshly planed cedar mingling with the sharp, ozone tang of a soldering iron. It is a sensory overload that signals one thing: the shop is open for business. When we talk about Integrated Family Making, we are not just talking about a weekend craft; we are discussing the deliberate fusion of multi generational skill sets into a single, cohesive project. It is about the way a child's curious touch meets the steady, calloused hand of a mentor. You feel the grit of the sandpaper against your palm, the vibration of the workbench under a heavy mallet, and the satisfying snap of a perfectly fitted mortise. This is where physics meets play. We are building more than just objects; we are building a shared vocabulary of mechanical intuition. By involving everyone in the joy of the shop, we transform a solitary hobby into a high energy laboratory of innovation. Grab your safety glasses and clear the bench; we are about to dive into the beautiful, technical chaos of creating something real together.
THE STUDIO KIT
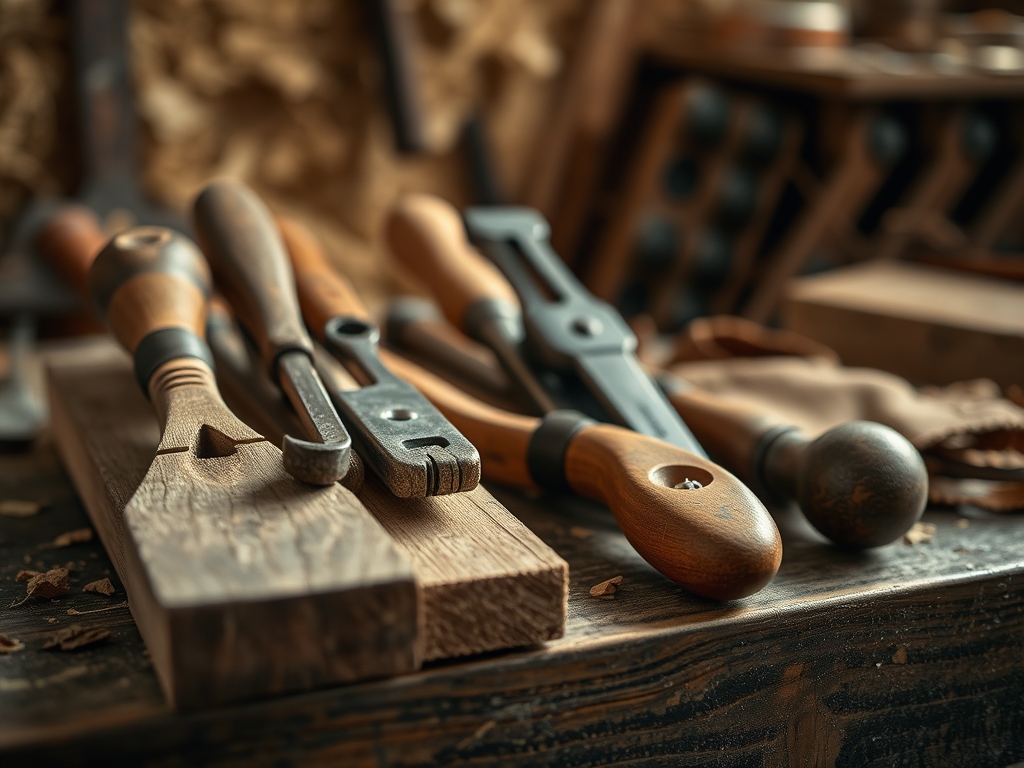
To master the art of Integrated Family Making, your toolkit must be as diverse as your team. We start with calipers for precision measurements; because in this shop, "about an inch" is not a unit of measurement. We rely on the tensile strength of high quality birch plywood for our base structures, paired with the porous nature of vegetable tanned leather for tactile accents. You will need a bone folder for crisp creases, a rotary cutter for fluid lines, and a jeweler's saw for intricate metalwork.
Material Substitutions: If birch is unavailable, look for bamboo ply for its incredible flexural strength. Instead of leather, try heavy duty waxed canvas which offers similar durability and water resistance. For adhesives, move beyond standard craft glue and utilize cyanoacrylate with an activator for instant structural bonds. Always keep a burnishing tool nearby; the friction heat is essential for sealing edges and achieving that professional, glass like finish on your raw materials.
THE TEMPO
The "Maker's Rhythm" is a biological clock tuned to the drying time of resin and the cooling rate of solder. Integrated Family Making requires a tiered approach to time management. Phase one is the Conceptual Draft, taking roughly ninety minutes of collaborative sketching and material selection. Phase two is the Precision Cut, a two hour window where focus is paramount. This is followed by the Assembly Pulse, a three to four hour marathon of gluing, clamping, and fastening.
The rhythm is not linear; it is cyclical. You must account for the curing time of your finishes, which can vary based on ambient humidity and the hygroscopic nature of your wood. A project might span a full weekend, but the active "hands on" time is punctuated by periods of observation. During these lulls, we analyze the structural integrity of our joints. This cadence prevents "maker fatigue" and ensures that every participant, regardless of age, remains engaged without becoming overwhelmed by the technical demands of the build.
THE CORE METHOD
1. Mapping the Grain Direction
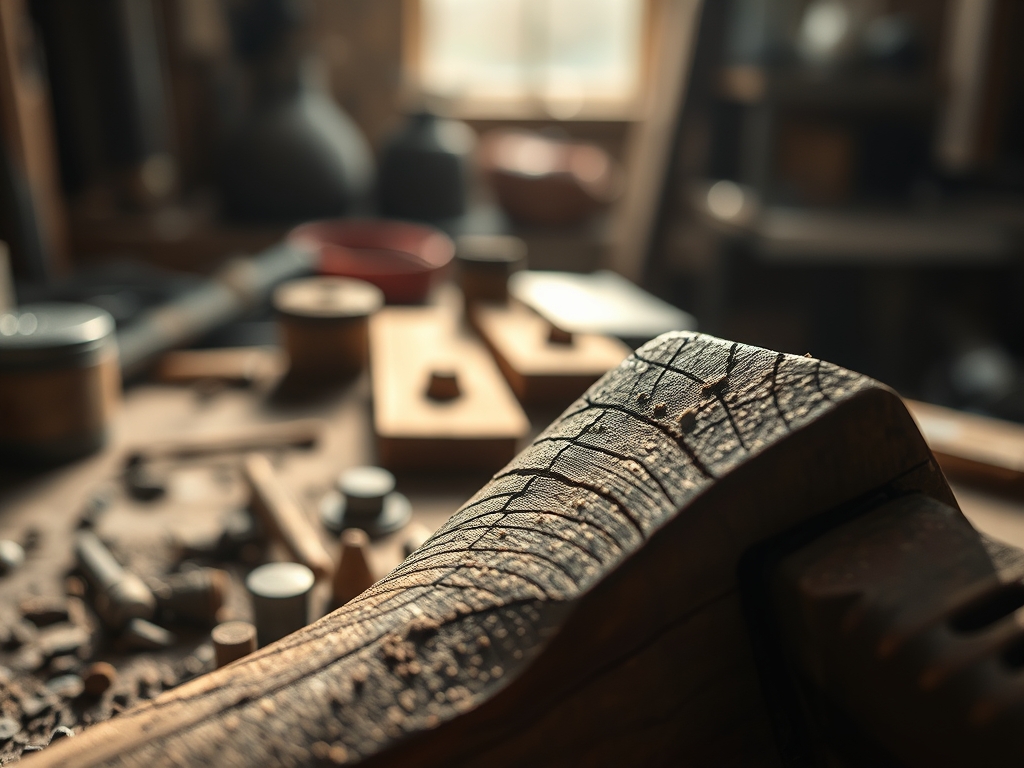
Before the first cut, we must identify the anisotropy of our wood. Wood is significantly stronger along the grain than across it. By aligning your structural components with the longitudinal axis of the fibers, you maximize the load bearing capacity of the piece.
Mastery Tip: Always check the end grain to predict how the wood will expand. Wood is a living material that breathes; failing to account for seasonal movement will result in checked surfaces or warped frames over time.
2. The Precision Score
Using a hardened steel awl, we score our cut lines rather than just marking them with lead. This creates a physical "trench" for your saw blade or chisel to follow. This technique relies on the principle of shear stress, pre breaking the surface fibers to prevent splintering during the actual removal of material.
Mastery Tip: Scoring the surface creates a clean break point for the lignin in the wood fibers. This ensures that your edges remain sharp and your tolerances stay within a thousandth of an inch.
3. Achieving Capillary Action in Joinery
When applying wood glue or solder, we rely on capillary action to pull the binding agent into the microscopic pores of the substrate. For wood joints, this means applying just enough pressure to squeeze out the air without starving the joint of adhesive.
Mastery Tip: Use a moisture meter to ensure your wood is between six and eight percent. If the wood is too dry, it will wick the moisture out of the glue too fast, preventing the polymer chains from interlocking with the cellulose.
4. Thermal Management and Finishing
Whether you are soldering a circuit or applying a friction polish, heat is your tool. We use heat sinks to protect sensitive components and utilize the viscosity changes in oils to penetrate deep into the material. A warm oil finish flows better because the heat reduces the surface tension of the liquid.
Mastery Tip: When burnishing, the goal is to reach the glass transition temperature of the fibers or waxes. This creates a permanent, hardened surface that is naturally resistant to moisture and abrasion.
THE TECHNICAL LEDGER
Maintenance & Longevity: To ensure your creations last for generations, apply a microcrystalline wax every six months. This creates a pH neutral barrier against atmospheric pollutants and skin oils. Store your precision tools like calipers in felt lined cases to prevent oxidation and maintain calibration.
Material Variations:
- Sustainable: Cork sheeting offers excellent vibration dampening.
- Recycled: Repurposed HDPE plastic can be melted and machined like soft aluminum.
- Premium: Titanium hardware provides the highest strength to weight ratio for kinetic parts.
The Correction:
- The Gap: If a joint has a visible gap, mix fine sawdust from the same board with wood glue to create a high density filler that matches the refractive index of the wood.
- The Over-Torque: If a screw strips, drill it out and glue in a hardwood dowel. This restores the tensile grip for a fresh pilot hole.
- The Surface Burn: If a power tool leaves a burn mark, use a cabinet scraper instead of sandpaper. Sanding pushes burnt dust into the pores; scraping shears the damaged fibers away cleanly.
Studio Organization: Store your materials vertically to prevent bowing under their own weight. Use airtight bins for any hydrophilic materials like 3D printing filament or specialized glues to prevent degradation from ambient moisture.
THE FINAL REVEAL
There is a specific, electric moment when the final fastener is turned and the project moves from a collection of parts to a functional reality. The finished piece should feel balanced in the hand; a testament to the ergonomic considerations made during the design phase. Look at the way the light catches the burnished edges and how the joints seat with zero daylight between them. This is the payoff of Integrated Family Making. It is the high energy celebration of a job well done, where every member of the team can point to a specific detail and say, "I mastered that." The shop is quiet now, but the object on the bench vibrates with the collective effort of everyone involved.
STUDIO QUESTIONS
What is the best way to introduce kids to tools?
Start with tactile hand tools like a small plane or a hand drill. These tools provide immediate sensory feedback regarding material resistance and grain direction without the intimidating noise or speed of high powered oscillating tools.
How do I prevent wood from splitting during assembly?
Always drill a pilot hole slightly smaller than the shank of your screw. This removes material to make room for the fastener, reducing the hoop stress that causes the wood fibers to pull apart and fracture.
Why does my glue joint keep failing?
Check for "starved joints" caused by excessive clamping pressure or oily wood surfaces. Use an acetone wipe on exotic woods to remove natural oils, ensuring the adhesive can penetrate the porous structure of the material effectively.
What is the most important safety rule in a family shop?
Maintain a "clean floor" policy to prevent trips and ensure everyone wears impact resistant eye protection. Understanding the physics of kickback on saws is also vital for anyone operating machinery to prevent accidental injury.

