

The air in the studio today smells like a fresh rainstorm hitting a dry forest floor; it is earthy, sharp, and incredibly alive. I am clutching a stalk of Moso that was literally growing several inches a day just a few weeks ago. When we dive into Natural Bamboo Crafting, we are not just playing with wood. We are manipulating a high performance grass that possesses a higher compressive strength than concrete and a tensile strength that rivals mild steel. Feel that surface? It is cool to the touch because of the dense silica layer in the outer skin. This waxy cuticle protects the vascular bundles inside, which are the tiny straw like tubes that transport water. When you run your thumb along the grain, you are feeling the longitudinal alignment of cellulose fibers. Unlike hardwoods that have a messy, interlocking grain, this material is a masterclass in linear physics. It wants to split perfectly straight, but only if you know how to respect its internal tension. Grab your coffee; we are about to turn this botanical speedster into a structural masterpiece.
THE STUDIO KIT
THE STUDIO KIT
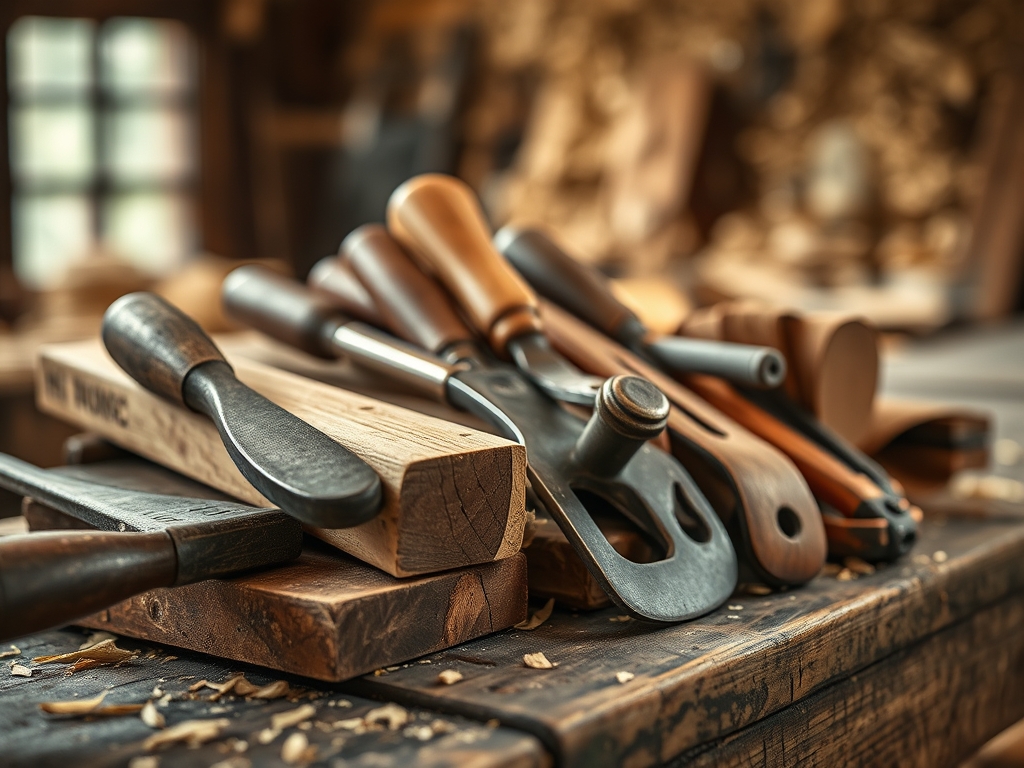
To master this medium, your toolbox needs to be as sharp as your wit. We start with a Japanese pull saw (Dozuki). Because bamboo fibers are incredibly prone to splintering, the thin kerf of a pull saw allows for a clean entry without crushing the delicate vascular walls. You will also need a set of digital calipers to measure the outer diameter and wall thickness, as these dimensions vary wildly between the base and the tip of a single culm. For internal work, a long handle tungsten rasp is essential for smoothing out the nodes.
For the fine details, I keep a precision awl and a high carbon steel kiridashi knife on my bench. The knife is used to shave the green skin, a process known as degassing, which allows the material to dry without cracking. If you cannot find a specific species, look for Material Substitutions like rattan for flexibility or dried river reeds for smaller scale decorative work. However, nothing quite matches the tensile resilience of true timber bamboo. You will also need a propane torch for heat tempering, which brings the natural oils to the surface to create a permanent, water resistant seal.
THE TEMPO
The Maker's Rhythm for this project is dictated by moisture content. You cannot rush the physics of evaporation. We begin with the Preparation Phase, which takes about two hours of cleaning and sorting. The Curing Phase is the longest; if you are working with green material, it requires a slow heat treatment over three to four hours to prevent fungal growth. The Construction Phase usually hums along for six to eight hours depending on the complexity of your joinery. Finally, the Curing and Finishing Phase requires twenty four hours of rest to let the fibers stabilize after being stressed by tools. Think of it as a biological cooldown.
THE CORE METHOD
1. Thermal Degreasing and Straightening
We begin by passing the culm over an open flame. You will see beads of "sweat" appear on the surface; this is actually natural wax and resin. Wipe this away immediately with a soft cloth. Mastery Tip: This process utilizes thermoplasticity. By heating the lignin (the organic polymer that holds the fibers together), the bamboo becomes momentarily pliable, allowing you to straighten any natural bends before it cools and locks back into a rigid crystalline structure.
2. Splitting the Culm
Using a heavy cleaver or a specialized bamboo splitter, we divide the cylinder into equal longitudinal slats. Always strike the tool exactly in the center to ensure the split follows the grain evenly. Mastery Tip: This relies on the material's low cleavage strength along the longitudinal axis. Because there are no radial rays (like those found in oak or maple), the split will travel in a nearly perfect line as long as the initial pressure is symmetrical.
3. Node Removal and Planing
Each bamboo stalk has internal walls called diaphragms at the nodes. Use your rasp or a chisel to remove these until the inner surface is flush. Mastery Tip: The nodes are the only places where fibers interlace transversely. This provides hoop strength, preventing the tube from collapsing under pressure. Removing them reduces weight but requires you to be mindful of the reduced structural integrity in those specific zones.
4. Precision Joinery and Binding
We use a technique called "wrapping" or "pinning" to join sections. Drill pilot holes with a high speed bit to avoid fracturing the surface. Mastery Tip: Bamboo is a porous composite. When you apply a binding agent or a tight cord wrap, you are utilizing capillary action to pull adhesives into the fiber channels, creating a mechanical bond that is often stronger than the material itself.
THE TECHNICAL LEDGER
Maintenance & Longevity: To keep your piece from becoming brittle, apply a light coat of tung oil or mineral oil once a year. This maintains the elastic modulus of the fibers. Avoid direct sunlight, which can cause UV degradation of the silica skin.
Material Variations:
- Sustainable: Reclaimed bamboo flooring offcuts.
- Recycled: Old bamboo garden stakes (must be sterilized).
- Premium: Black Timber (Phyllostachys nigra) for high contrast aesthetics.
The Correction:
- The Split: If a crack forms during drilling, stop immediately. Use a thin cyanoacrylate glue to wick into the crack and clamp it until set.
- The Burn: If you char the surface during heat tempering, use a fine grit sanding sponge (220 grit) to buff away the carbon and reveal the toasted amber layer beneath.
- The Warp: If the piece bows after cutting, re-heat the area and clamp it to a flat reference surface until it reaches room temperature.
Studio Organization: Store your bamboo horizontally on a rack with at least three support points. Storing it vertically causes the weight to compress the bottom fibers, leading to microscopic fractures over time. Keep the humidity around forty percent to prevent the material from "breathing" too much.
THE FINAL REVEAL
There is nothing quite like the moment you pick up the finished piece. It feels incredibly light, almost defying its size, yet when you try to flex it, the resistance is immediate and firm. The surface has transitioned from a dull green to a rich, glowing amber with a satin sheen that no synthetic varnish could ever replicate. Because we respected the grain direction and managed the internal moisture, the joints are seamless and the structure is sound. It is a functional piece of art that literally grew out of the ground at record speed. You have taken a wild, chaotic plant and used physics to turn it into something disciplined and beautiful.
STUDIO QUESTIONS
How do I prevent bamboo from cracking over time?
Control the drying process by removing the outer waxy layer and applying a natural oil. This stabilizes the internal tension by slowing down the rate of moisture loss, which prevents the fibers from shrinking too rapidly and splitting.
Can I use regular wood glue for bamboo?
Yes, but since bamboo is non porous on the outside and highly porous on the inside, you must sand the contact points. This creates a mechanical "tooth" for the glue to grip, ensuring a high strength bond.
What is the best way to cut bamboo without splintering?
Always use a high tooth count saw and cut on the "pull" stroke. Applying a layer of masking tape over the cut line helps maintain the structural integrity of the surface fibers during the initial entry of the blade.
Is it necessary to heat treat every piece?
Heat treating is vital for Natural Bamboo Crafting because it kills insect larvae and caramelizes the natural sugars. This process makes the material less attractive to pests and significantly increases its resistance to rot and decay.

