
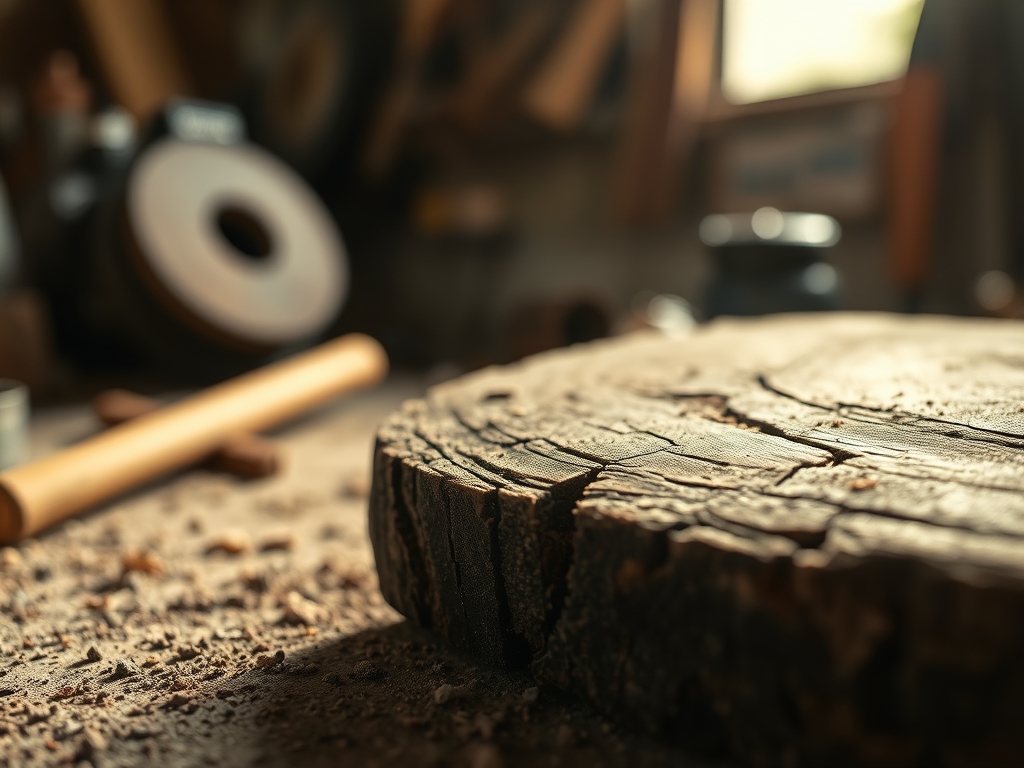
The scent of fresh cedar hits your lungs before you even step into the workshop; it is a sharp, resinous perfume that signals the start of something permanent. You run your palm over the grain, feeling the microscopic ridges of the tracheids and the cellular structural integrity of the wood fibers. This is the moment where theory meets the physical world. I have spent years hunting for the perfect barrier against the elements, and I finally found it. Achieving Natural Tung Oil Success requires more than just a brush and a prayer; it demands an understanding of how lipids interact with cellulose on a molecular level. We are not just painting a surface. We are saturating the very heart of the timber to create a polymerized shield. This process is tactile and deeply satisfying. When the oil hits the wood, the color deepens instantly, revealing a chatoyancy that looks like liquid gold trapped in a solid state. It is the ultimate marriage of chemistry and craft, and I am going to show you exactly how to master it.
THE STUDIO KIT

To achieve a professional grade finish, your kit must be curated with precision. You will need a high quality, pure tung oil; ensure it is not a "tung oil finish" which often contains toxic metallic driers and thinners. For the application, grab a stack of lint-free microfiber cloths and a set of digital calipers to measure the thickness of your stock if you are working on joinery. You will also need a silicon carbide sandpaper progression ranging from 120 to 600 grit. A tack cloth is non-negotiable for removing microscopic debris that can compromise the surface tension of the oil.
For material substitutions, if you cannot source pure tung oil, high grade polymerized linseed oil is a viable alternative, though it offers slightly less water resistance. If you are working with particularly dense hardwoods like Ipe or Teak, you might need a citrus solvent to thin the first coat, allowing it to penetrate the tight pore structure of the wood. Always keep a burnishing tool or a smooth cabinet scraper nearby to handle any grain raise that occurs during the initial saturation phase.
THE TEMPO
The "Maker's Rhythm" for outdoor finishing is a slow dance. You cannot rush the oxidative polymerization process. The initial preparation takes approximately two hours of focused sanding and cleaning. Once the first coat is applied, the wood enters a "thirsty" phase for about forty-five minutes where you must monitor for dry spots. Following this, the project requires a twenty-four hour rest period between coats. A truly resilient outdoor finish requires five to seven coats. This means your total project timeline spans about a week. It is a meditative cycle of application, absorption, and curing that ensures the tensile strength of the finish remains intact against UV degradation and moisture cycles.
THE CORE METHOD
1. The Surface Refinement
We begin by leveling the wood fibers. Use your sanding block to move with the grain, never across it, to avoid creating cross-grain scratches that the oil will highlight. Use your calipers to ensure you are not thinning the edges too aggressively, which can lead to structural warping.
Mastery Tip: The science of capillary action dictates that the smoother the surface, the more even the oil distribution. By sanding to a high grit, you are closing the "straws" of the wood just enough to prevent the oil from pooling unevenly in the deep cellular voids.
2. The Initial Saturation
Mix your tung oil with a 1:1 ratio of citrus solvent for the first coat only. This reduces the viscosity, allowing the mixture to dive deep into the porous interior of the lumber. Apply it liberally until the wood stops drinking.
Mastery Tip: This step relies on hydrophobic displacement. By filling the internal cavities of the wood with oil, you are ensuring that water molecules have no physical space to occupy later, which prevents rot and fungal growth.
3. The Burnishing Phase
After the oil has sat for thirty minutes, take a clean cloth and buff the surface vigorously. You are looking to remove any excess that has not been absorbed. If it feels tacky, you have waited too long; if it feels slick, you are right on time.
Mastery Tip: The friction from burnishing creates a localized heat reaction that encourages the molecular cross-linking of the oil. This heat helps the lipids begin the transition from a liquid state to a solid, protective film.
4. The Curing Interval
Place the piece in a well-ventilated area, away from direct sunlight. The oil needs oxygen to cure, not just heat. If you stack pieces, use "stickers" or small wood scraps to ensure airflow reaches every square inch of the surface.
Mastery Tip: This is a chemical reaction known as autoxidation. The oil reacts with atmospheric oxygen to form a complex, three-dimensional polymer network. Without proper airflow, the finish will remain soft and fail to provide structural integrity.
THE TECHNICAL LEDGER
Maintenance is the key to longevity. For an outdoor piece, a light "refresh" coat should be applied every twelve to eighteen months. Simply wipe the surface with a damp cloth, let it dry, and rub in a small amount of oil to maintain the hydrophobic barrier.
Material Variations:
- Sustainable: Pure Tung oil is a renewable nut oil, making it the gold standard for eco-friendly shops.
- Recycled: When working with reclaimed barn wood, increase your solvent ratio to 2:1 to account for the extreme desiccation of the fibers.
- Premium: For high-end furniture, use a jeweler's saw to create intricate inlays before oiling; the oil will not affect the bond of high-quality epoxies.
The Correction:
- The Sticky Surface: If the oil turns gummy, you applied it too thick. Fix: Use a cloth dampened with solvent to dissolve the excess, then re-buff.
- The Gray Spot: This indicates a localized failure in the UV barrier. Fix: Lightly sand the area with 320 grit and re-apply three concentrated coats.
- The Bubbles: This happens when air is trapped in the pores. Fix: Use a fine awl to pop the bubble while wet, or sand back and re-coat if dry.
Studio Organization: Store your oil in a cool, dark place. To prevent the oil from skinning over in the can, drop clean glass marbles into the container to raise the fluid level and displace the oxygen. Always hang oily rags flat to dry outdoors to prevent spontaneous combustion.
THE FINAL REVEAL
Look at that glow! The finished piece should feel warm to the touch, not plastic or synthetic. When you pour a drop of water on it, the liquid should bead up instantly, dancing across the surface without leaving a trace. This is the hallmark of a master-level finish. You have transformed a raw, vulnerable piece of timber into a resilient work of art that can withstand the harshest rain and the brightest sun. The depth of the grain is now a topographical map of the tree's history, preserved forever under a biological shield. It is sophisticated, it is durable, and it is entirely your handiwork.
STUDIO QUESTIONS
Why is pure tung oil better than a "wipe-on" poly?
Pure tung oil is food-safe and remains flexible over time. Unlike polyurethane, it will not crack or peel when the wood expands and contracts with temperature shifts, ensuring long-term tensile stability.
Can I apply this over a previous stain?
Only if the stain is oil-based and fully cured. Water-based stains can block the capillary action required for the tung oil to penetrate the wood fibers, leading to a blotchy and unstable finish.
How do I know when the wood is fully saturated?
The wood is saturated when the surface remains "wet" for fifteen minutes without any dull, dry spots appearing. This indicates the porous cellular structure is completely filled with the protective oil.
Is it safe for garden beds or planters?
Yes, it is one of the few finishes that is completely non-toxic once cured. It provides a natural hydrophobic barrier that protects the wood from soil moisture without leaching chemicals into your plants.
What is the best temperature for application?
Aim for a steady 60 to 80 degrees Fahrenheit. Extreme cold slows the oxidative polymerization, while extreme heat can cause the oil to dry too quickly on the surface, preventing deep penetration.

