
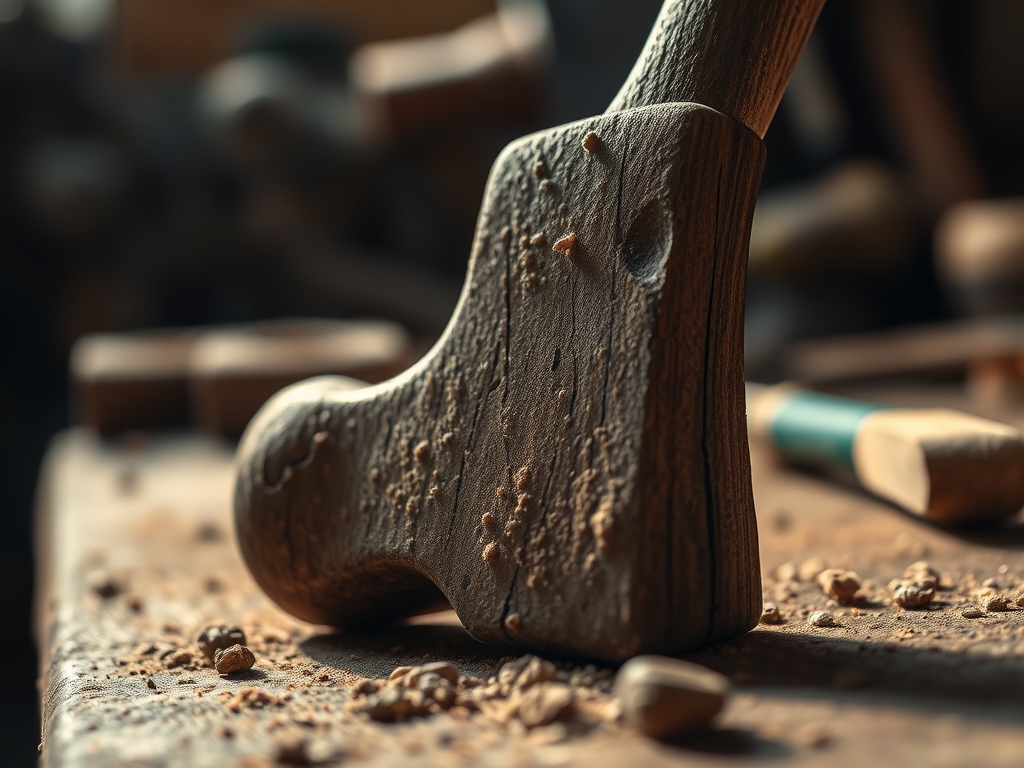
The moment your fingers brush against a rusted, pitted shank of 1950s carbon steel, you feel a vibration that modern alloy simply cannot replicate. It is heavy; it is honest; it is the ultimate expression of The Sustainable Tool Buy. While others are hunting for mid-century lamps, I am digging through oily crates for that specific dull grey luster of high-carbon content. You can sense the tensile strength just by the weight distribution in your palm. Modern mass-produced tools often rely on cheap chrome plating to hide structural inconsistencies, but vintage steel is a masterclass in metallurgy. When you find a forged wrench or a hand-plane blade from a defunct New England foundry, you are holding a piece of history that has already survived seventy years of thermal expansion and mechanical stress. The grain structure in this older steel is tighter because it was often slow-cooled, a process that prevents the brittleness found in rapid-fire contemporary manufacturing. We are not just hoarding old metal; we are reclaiming superior molecular integrity for our own studio practice.
THE STUDIO KIT
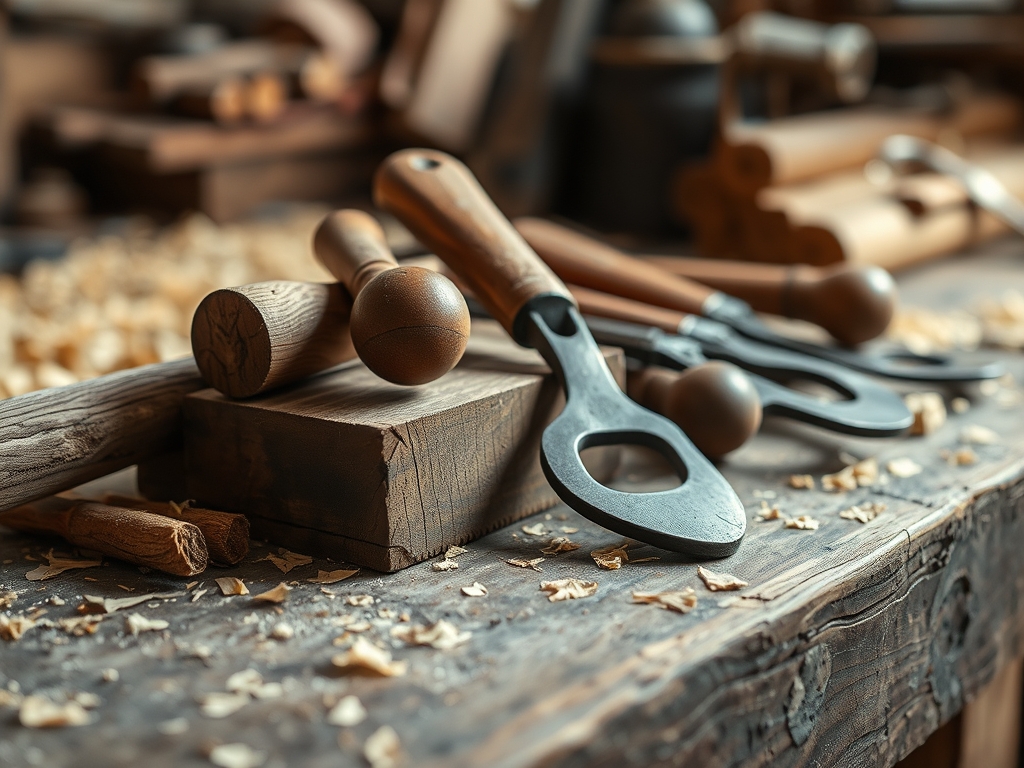
To restore these relics, your workstation needs to be a hybrid of a chemistry lab and a traditional forge. You will need a set of digital calipers to measure the gauge of the metal, ensuring that years of oxidation haven't compromised the structural thickness. For the initial cleaning, a brass-bristled brush is essential because brass is softer than steel on the Mohs scale; it removes the ferric oxide without scratching the underlying substrate. You must also have a high-viscosity penetrating oil to break the capillary bonds of deep-seated rust.
Material Substitutions: If you cannot find a specific vintage piece, look for "New Old Stock" (NOS) which offers the same metallurgical benefits without the surface pitting. For cleaning, if you lack industrial solvents, a bath of white vinegar acts as a mild acetic acid to dissolve rust, though it requires a neutralizing base like baking soda immediately after to stop the chemical reaction.
THE TEMPO
Restoration is not a sprint; it is a controlled chemical and mechanical progression. The Maker's Rhythm here is dictated by the "soak and see" method. You will spend roughly forty-eight hours in the de-oxidation phase, allowing the chemistry to do the heavy lifting. This is followed by a high-intensity three-hour window of mechanical polishing and edge-honing. The final stage is the passivation phase, where you apply a protective layer of paste wax or oil, which takes about twenty minutes but requires a twenty-four-hour cure time. Respecting this tempo ensures you do not overheat the metal, which would ruin the temper and make the steel too soft to hold an edge.
THE CORE METHOD
1. The Mechanical Assessment
Before any cleaning begins, you must check for micro-fractures using a magnifying loupe. Hold the tool by its center of gravity and tap it with a small wooden mallet. A clear, ringing tone indicates a solid internal grain structure, while a dull thud suggests internal fatigue or a hidden crack.
Mastery Tip: This is the science of acoustic resonance. Solid metal allows sound waves to travel uninterrupted, whereas a crack creates an interface that reflects and dampens the wave, signaling a failure in structural integrity.
2. Chemical De-rusting
Submerge the tool in a chelating agent. Unlike acids that eat both rust and good metal, chelating agents bond specifically to iron oxide molecules. This process is slow but preserves the dimensional accuracy of the tool, which is vital for items like micrometers or squares.
Mastery Tip: Chelation works by surrounding the metal ion with a larger molecule. It is a selective process that maintains the original surface profile of the steel while lifting the oxidation layer through molecular attraction.
3. Surface Refinement and Burnishing
Once the rust is gone, use a series of abrasive papers, starting at 400 grit and moving to 2000 grit. You are not just making it shiny; you are reducing the surface area. A smoother surface has fewer microscopic valleys where moisture can settle and initiate new corrosion.
Mastery Tip: This involves surface tension. A highly polished, burnished surface allows moisture to bead and roll off rather than clinging to the metal, effectively using physics to create a natural rust barrier.
4. Honing the Primary Bevel
If you are working with a cutting tool, use a whetstone to establish the geometry of the edge. For most woodworking tools, a 25-degree primary bevel followed by a 30-degree micro-bevel provides the best balance between sharpness and durability.
Mastery Tip: The micro-bevel creates a stronger "wedge" at the very tip of the blade. This increases the cross-sectional density at the point of impact, preventing the edge from folding or chipping under high stress.
THE TECHNICAL LEDGER
Maintenance & Longevity: To keep your vintage steel in peak condition, you must manage the "Studio Microclimate." Steel is hygroscopic in the sense that it attracts surface condensation during temperature swings. A light coat of camellia oil is superior to petroleum-based oils because it is non-toxic and does not go rancid.
Material Variations:
- Wrought Iron: Found in very old tools; has a fibrous, wood-like grain.
- Cast Steel: The gold standard for 19th-century tools; incredibly dense and holds a razor edge.
- Alloy Steel: Contains chromium or vanadium; easier to maintain but harder to sharpen manually.
The Correction:
- Over-sharpening: If you grind too fast, the metal turns blue. This means you have "drawn the temper." Fix: You must grind past the blue section until you reach the "straw-colored" steel that still holds its hardness.
- Flash Rust: Occurs after an acid bath. Fix: Immediately dip the tool in a water-displacing oil (WD-40) or a baking soda solution to neutralize the pH level.
- Pitting: Deep holes in the metal. Fix: Do not try to grind them out, as you will lose too much mass. Instead, fill them with a clear epoxy or simply keep them well-oiled to prevent further "crevice corrosion."
Studio Organization: Store your steel tools in a wooden chest or a drawer lined with "VCI" (Vapor Corrosion Inhibitor) paper. Wood acts as a natural humidity buffer, absorbing excess moisture before it can settle on your tools.
THE FINAL REVEAL
There is nothing quite like the weight of a restored 1920s block plane sliding across a piece of cherry wood. The tool feels like an extension of your own arm because the ergonomic balance of vintage handles was designed for all-day use, not for fitting into a plastic blister pack. When you look at that shimmering, dark-grey patina, you aren't just looking at a tool; you are looking at a survivor. It is sharp enough to shave with, heavy enough to provide its own momentum, and sustainable because it will never end up in a landfill. You have successfully bypassed the "planned obsolescence" of the modern world through the power of physics and a little bit of elbow grease.
STUDIO QUESTIONS
Why is vintage steel better than modern steel?
Vintage steel often features a more uniform grain structure due to slower cooling processes. This results in superior edge retention and a higher resistance to shattering under high-torque applications compared to many modern, rapidly manufactured alloys.
How do I tell if a tool is high-carbon steel?
Perform a spark test using a grinder. High-carbon steel produces a "burst" of sparks that look like tiny fireworks. Low-carbon steel produces long, straight sparks with very few secondary bursts at the ends.
Can I use a wire wheel to clean my tools?
Yes, but use caution. A wire wheel can be aggressive and may remove the patina or original "maker's marks." Always wear eye protection and move the tool constantly to avoid creating flat spots on curved surfaces.
What is the best way to prevent rust in a damp garage?
Apply a thin layer of paste wax and buff it out. The wax creates a hydrophobic barrier that is more durable than oil, preventing oxygen and moisture from reaching the metal surface even in high-humidity environments.

