

The scent of freshly shorn cedar and the cool, heavy drag of a steel chisel against a bench hook are the true markers of a morning well spent. When you decide to build an Integrated Artisan Business, you are not just selling a product; you are curating a lifestyle that balances mechanical precision with raw, tactile soul. Most people look at a finished piece and see a beautiful object, but you and I know better. We see the tensile strength of the grain and the way the light catches a perfectly leveled chamfer. It is about the physics of the hold and the chemistry of the finish. Every single movement in the studio is a conversation between your nervous system and the density of the material. If you can master the way wood fibers compress or how leather hides yield to a polished bone folder, you are no longer just a hobbyist. You are a structural engineer of the domestic sphere. This journey requires more than just passion; it demands a deep, technical respect for the physical laws that govern every cut, stitch, and join.
THE STUDIO KIT
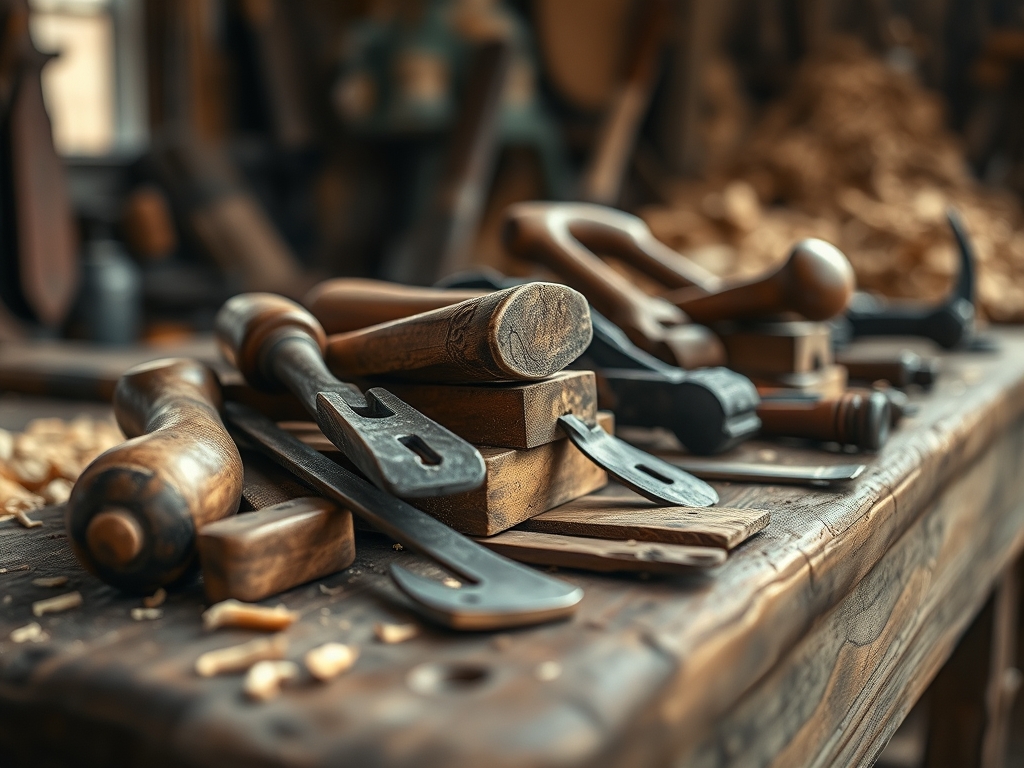
To build a shop that sustains you, your kit must be an extension of your own ergonomics. We start with precision calipers because "eyeballing it" is the enemy of structural integrity. You need a high-carbon steel marking knife to sever fibers cleanly before the saw ever touches the surface; this prevents the jagged tear-out that ruins a professional aesthetic. For assembly, keep a set of parallel jaw clamps to ensure even pressure distribution across the glue line. If you are working with textiles or leather, a heavy rotary cutter and a diamond-point awl are non-negotiable for maintaining a consistent stitch pitch.
Material Substitutions: If premium white oak is out of reach, look for ash; it offers similar elasticity and shock resistance but at a lower price point. For those avoiding animal products, high-density cork fabric offers a fascinating cellular structure that mimics the durability of leather while providing unique thermal insulation properties. Always check the moisture content of your timber with a digital meter before you begin. If the internal humidity is above twelve percent, your joinery will inevitably fail as the wood shrinks across the grain.
THE TEMPO
The "Maker's Rhythm" is a biological metronome that prevents burnout and ensures technical accuracy. You cannot rush the curing time of a polymer or the drying rate of a water-based dye. A standard project cycle in a professional shop usually spans forty-eight to seventy-two hours. The first four hours are dedicated to the "Heavy Lift," which involves rough milling and primary shaping. This is followed by a mandatory twelve-hour "Rest Phase" where materials are allowed to acclimate to the shop's ambient temperature and humidity.
The middle phase is the "Precision Window," a focused six-hour block where you execute the final joinery or detail work. This requires peak cognitive function because mistakes here are often irreversible. Finally, the "Finishing Cycle" takes place over two days. Each coat of oil or wax requires specific oxidation periods to bond correctly with the substrate. If you skip the wait, you end up with a tacky, unstable surface that attracts dust and degrades the tactile experience of the final piece.
THE CORE METHOD
1. Preparing the Substrate
Every masterpiece begins with a perfectly flat reference face. Use a low-angle block plane to remove high spots, checking your progress frequently with a precision straightedge. Mastery Tip: The science here is all about planarity. Even a microscopic twist in your base material will be magnified ten times once you add vertical components; always plane with the grain direction to avoid "chatter" caused by the blade catching on the cellular bundles.
2. Executing the Mechanical Join
Whether you are using a dovetail or a mortise and tenon, the fit must be "piston-fit" snug. Use your marking gauge to scribe deep lines that act as a physical track for your saw blade. Mastery Tip: This relies on friction-fit dynamics. You want enough surface contact for the wood glue to create a chemical bond through capillary action, but not so tight that you starve the joint of adhesive or split the female component.
3. Surface Refinement and Burnishing
Once the structure is sound, move through your sandpaper grits methodically: 80, 120, 180, and finally 220. Between each grit, wipe the surface with a damp cloth to "raise the grain." Mastery Tip: This process addresses hygroscopy. By wetting the wood, you force the compressed fibers to swell and stand up; cutting them off with the next grit ensures the final finish stays glass-smooth even if the piece is exposed to high humidity later.
4. Application of the Protective Barrier
Apply your chosen finish in thin, even coats using a lint-free applicator. If using a hard-wax oil, buff it vigorously until the surface feels warm to the touch. Mastery Tip: The heat generated by friction lowers the viscosity of the wax, allowing it to penetrate deeper into the porous structure of the material. This creates a cross-linked polymer chain that protects the piece from liquid ingress and UV degradation.
THE TECHNICAL LEDGER
Maintenance & Longevity: To keep your shop equipment in peak condition, apply a thin coat of paste wax to all cast-iron surfaces once a month. This prevents oxidation (rust) caused by sweat and ambient moisture. For the finished pieces, a biannual application of high-grade beeswax will maintain the suppleness of the fibers and prevent desiccation.
Material Variations:
- Sustainable: Reclaimed heart pine offers incredible density but requires extra care to remove old fasteners that can shatter a carbide blade.
- Premium: Grade-A vegetable-tanned leather provides the best burnish potential due to its high tannin content.
- Recycled: High-density polyethylene (HDPE) scraps can be heat-pressed into durable, waterproof components for shop jigs.
The Correction:
- The Gap: If a joint has a hairline gap, mix fine sawdust from the same wood with a drop of clear glue to create a matching filler.
- The Tear-out: If a tool catches and rips the grain, use a card scraper rather than sandpaper to level the area without creating a dip.
- The Blotchy Finish: If the stain absorbs unevenly, apply a "wash coat" of thinned shellac first to seal the more porous earlywood.
Studio Organization: Store all wood vertically with "stickers" (small spacers) between boards to allow for airflow. This prevents the differential drying that causes warping. Keep your precision tools like micrometers and calipers in felt-lined cases to protect their calibration from vibration.
THE FINAL REVEAL
There is nothing quite like the moment you step back and see a finished piece that is both structurally sound and aesthetically transcendent. When you run your hand over the surface, you should feel a seamless transition between components; no sharp edges, no sticky residue, just the honest, cool touch of well-worked material. This is the heart of an Integrated Artisan Business. You have transformed raw, chaotic matter into an organized, functional tool for living. It feels sturdy, it feels intentional, and most importantly, it feels like it belongs in a life that values quality over quantity.
STUDIO QUESTIONS
What is the best way to prevent wood from warping?
Store timber in a climate-controlled environment with consistent airflow. Use spacers between stacked boards to ensure even moisture evaporation across all surfaces. This prevents internal stresses that lead to bowing, cupping, or twisting during the drying process.
How do I maintain the edge on my carving tools?
Strop your blades frequently using a leather board charged with chromium oxide compound. This removes the microscopic "wire edge" created during use. Regular stropping maintains a razor-sharp finish and significantly extends the time needed between heavy regrinding sessions.
Why does my glue joint keep failing?
Failure usually stems from "starved joints" or poor surface preparation. Ensure both surfaces are perfectly flat and free of dust or oils. Apply even clamping pressure to facilitate capillary action, allowing the adhesive to penetrate the cellular structure deeply.
What is the most durable finish for high-use items?
A film-building finish like polyurethane or a cross-linking hard-wax oil provides the best protection. These finishes create a chemical barrier that resists moisture, heat, and abrasion while maintaining the tactile integrity of the underlying material over long periods.

