Grab your apron and clear your workspace because we are about to engage in some serious analog therapy. Forget the blue light glare and the endless scroll; we are diving deep into the tactile world of timber and grain. Healing The Eyes Through Craft starts the moment you trade those pixels for the porous reality of a raw walnut slab. When you touch wood, you are interacting with a complex cellular structure of cellulose and lignin that has spent decades growing toward the sun. Your pupils dilate as they adjust to the natural variations in color and the intricate dance of the grain patterns. This is not just a hobby; it is a biological reset for your nervous system. By focusing on the physical depth of a three dimensional object, your ciliary muscles finally get to relax after being locked into the flat, artificial focal point of a smartphone. We are talking about high density sensory input that satisfies the brain's craving for real world physics. Let us get our hands dirty and our vision clear.
THE STUDIO KIT

To master this craft, you need more than just enthusiasm; you need the right mechanical leverage. We start with a high carbon steel marking knife for precision scoring. Unlike a pencil, a knife severing the wood fibers ensures your saw has a physical track to follow. You will also need a set of digital calipers to measure thickness down to the millimeter; wood moves with humidity, and knowing its exact gauge is vital for a flush fit. For smoothing, we use silicon carbide sandpaper in progressive grits from 80 to 400. To check for flatness, a machinist square is your best friend.
Material Substitutions: If you cannot source black walnut, look for cherry or maple. These hardwoods have a tight grain structure that resists splintering. Avoid softwoods like pine for fine detail work; their low density makes them prone to crushing under the pressure of a sharp chisel. If you lack a professional workbench, a solid core door atop two sawn horses provides the necessary stability to prevent vibration during the cutting phase.
THE TEMPO
The Maker's Rhythm is a three phase process that demands a shift in your internal clock. Phase one is the Acclimation Period, which takes at least 48 hours. Wood is hygroscopic, meaning it absorbs moisture from the air. You must let your materials sit in your studio so the internal moisture content stabilizes before you make a single cut.
Phase two is the Execution Phase, typically spanning six to eight hours of active labor. This is where you find your flow state, synchronizing your breathing with the stroke of the saw. Phase three is the Curing Phase, lasting 24 hours after the final oil application. During this time, the finish undergoes a chemical polymerization, hardening into a protective barrier. Rushing any of these steps compromises the structural integrity of the piece. Patience is the ultimate tool in your kit.
THE CORE METHOD
1. Mapping the Grain Direction
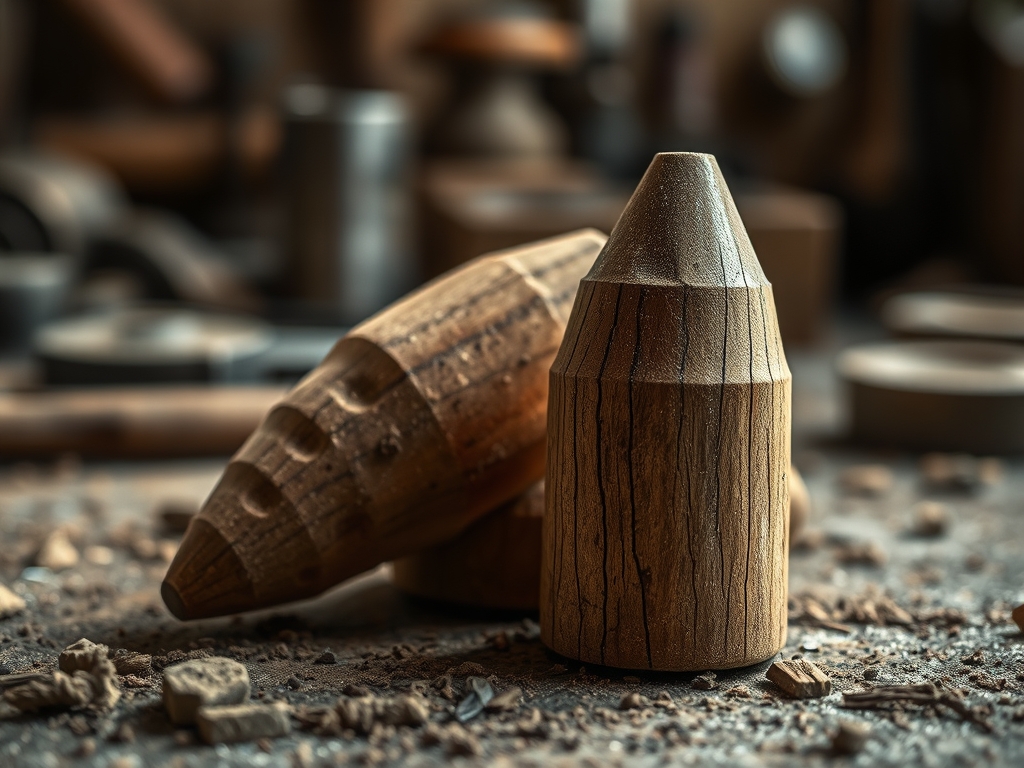
Before you cut, you must read the wood. Look at the end grain to see the growth rings and determine the orientation of the fibers. Mapping the grain ensures that when you use your block plane, you are shaving the fibers down rather than tearing them out. This is a matter of physics; cutting against the grain is like rubbing a cat's fur the wrong way.
Mastery Tip: Always plane in the direction of the grain to maintain surface integrity. If the wood feels "fuzzy," you are likely hitting a grain reversal. Use a card scraper to burnish the surface and compress the fibers for a glass like finish.
2. Precision Marking and Scoring
Use your marking knife and machinist square to lay out your joinery. A physical score line acts as a microscopic "fence" for your saw blade. This technique relies on the fact that wood fibers are essentially bundles of hollow tubes; by severing them cleanly, you prevent the jagged edges that occur when using a blunt graphite lead.
Mastery Tip: Use a marking gauge to ensure consistent depth across all pieces. This tool uses a hardened steel pin to create a uniform track, which is essential for ensuring that your joints seat perfectly without gaps.
3. The Controlled Reduction
Now we remove the waste material using a Japanese pull saw. These saws are thinner than Western push saws, meaning they have a smaller kerf (the width of the cut). This results in less sawdust and more precision. As you pull the saw toward you, the blade is under tension, which naturally keeps it straight.
Mastery Tip: Do not force the tool. Let the weight of the saw do the work. Over exerting pressure can cause the blade to heat up, leading to thermal expansion that might bind the saw within the cut.
4. Refining the Joinery
With your waste removed, use a bench chisel to pare away the final shavings. Hold the chisel at a low angle to shear the wood cells. This is where your digital calipers come back into play; check your dimensions frequently to ensure a friction fit. A perfect joint should hold together by gravity alone but still allow for the natural expansion and contraction of the wood.
Mastery Tip: Keep your chisels "scary sharp." A dull blade requires more force, which increases the risk of the tool slipping and causing an accidental "over cut" that ruins the structural tension of the joint.
5. The Final Burnish and Oil
Once the piece is assembled, sand through the grits to remove any tool marks. The final step is applying a tung oil or linseed oil finish. As the oil penetrates the porous surface, it enhances the refractive index of the wood, making the grain "pop" with visual depth. This creates a rich, matte luster that is soothing to the human eye.
Mastery Tip: Use a lint free cloth to apply the oil in thin layers. This utilizes capillary action, drawing the finish deep into the cellular structure of the wood to provide long term protection against rot and UV degradation.
THE TECHNICAL LEDGER
Maintenance & Longevity: To keep your wood piece in top condition, avoid direct sunlight which can break down the lignin and cause fading. Apply a fresh coat of beeswax every six months to maintain the moisture barrier.
Material Variations:
- Sustainable: Reclaimed white oak from old barns offers incredible density and a unique patina.
- Recycled: Bamboo ply is an eco friendly alternative with high tensile strength.
- Premium: Exotic woods like Teak or Ipe offer natural oils that make them nearly waterproof.
The Correction:
- The Gap: If your joint has a small gap, mix fine sawdust with wood glue to create a matching filler.
- The Splinter: If the wood "tear outs," use a drop of cyanoacrylate (super glue) to pin the fiber back down before sanding.
- The Warp: If a board cups, dampen the concave side and place it weighted on a flat surface to pull it back to center.
Studio Organization: Store your wood horizontally on a rack with "stickers" (small spacers) between boards. This allows for 360 degree airflow, preventing the uneven moisture absorption that leads to bowing and twisting.
THE FINAL REVEAL
Look at that! You have successfully transformed a raw, chaotic piece of nature into a structured work of art. The finished piece feels heavy, warm, and intentional. When you run your hand over the surface, you are feeling the result of hours of microscopic fiber management. Your eyes are no longer darting across a flickering screen; they are resting on the deep, stable beauty of the grain. This project is a testament to your ability to master physical forces and create something that will outlast any digital device. You did not just build a wooden object; you built a sanctuary for your focus.
STUDIO QUESTIONS
How does wood craft help eye strain?
Crafting requires "long view" focus and depth perception. This relaxes the ciliary muscles that become overworked from staring at 2D screens, effectively recalibrating your vision and reducing digital eye fatigue through natural focal shifts.
What is the best wood for beginners?
Poplar or Cherry are ideal. They are hardwoods, meaning they have the density required for crisp detail, but they are soft enough to be easily worked with hand tools without dulling your blades instantly.
Do I need expensive power tools?
Not at all. Hand tools like a pull saw, a chisel, and a block plane offer more control and a better sensory experience. They allow you to feel the resistance of the wood, which is crucial for learning.
How do I prevent wood from cracking?
Maintain a stable environment. Avoid placing finished pieces near heaters or air conditioners. Using a penetrating oil finish also helps stabilize the internal moisture levels, which prevents the wood from shrinking and splitting over time.