The air in the studio changes the moment the heat hits the water; it is a heavy, earthy scent that signals the start of something permanent. You are not just making a dye today. You are extracting a legacy. When we talk about achieving that deep, chocolatey saturation, we are relying entirely on Natural Walnut Husk Stain to penetrate the cellular structure of our materials. It feels tactile and gritty in your hands before the boil, like holding the raw potential of the forest floor. As the husks soften, the water transforms into a viscous, obsidian ink that promises a finish no synthetic pigment can replicate. We are looking for that specific moment when the tannins break their molecular bonds and suspend themselves in the liquid, ready to hitch a ride into the grain of your wood or the fibers of your fabric. It is messy, it is primal, and it is scientifically brilliant. Grab your apron because we are about to manipulate the very chemistry of color.
THE STUDIO KIT

To master this process, your workbench needs more than just a pot and a spoon. We are dealing with high-tannin concentrations that require specific vessels. You will need a stainless steel or non-reactive enamel stockpot; using iron will cause a chemical reaction that turns your brown into a stark, bluish-black. Keep a pair of digital calipers nearby to measure the thickness of your material before and after the soak, as moisture absorption can cause slight swelling in porous organic matter. For agitation, a long-handled wooden paddle is essential to ensure even distribution without scratching the bottom of your vat.
You also need a fine-mesh strainer and cheesecloth to filter out the particulate matter. If you leave sediment in the dye, you risk "hot spots" where the color settles unevenly. For the finishing stage, a burnishing tool or a bone folder will help you compress the fibers once they dry, locking that pigment into the substrate.
Material Substitutions: If you cannot source fresh green husks, you can use dried black walnut hulls or even a high-quality pre-reduced walnut crystals powder. For the fixative, while salt is traditional, using a mordant like alum or cream of tartar can shift the lightfastness and tonal range significantly.
THE TEMPO
The "Maker's Rhythm" for walnut staining is not about speed; it is about the molecular migration of the dye. You cannot rush a tannin soak. The initial extraction phase takes approximately two to three hours of active simmering. This is the period where the heat breaks down the hull's cellular walls.
Once the dye is prepared, the immersion phase can last anywhere from thirty minutes for a light honey hue to forty-eight hours for that coveted, "richest brown" that looks like aged mahogany. You must factor in a drying time of at least twenty-four hours in a low-humidity environment. If you rush the drying process with a heat gun, you risk surface checking or uneven evaporation, which leaves tide marks on your beautiful work.
THE CORE METHOD
1. The Hull Preparation and Crushing
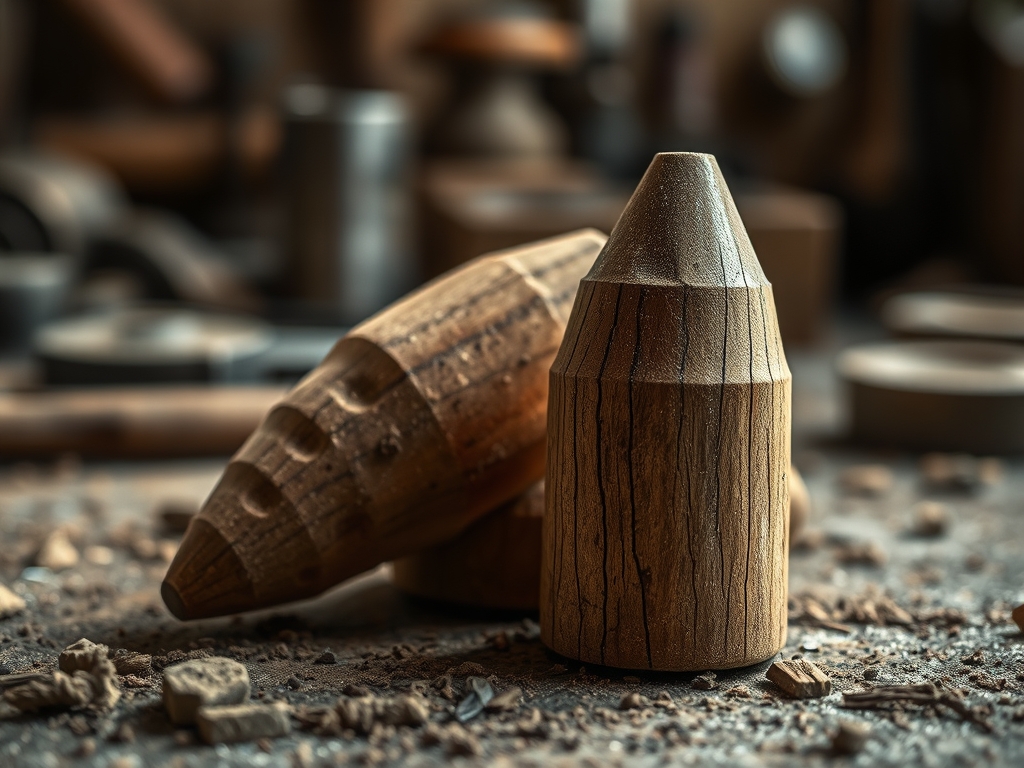
Start by breaking down your husks into smaller fragments. The goal here is to increase the surface area available for the water to contact. By crushing the hulls with a mallet or a heavy stone, you rupture the pigment glands.
Mastery Tip: The science here is simple physics; the more surface area you expose, the faster the solvent (water) can pull the solutes (tannins) into the solution. This prevents you from over-boiling the water and losing volume through evaporation.
2. The Controlled Simmer
Place the husks in your non-reactive pot and cover them with distilled water. Bring the temperature up to a gentle simmer, just below a rolling boil. You want to maintain a temperature around 190 degrees Fahrenheit.
Mastery Tip: Avoid a hard boil. Excessive heat can actually dull the chromatic intensity of the tannins. By keeping the temperature steady, you preserve the richness of the organic compounds without scorching the delicate pigments.
3. Filtration and Purity
Once the liquid is dark enough that you cannot see the bottom of the pot, pour it through a multi-layered cheesecloth. This removes the "sludge" that creates a muddy finish.
Mastery Tip: This step utilizes mechanical filtration to ensure the dye remains a true liquid. Any solid particles left in the dye will create an abrasive surface on your material, ruining the tactile feel of the finished piece.
4. Substrate Immersion and Capillary Action
Lower your material into the warm dye bath. Ensure it is completely submerged to prevent an oxygen line from forming.
Mastery Tip: This relies on capillary action. The fibers of your wood or fabric act like tiny straws, pulling the dye deep into the core. If you pre-dampen your material with clear water, you actually encourage a more even "wicking" effect, preventing splotches.
5. The Fixative Set
After removing the piece from the bath, rinse it briefly in a cool salt-water solution. This "shocks" the fibers and helps set the color.
Mastery Tip: The salt acts as a bridge between the dye and the fiber, increasing the ionic bond strength. This ensures your Natural Walnut Husk Stain stays deep in the material rather than rubbing off on your hands later.
THE TECHNICAL LEDGER
Maintenance & Longevity: To keep your stained pieces looking sharp, avoid direct UV exposure for extended periods. While walnut stain is remarkably lightfast, no organic pigment is entirely immune to solar degradation. A light coat of beeswax or carnauba wax will seal the surface and provide a moisture barrier.
Material Variations:
- Sustainable: Use fallen husks from local foraging to reduce your carbon footprint.
- Recycled: Old cotton rags or salvaged oak scraps take this stain beautifully.
- Premium: Apply this to high-grade veg-tan leather for a luxury finish that develops a stunning patina over time.
The Correction:
- The Mistake: The color is too grey or "dead." The Fix: Your water was too alkaline. Add a teaspoon of white vinegar to shift the pH and warm up the brown tones.
- The Mistake: Splotchy or uneven coverage. The Fix: The material had surface oils. Lightly sand the piece with 220-grit paper and re-submerge.
- The Mistake: The stain is rubbing off (crocking). The Fix: You didn't rinse enough. Give it a thorough wash in plain water and apply a sealant like shellac.
Studio Organization: Store your leftover dye in airtight glass jars in a cool, dark place. To prevent mold growth, add a single whole clove or a drop of wintergreen oil to the jar. This acts as a natural biocide, keeping your batch fresh for months.
THE FINAL REVEAL
There is nothing quite like the moment you pull your project out of the vat and see that incredible, multidimensional brown. It is not flat like a store-bought pigment; it has a luminous depth that seems to glow from within the grain. When you run your thumb over the finished, dried surface, it should feel smooth and substantial. You have successfully used organic chemistry to transform a simple object into a piece of art. That rich, chocolatey hue is a badge of honor for any maker who respects the process.
STUDIO QUESTIONS
How do I make the brown even darker?
Increase the tannin density by simmering the dye bath longer to reduce the water volume. A more concentrated solution results in a deeper, nearly black-brown saturation upon the first immersion.
Can I use this on synthetic fabrics?
Natural Walnut Husk Stain relies on porous organic structures to bond. Synthetics like polyester lack the necessary "hooks" for the tannins to grab onto, resulting in a very pale, uneven wash that will likely wash out.
Is the stain permanent on wood?
Yes, it is exceptionally permanent. Because the dye penetrates the lignin and cellulose of the wood, it goes deeper than surface pigments. You would need to sand deep into the material to remove the color entirely.
Does the smell of the husks linger?
The earthy, "nutty" aroma dissipates almost entirely once the material is fully cured and sealed. If a scent remains, a light application of citrus-based wax will neutralize it while adding a professional finish.
How do I dispose of the leftover dye?
Since this is a natural, biodegradable product, it is safe to pour down the drain or compost. However, ensure it is fully cooled first to avoid damaging your plumbing or harming beneficial microbes in your compost pile.