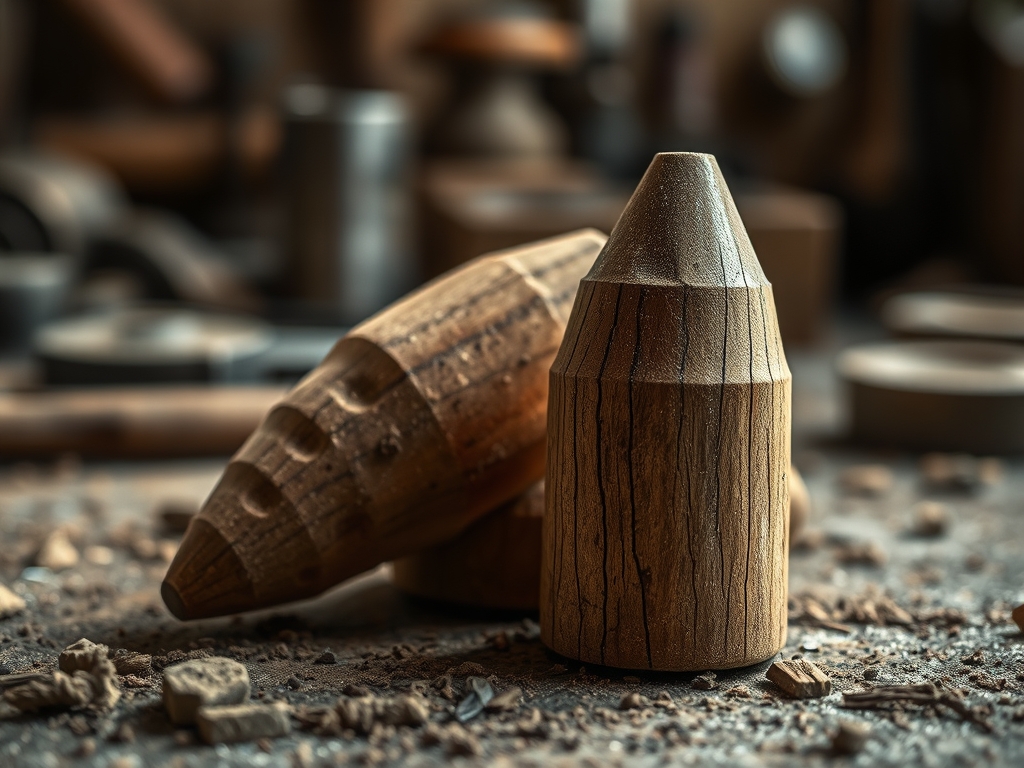
Picture the cold rush of glacial water over your ankles and the heavy, satisfying clunk of granite against granite. There is a specific kind of magic in the weight of a perfect stone; it feels like an extension of your own hand when you are pressing down a stubborn seam or anchoring a delicate leather hide. Foraging For River Stones is not just a weekend hike; it is a high stakes hunt for the ultimate ergonomic ballast. You are looking for a specific density that defies the fluff of modern plastic weights. When you find that one stone with a flat bottom and a silk smooth top, your studio game changes forever. We are talking about objects that have been tumbled by thousands of years of hydraulic force, resulting in a structural integrity that no factory can replicate. These stones possess a thermal mass that stays cool under your palm, providing a tactile feedback that tells you exactly how much pressure you are applying to your project. It is time to stop settling for flimsy beanbags and start sourcing nature's most sophisticated anchors.
THE STUDIO KIT
To curate a professional grade collection, you need more than just a bucket. You need a **digital caliper** to measure the thickness of your finds; consistency is key when you are stacking weights. Bring a **Mohs hardness scale kit** to ensure you are not picking up soft sedimentary rocks like shale, which can flake and ruin your textiles. You will also need a **coarse grit diamond sanding pad** for smoothing out any aggressive burrs and a bottle of **high grade jojoba oil** for the final burnish. For the transport phase, a reinforced canvas tote is essential to manage the high tensile stress on the handles.
Material Substitutions: If you cannot get to a river, look for recycled basalt pavers at a masonry yard. These offer a similar igneous density. You can also use heavy gauge brass cylinders, though they lack the organic grip and unique grain direction of a natural river stone.
THE TEMPO
The Maker's Rhythm for stone foraging is divided into three distinct phases. First is the Discovery Phase, which usually takes two to three hours of active scanning and tactile testing. You are looking for the "Goldilocks" weight; usually between 500 and 800 grams. Next is the Acclimation Phase. Once you bring your stones home, they need twenty four hours to reach studio equilibrium. This prevents any residual moisture from affecting your porous materials like paper or raw silk. Finally, the Refinement Phase takes about twenty minutes per stone. This is where you sand, clean, and oil the surface to ensure it is studio ready. Total active time is low, but the geological payoff is eternal.
THE CORE METHOD
1. The Buoyancy and Density Test
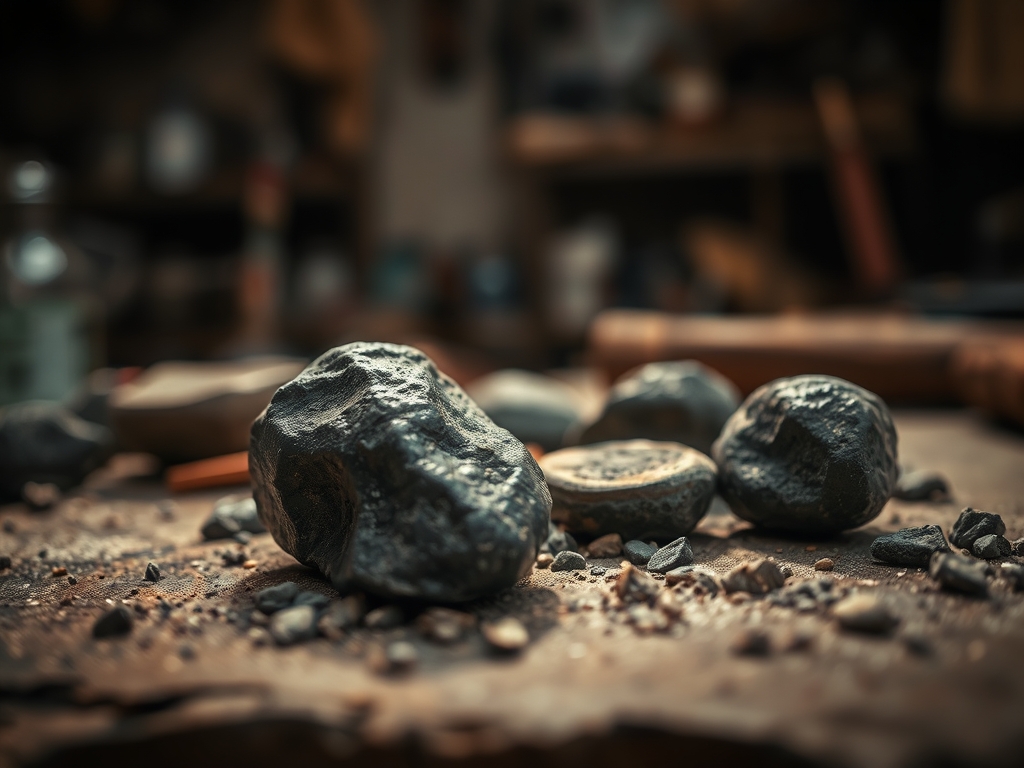
When you are wading through the shallows, do not just grab the first pretty rock you see. Pick it up and feel its specific gravity. A high quality tool weight should feel surprisingly heavy for its size. This indicates a tight molecular structure, likely from igneous origins like basalt or granite. Avoid stones that feel light or "dusty" to the touch, as these are often porous sandstones that will absorb humidity and potentially transfer grit to your work surface.
Mastery Tip: Use the "Clink Test" to check for internal fractures. Tap two stones together gently. A high pitched, bell like ring indicates a solid, continuous crystalline structure. A dull thud suggests internal fissures that could lead to structural failure under pressure.
2. Geometric Alignment and Base Leveling
Flip the stone over. The most critical feature for a studio weight is a planar base. You want a surface that sits flush against your workbench without wobbling. Use your calipers to check for uniform height across the stone. If the base has a slight protrusion, you can use an oscillating tool with a masonry bit to grind it flat, but it is always better to find a stone that nature has already leveled through centuries of erosion.
Mastery Tip: The science of static friction dictates that the more surface area in contact with your material, the less likely the stone is to slide. A flat base maximizes this contact, ensuring your pattern pieces stay locked in place even when you are using a sharp rotary cutter nearby.
3. Surface Refinement and Decontamination
Once home, scrub your stones with a stiff nylon brush and pH neutral soap to remove organic biofilms. After they are dry, use your diamond sanding pads to soften the edges. You are looking for a "bullnose" profile on the bottom rim. This prevents the stone from "biting" into delicate fibers or leaving indentations on soft leathers. Finish by rubbing a tiny amount of oil into the surface to seal the pores.
Mastery Tip: This process utilizes capillary action to pull the protective oil into the microscopic voids of the stone. This creates a hydrophobic barrier, ensuring that no moisture or oils from the stone ever migrate onto your expensive fabrics.
THE TECHNICAL LEDGER
Maintenance & Longevity: These tools are essentially immortal if handled correctly. Every six months, re-apply a light coat of wax or oil to maintain the luster and prevent the stone from becoming "thirsty" and drawing moisture from the air.
Material Variations:
- Premium: Black Nephrite Jade or Jasper. These are incredibly dense and take a mirror polish.
- Sustainable: Local river stones sourced within fifty miles to reduce the carbon footprint of heavy transport.
- Recycled: Polished concrete chunks salvaged from construction sites, though these require more sanding to reach an ergonomic finish.
The Correction:
- The Scratching Issue: If your stone is scratching your table, the base is not smooth enough. The Fix: Adhere a piece of low profile wool felt to the bottom using a high strength cyanoacrylate adhesive.
- The Dusting Issue: If the stone leaves a white residue, it is likely limestone. The Fix: Seal the entire stone in a thin coat of matte polyurethane to lock in the particulates.
- The Moisture Trap: If a stone feels damp even after drying, it is too porous. The Fix: Bake the stone at 200 degrees Fahrenheit for one hour to drive out deep seated moisture, then seal immediately while warm.
Studio Organization: Store your stones in a dedicated wooden tray lined with cork. Do not stack them directly on top of each other, as the high mineral hardness can cause them to chip one another. Keep them at waist height to minimize the risk of dropping them on your toes or your project.
THE FINAL REVEAL
There is a profound satisfaction in seeing a set of matched river stones holding down a complex sewing pattern or a stack of hand dyed paper. They look like ancient artifacts resting on your cutting table. The weight is purposeful; the texture is cooling; and the aesthetic is unmatched by anything you could buy in a big box store. You have successfully bridged the gap between raw geology and refined craft. Your studio now has a soul, anchored by the very bones of the earth.
STUDIO QUESTIONS
What is the best stone type for weights?
Igneous rocks like basalt, granite, or diorite are superior due to their high density and low porosity. They provide the necessary heft without the risk of flaking or absorbing moisture that could damage your delicate craft materials.
How do I stop stones from marking fabric?
Ensure the stone is thoroughly cleaned and burnished. Applying a thin layer of beeswax or jojoba oil creates a smooth, non-reactive barrier. For ultra-delicate silks, glue a disc of archival-quality felt to the flat base of the stone.
Can I use stones found at the beach?
Beach stones often contain high levels of salt and calcium, which can be corrosive or reactive. If you use them, soak them in distilled water for forty-eight hours, changing the water frequently, to leach out any residual minerals.
What size stone is most ergonomic?
Aim for stones that fit comfortably in the palm of your hand, typically three to five inches in diameter. They should be heavy enough to hold material steady but light enough to move with one hand using a natural pincer grip.
How do I level a wobbly stone?
Use a silicon carbide lapping plate or a coarse diamond whetstone. Rub the stone in a figure-eight motion across the wet abrasive surface until the base is perfectly planar. This ensures even pressure distribution across your entire project surface.