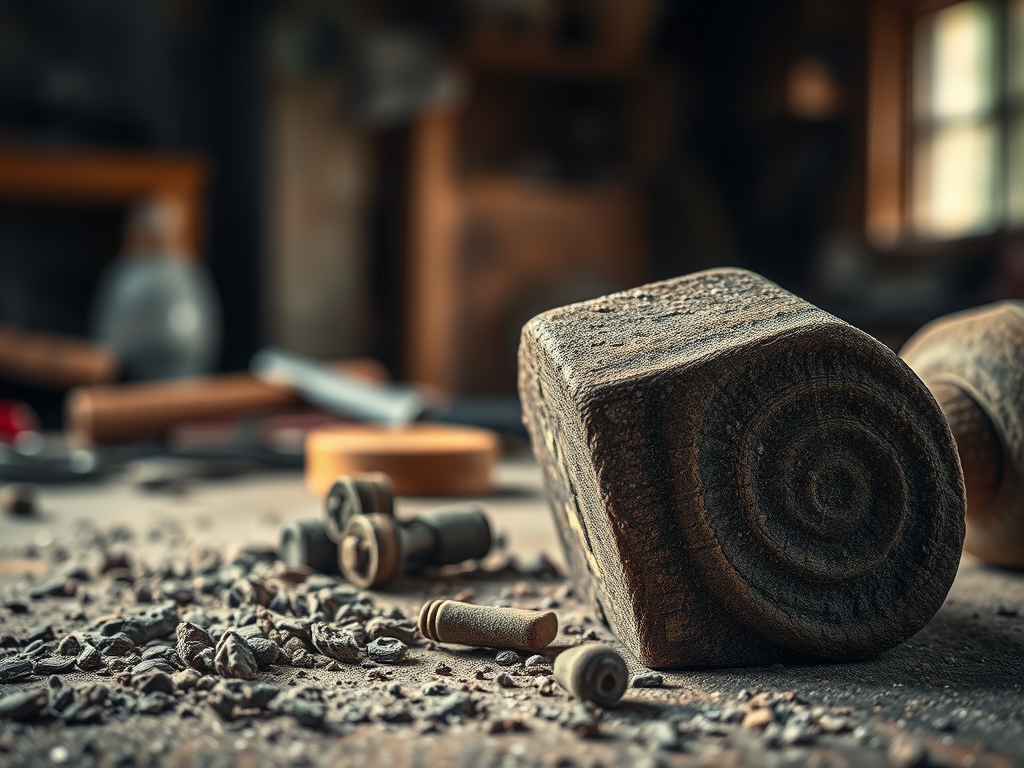
Imagine standing for eight hours on a surface that actually breathes back at you. Most builders focus on the bench or the lathe; however, I realized that the foundation of every project starts with The Sustainable Workshop Floor. My feet were screaming after a week of standing on cold, unforgiving concrete. I needed a material with a high coefficient of friction and enough compressive elasticity to save my joints. Natural cork was the answer because its cellular structure is essentially a matrix of air-filled pockets. When you step down, those cells compress; when you lift, they rebound. It is the ultimate organic shock absorber. The tactile sensation is incredible. It feels grounded and warm, unlike the synthetic bounce of rubber mats that off-gas chemicals into your creative space. We are talking about a material that is harvested without killing the tree, making it the gold standard for a conscious studio. It is time to stop ignoring the physics of your stance and start building from the ground up.
THE STUDIO KIT
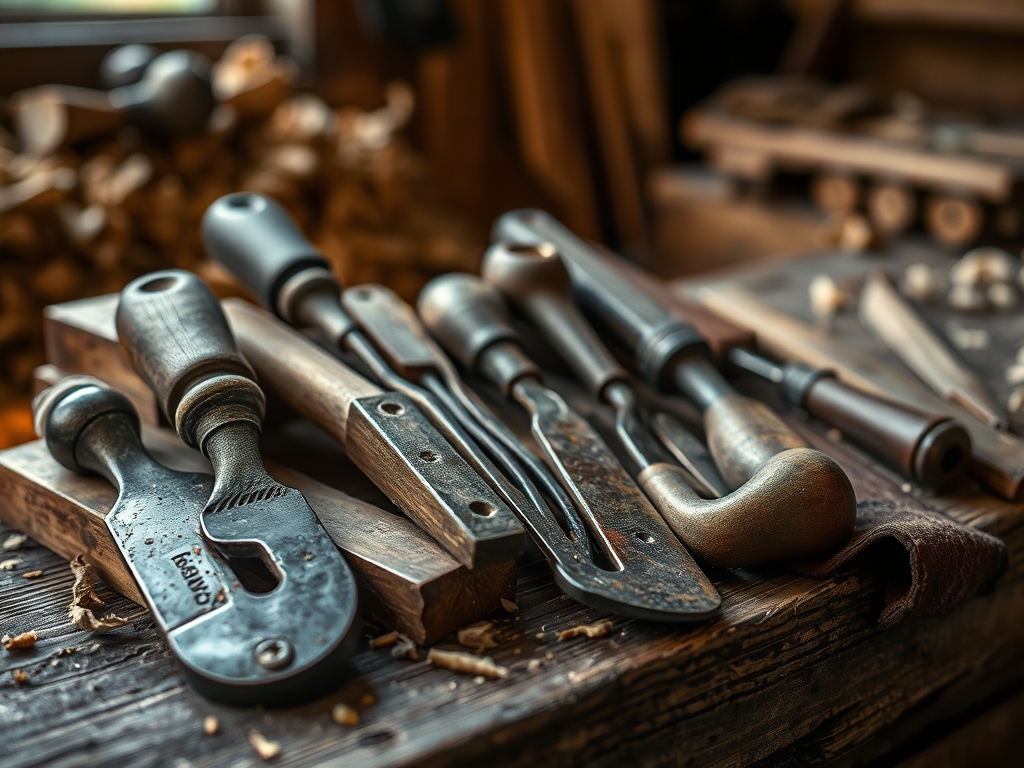
To master this installation, you need a kit that respects the tensile strength of the material. Start with a high-quality rotary cutter or a heavy-duty utility knife with a fresh tungsten carbide blade. Dull blades will tear the cork granules rather than slicing through the suberin (the natural waxy substance in cork). You will also need a T-square for precision alignment and a J-roller to ensure a mechanical bond between the adhesive and the substrate.
For the adhesive, look for a low-VOC contact cement. This creates a permanent bond through molecular cohesion once the two surfaces meet. You will also want a notched trowel to control the spread rate. If you cannot find high-density cork, a great Material Substitution is reclaimed wood parquetry or heavy-duty linoleum made from linseed oil and wood flour. These alternatives offer similar thermal resistance but may require different cutting tools, such as an oscillating tool for tight corners.
THE TEMPO
The "Maker's Rhythm" for this project is all about patience and acclimatization. You cannot just rush into the glue-up. First, the material needs 48 hours to sit in your studio. This allows the moisture content of the natural fibers to equalize with your room's humidity, preventing dimensional instability or warping after installation.
The actual installation phase takes about six hours for a standard 100-square-foot zone. You will spend two hours on substrate preparation, two hours on layout and dry-fitting, and two hours on the final adhesive bond. It is a steady, meditative process. You are moving from the macro level of the room layout to the micro level of ensuring every seam is flush. Do not rush the drying time of the adhesive; waiting for the "tack" is the difference between a floor that lasts decades and one that peels in a month.
THE CORE METHOD
1. Substrate Decontamination
Before a single tile touches the ground, the subfloor must be surgically clean. Any dust or oils will interrupt the chemical bond of your adhesive. Use a vacuum with a HEPA filter to remove fine particulates from every pore of the concrete or wood.
Mastery Tip: Check the porosity of your subfloor by dropping a few beads of water on it. If the water beads up, there is a sealant present that must be mechanically sanded off to allow the adhesive to penetrate.
2. Dry Fit and Grain Alignment
Lay out your tiles without glue first. Cork often has a subtle grain direction based on how it was pressed. Aligning these patterns creates a seamless visual flow. Use your calipers to check for thickness variations between batches; even a half-millimeter difference can create a trip hazard.
Mastery Tip: Use a "staggered brick" pattern to distribute mechanical stress. This prevents long, continuous seams from opening up if the building shifts or the temperature fluctuates.
3. Adhesive Application and Outgassing
Apply the contact cement to both the floor and the back of the cork. You must wait until the adhesive is no longer wet to the touch but remains tacky. This is the open time where the solvents evaporate, leaving behind the bonding resins.
Mastery Tip: This process relies on evaporative cooling. If your studio is too humid, the bond will fail. Use a hygrometer to ensure your workspace is below 60 percent humidity for optimal curing.
4. The Pressure Roll
Once the tile is placed, use the J-roller starting from the center and moving outward. This removes trapped air pockets and ensures 100 percent surface contact. The pressure from the roller triggers the pressure-sensitive properties of the adhesive.
Mastery Tip: Focus on the edges. The perpendicular force applied to the seams prevents "telegraphing," where the edges of the tiles curl upward over time due to internal tension.
THE TECHNICAL LEDGER
Maintenance & Longevity: To keep your natural floor in peak condition, apply a water-based polyurethane finish. This seals the porous surface against spills and metal shavings. Re-coat every three years to maintain the wear layer.
Material Variations:
- Sustainable: Unfinished cork bark tiles (highest CO2 sequestration).
- Recycled: Compressed wine cork granules (excellent for heavy machinery vibration).
- Premium: Solid cork planks with a high-density fiberboard core (best for acoustic insulation).
The Correction:
- The Gap: If a seam opens, do not use wood filler. Mix fine cork dust with clear resin to create a flexible "patch" that matches the thermal expansion of the floor.
- The Bubble: If a section lifts, use a fine-gauge syringe to inject adhesive under the tile, then weight it down for 24 hours.
- The Scuff: For deep gouges from dropped tools, use a burnishing tool to smooth the fibers before spot-refinishing.
Studio Organization: Store leftover tiles flat in a cool, dry place. Avoid vertical storage, as the gravitational pull can cause the edges to bow, making them impossible to fit flush in future repairs.
THE FINAL REVEAL
The transformation is nothing short of electric. Walking across your new Sustainable Workshop Floor feels like a soft "thud" instead of a harsh "clack." The room is suddenly quieter because the cork absorbs ambient decibels, and your legs feel fresh even after a marathon session at the workbench. It looks sophisticated, earthy, and professional. You have turned a cold utility space into a high-performance sanctuary that respects the physics of your body. It is the smartest upgrade you will ever make for your feet.
STUDIO QUESTIONS
Why is cork better than foam mats?
Cork offers superior dimensional stability and does not compress permanently under heavy machinery. Unlike foam, it is a renewable resource that provides natural antimicrobial properties, preventing mold growth in damp workshop environments or basement studios.
Can I install this over cracked concrete?
Small cracks are fine, but large fissures require a leveling compound. The cork will "telegraph" or mirror any major imperfections beneath it, so ensuring a planar substrate is vital for a professional, flush finish.
How do I clean metal shavings off cork?
Use a high-suction vacuum with a soft brush attachment. Avoid sweeping with stiff bristles, which can act as an abrasive and scratch the protective sealant. A damp mop with pH-neutral soap works for deep cleaning.
Is cork a fire hazard in the shop?
Actually, cork is naturally fire-retardant. It does not catch flame easily and, if it does burn, it does not release toxic gases. This makes it a safer organic material compared to many synthetic flooring options.
Will heavy workbenches dent the floor?
Cork has excellent memory recovery, but permanent heavy loads should use load-spreading coasters. This distributes the psi (pounds per square inch) across a larger surface area, preventing the cellular structure from collapsing under static weight.