Imagine running your hand over a raw walnut slab and feeling that dry, thirsty vibration against your palm. It is a sensory SOS signal from the wood fibers. You want that deep, honeyed luster without the chemical hangover of petroleum distillates or synthetic aerosols. This is where my signature Natural Beeswax Polish Recipe comes into play. It is more than just a surface treatment; it is a molecular handshake between organic lipids and cellular cellulose. When you get the ratio of wax to oil just right, you are not just coating the surface. You are saturating the porous structure of the grain to prevent moisture fluctuations from warping your hard work. We are going for a finish that looks like it is glowing from the inside out. Think of it as high-performance skincare for your furniture. We are using the same principles of surface tension and viscosity that master luthiers use to protect violins. Grab your favorite apron because we are about to turn your workshop into a high-end apothecary.
THE STUDIO KIT
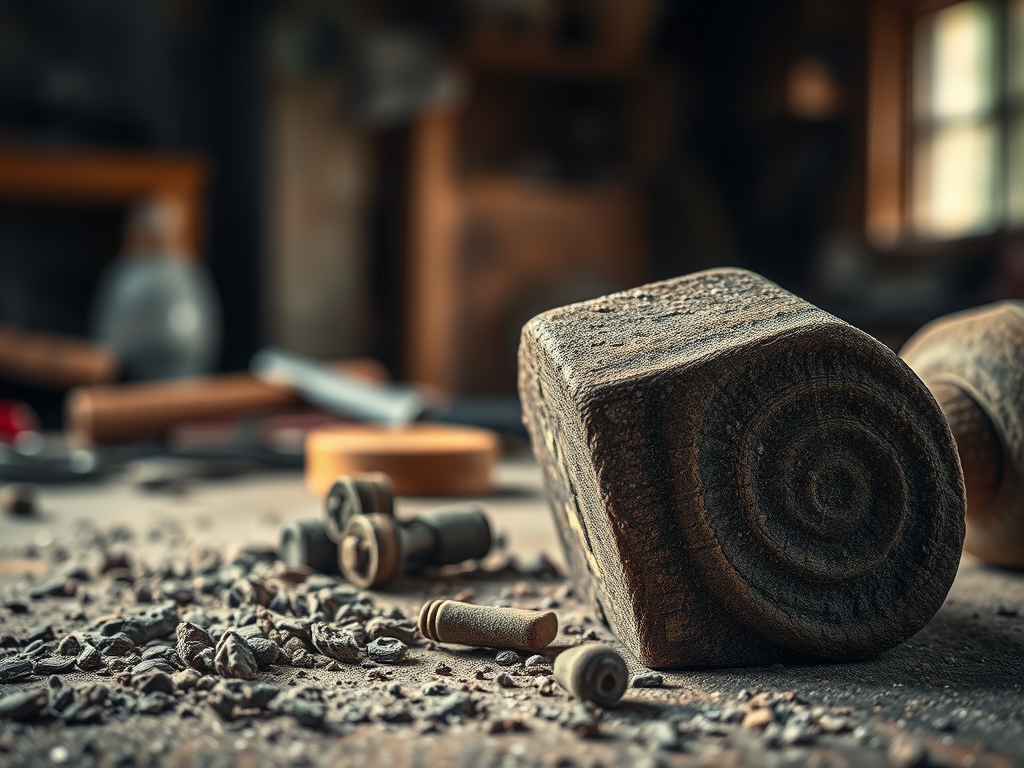
To achieve professional results, your kit must prioritize purity and precision. We start with raw, triple-filtered yellow beeswax pellets. These provide the structural integrity and high melting point required for a durable finish. For our carrier, we use food-grade fractionated coconut oil or cold-pressed hemp oil. These oils have a lower molecular weight, allowing them to penetrate deep into the tracheids of the wood.
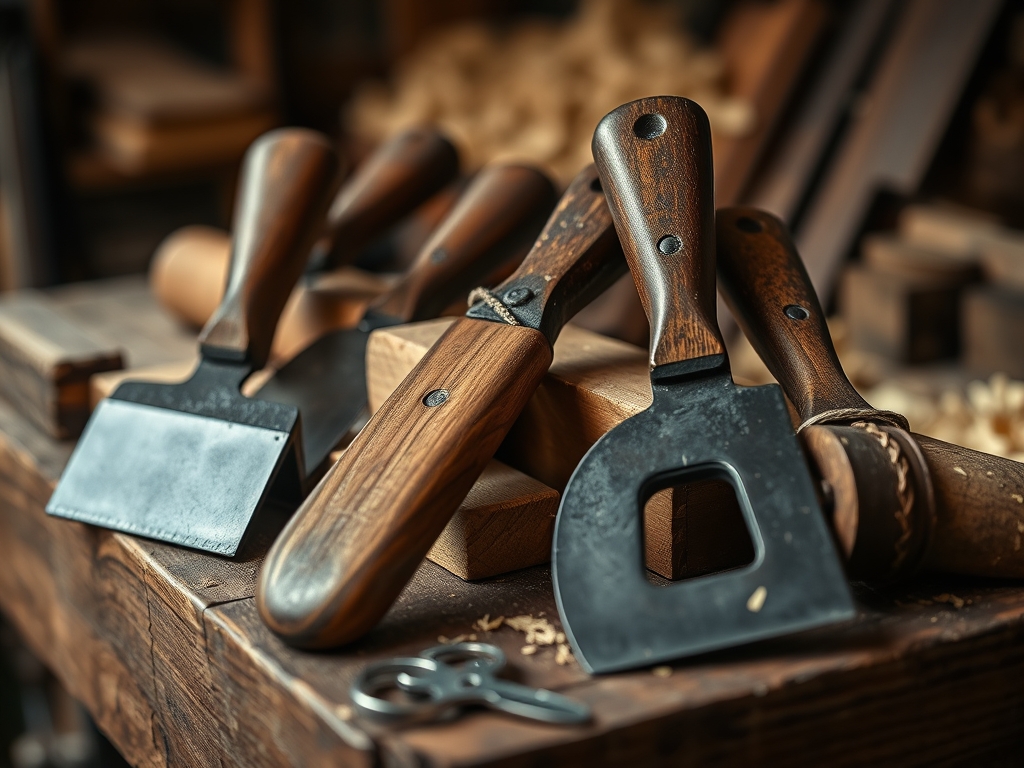
You will need a digital scale to measure by weight rather than volume. Precision is key when balancing the hardness of the wax against the fluidity of the oil. Grab a double boiler or a heat-resistant glass beaker and a small saucepan. For the application phase, keep a high-grit sandpaper (around 400 to 600 grit) and a lint-free microfiber cloth or a piece of genuine sheepskin for the final burnish.
Material Substitutions: If you cannot source beeswax, Candelilla wax is a fantastic vegan alternative, though it has a higher melting point and requires a slightly higher oil ratio to maintain spreadability. You can swap coconut oil for walnut oil if you want a drying oil that polymerizes over time, though be mindful of nut allergies if the piece is a gift.
THE TEMPO
Crafting the perfect polish is a lesson in thermal dynamics. The entire process takes about 45 minutes of active engagement, followed by a two-hour cooling phase. I call this the Maker's Rhythm. You spend fifteen minutes prepping and weighing, fifteen minutes monitoring the slow melt to avoid scorching the delicate esters in the wax, and fifteen minutes for the initial pour and cleanup.
The real magic happens during the cooling period. As the mixture transitions from a liquid to a semi-solid colloid, the lipid chains align. If you rush the cooling by putting it in the fridge, you risk "blooming," where the wax crystallizes unevenly. Let it sit at room temperature. The wood itself also has a rhythm. Once applied, the polish needs at least twenty minutes to "creep" into the grain before you start the mechanical action of burnishing.
THE CORE METHOD
1. The Precise Measurement
Start by weighing out one part beeswax to four parts oil. This ratio creates a soft, buttery consistency that is easy to manipulate with a cloth. If you are working on a high-traffic surface like a dining table, you might shift to a 1:3 ratio for a harder, more protective film.
Mastery Tip: Using a digital scale ensures batch-to-batch consistency. In fluid dynamics, the viscosity of your final product determines the "wetting" ability of the polish. A thinner mix has lower surface tension, allowing it to flow into microscopic cracks more effectively.
2. The Controlled Thermal Melt
Place your wax pellets in the double boiler. Heat the water to a gentle simmer, never a rolling boil. We are aiming for a temperature of about 145 degrees Fahrenheit. Once the wax is translucent, slowly whisk in your oil.
Mastery Tip: This is a process of thermal equilibrium. If you add cold oil to hot wax, the wax will instantly solidify into "beads." By adding the oil slowly and stirring constantly, you maintain a homogenous solution and prevent the formation of a grainy texture.
3. The Infusion and Pour
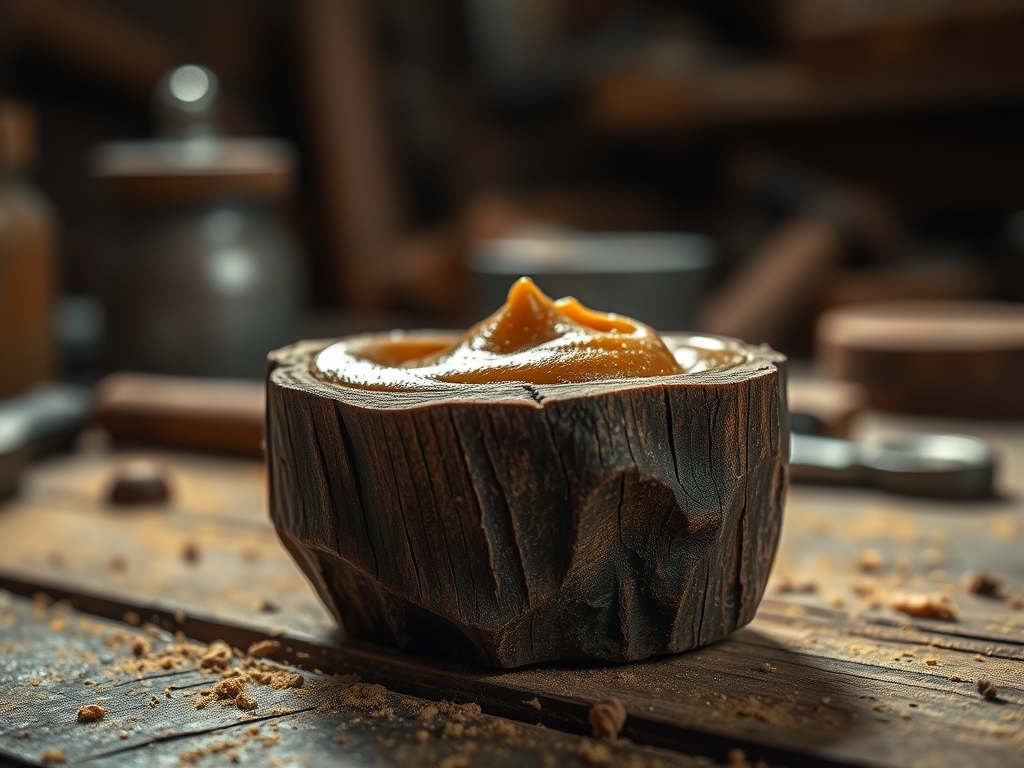
Once the mixture is fully integrated and clear, remove it from the heat. This is the moment to add a few drops of essential oil, like cedar or orange, if you want an olfactory boost. Pour the liquid into wide-mouth glass jars or tin containers.
Mastery Tip: As the mixture cools, it undergoes a phase change. Avoid stirring during the cooling process to prevent incorporating air bubbles. Air pockets can lead to premature oxidation of the oils, shortening the shelf life of your Natural Beeswax Polish Recipe.
4. The Mechanical Application
Take a small amount of the set polish and rub it into the wood using circular motions. Work in small sections, ensuring the wood is fully saturated. Let it sit for twenty minutes.
Mastery Tip: This waiting period utilizes capillary action. The porous structure of the wood acts like a series of tiny straws, drawing the oils deep into the fibers. This displaces air and moisture, which is the primary cause of wood rot and structural failure.
5. The Final Burnish
Using a clean, dry cloth, buff the surface vigorously following the direction of the grain. You should feel a slight heat buildup from the friction.
Mastery Tip: Burnishing is a mechanical process that aligns the wax molecules on the surface. The friction heat slightly softens the top layer, allowing it to level out into a mirror-like finish. This creates a hydrophobic barrier that repels water and dust.
THE TECHNICAL LEDGER
Maintenance & Longevity: A well-applied beeswax finish can last six months to a year depending on use. To maintain the luster, simply buff the surface with a dry cloth to reactivate the wax. Reapply a thin layer whenever the wood starts to look "thirsty" or loses its tactile smoothness.
Material Variations: For a premium version, incorporate a small amount of Carnauba wax. Known as the "Queen of Waxes," it has a very high melting point and provides a much harder, glossier finish than beeswax alone. For a sustainable approach, source your beeswax from local apiaries to support regional biodiversity.
The Correction:
- The Sticky Surface: This happens if you apply too much polish or don't buff enough. Fix it by wiping the area with a cloth dampened with a tiny bit of pure orange oil to break down the excess.
- The Grainy Texture: This occurs if the wax cooled too quickly during mixing. Re-melt the entire batch in a double boiler and stir until perfectly smooth.
- The White Haze: Usually caused by moisture trapped under the wax. Lightly sand the area with 600-grit paper and reapply the polish in a dry environment.
Studio Organization: Store your finished polish in a cool, dark place. UV light can degrade the natural oils, leading to rancidity. Label your jars with the date and the specific ratio used so you can track the performance over time.
THE FINAL REVEAL
There is nothing quite like the moment you step back and see the transformation. The wood grain is no longer just a pattern; it is a three-dimensional landscape with depth and character. The Natural Beeswax Polish Recipe brings out the chatoyancy of the timber, making the light dance across the surface as you move. It feels incredible to the touch, smooth, warm, and entirely organic. You have taken raw materials and, through a bit of chemistry and elbow grease, created a finish that is both protective and beautiful. Your studio should smell like a forest floor and a beehive, and your furniture is now ready to stand the test of time.
STUDIO QUESTIONS
How long does this natural polish take to cure?
While the polish feels dry to the touch within an hour, it takes about 24 to 48 hours to fully harden. Avoid placing heavy objects or liquids on the surface during this window to ensure the protective barrier remains intact.
Can I use this on outdoor furniture?
Beeswax has a relatively low melting point, so it is best suited for interior pieces. For outdoor use, the wax may soften in direct sunlight, leading to a tacky surface that attracts dust and debris.
Is this polish safe for wooden cutting boards?
Yes, as long as you use food-grade oils like fractionated coconut or mineral oil. This blend is non-toxic and creates a superb hydrophobic seal that prevents food particles and bacteria from penetrating the wood fibers.
What is the best cloth for buffing?
A lint-free cotton rag or a microfiber cloth works best. For a high-gloss "museum grade" finish, use a piece of felt or a sheepskin buffing pad. The goal is to generate consistent friction without leaving behind any fibers.
How do I know if the ratio is right?
The mixture should be the consistency of soft butter at room temperature. If it is too hard to scoop, re-melt and add more oil. If it is liquid, add more wax pellets to increase the structural density.