
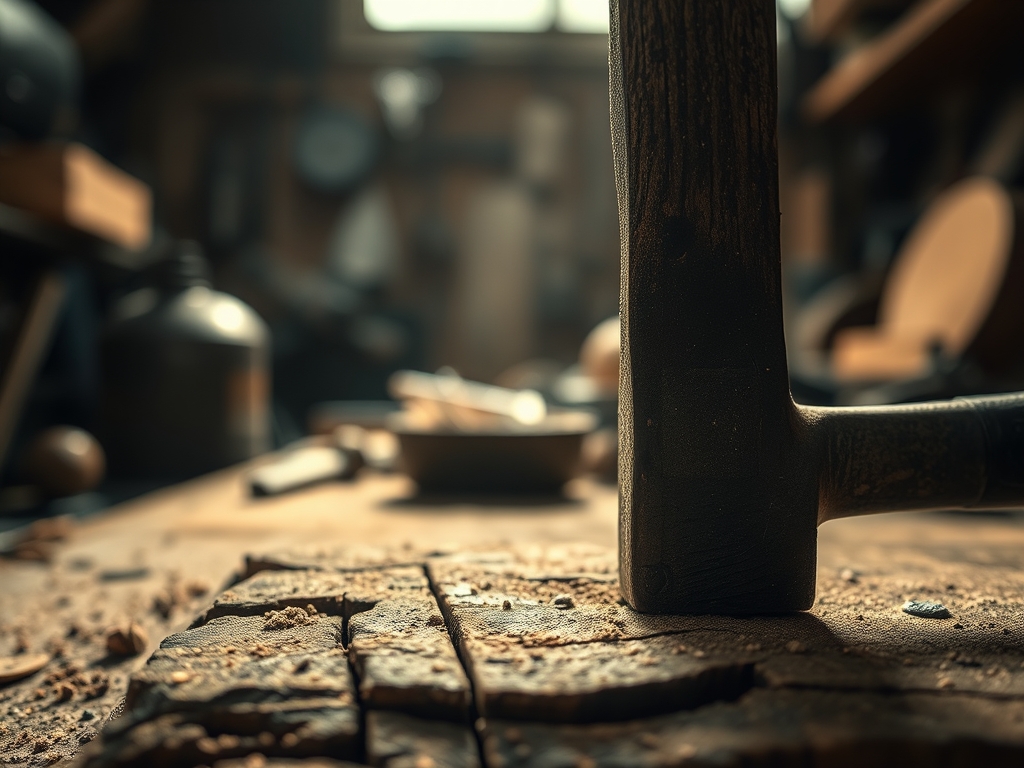
Smell that? That is the scent of cedar shavings and ozone, the perfume of a brain finally shifting out of survival mode and into creation. When life gets loud and the static in my head feels like a blown speaker, I head straight for the workbench because Healing The Mind At Work is the only therapy that produces a tangible result. There is a specific, grounding weight to a piece of kiln dried walnut or a heavy roll of vegetable tanned leather. As my fingers trace the grain direction or the subtle porous texture of the surface, the anxiety starts to dissipate. It is about the physics of the thing. You cannot argue with the tensile strength of a well set joint or the way a sharp blade shears through fibers with zero resistance. In this space, I am not just surviving a bad week; I am mastering the physical laws of the universe. Every cut is a choice, and every choice is a step back toward myself.
THE STUDIO KIT
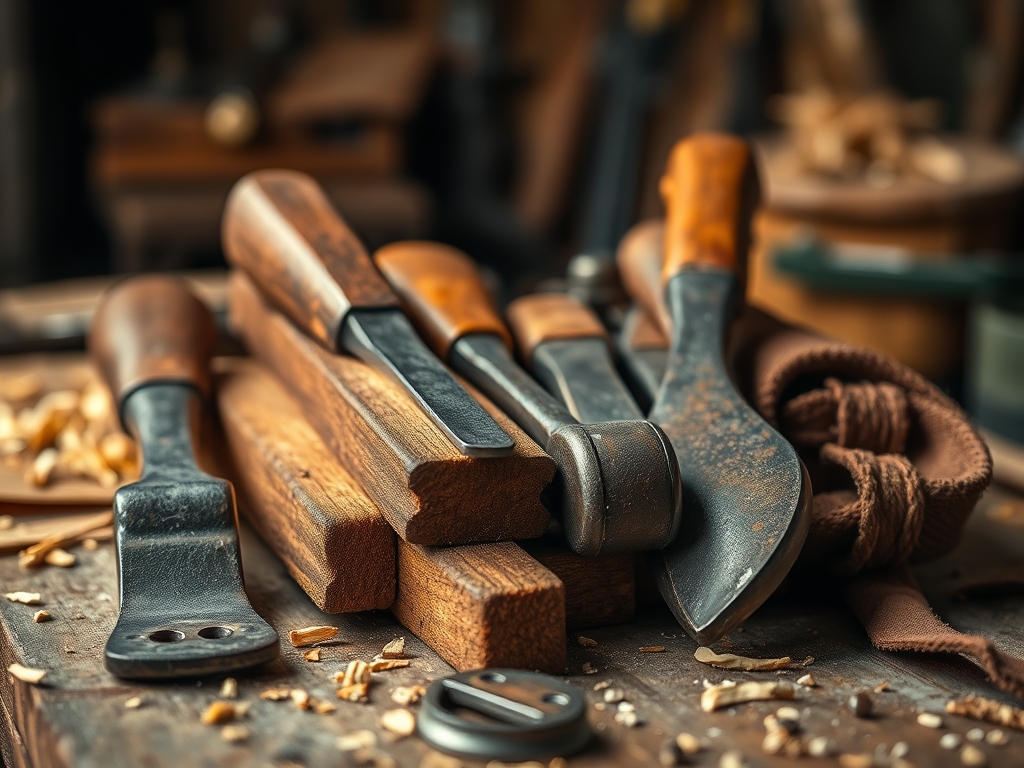
To build something that lasts, you need tools that respect the material. For this project, we are focusing on a hybrid build involving hardwood structural elements and heavy gauge leather accents. You will need a set of digital calipers to ensure your measurements are accurate to the sub millimeter level. Grab your Japanese pull saw for those clean, narrow kerf cuts; the high carbon steel allows for incredible precision without tearing the wood fibers. You will also need a bone folder for crisp creases and a diamond awl for piercing stitch holes.
The materials are the stars here. We are using Grade A Walnut for its high density and shock resistance. For the tactile elements, we use 5 ounce vegetable tanned leather, which has a high fiber density that allows it to hold its shape over time.
Material Substitutions: If you cannot find walnut, Cherry is a fantastic alternative due to its similar Janka hardness rating. If leather is not your vibe, a high density waxed canvas offers similar durability and a beautiful patina, though you will need to adjust your needle gauge to prevent shredding the weave.
THE TEMPO
The "Maker's Rhythm" is a real neurological state where your heart rate syncs with the repetitive motions of the craft. This project takes approximately ten hours of active bench time, spread across three distinct phases.
The first phase is The Preparation (3 hours). This is the heavy lifting: measuring, marking, and rough cutting. It is loud and physical. The second phase is The Refinement (5 hours). This is where the magic happens. You are sanding, burnishing edges, and fine tuning the fit. It is quiet, meditative, and requires deep focus. The final phase is The Assembly (2 hours). This is the payoff where the structural integrity of your design is finally tested. Do not rush the drying times for adhesives; cross linking polymers in wood glue require a full 24 hours to reach maximum shear strength.
THE CORE METHOD
1. Mapping the Grain
Before you make a single cut, you must analyze the lignin structure of your wood. Always align your primary stress points with the grain to prevent splitting. Using your marking gauge, scribe your lines deep into the surface.
Mastery Tip: The science of cleavage planes tells us that wood splits easiest along the grain. By scribing a deep line first, you sever the top layer of fibers, which prevents "tear out" when the saw blade engages the material.
2. The Precision Cut
Position your pull saw on the waste side of your line. Because a Japanese saw cuts on the pull stroke, it allows for a thinner blade that stays under tensile tension, resulting in a straighter, cleaner path than a standard push saw.
Mastery Tip: Keep your elbow in line with the blade to maintain mechanical advantage. This reduces the lateral force on the blade, preventing it from bowing and ensuring the cut remains perfectly perpendicular to the face.
3. Skiving and Beveling
When working with the leather components, you must reduce the thickness at the edges where pieces overlap. Use a skiving knife to shave the flesh side of the leather down to a feather edge. This ensures the final seam is not bulky.
Mastery Tip: This relies on friction coefficients. A polished, stropped blade reduces the drag against the leather fibers, allowing for a smooth transition without "stuttering" through the collagen matrix of the hide.
4. The Compression Fit
When joining your wood components, the fit should be snug enough that it holds together without glue, known as a friction fit. Apply a thin layer of PVA glue to both surfaces.
Mastery Tip: Capillary action will draw the adhesive into the pores of the wood. Too much glue actually weakens the joint by creating a thick, brittle layer; you want the wood fibers to be nearly touching for the strongest chemical bond.
5. Burnishing the Edges
To finish the leather, dampen the edges and rub them vigorously with a wooden burnisher. The heat generated by friction melts the natural waxes and compresses the fibers into a smooth, glassy surface.
Mastery Tip: This is a thermodynamic process. The heat causes the tannins and waxes to undergo a phase change, sealing the edge against moisture and preventing the leather from fraying over time.
THE TECHNICAL LEDGER
Maintenance & Longevity: To keep your piece in peak condition, apply a beeswax and linseed oil finish every six months. This creates a hydrophobic barrier that prevents the wood from warping due to changes in ambient humidity.
Material Variations:
- Sustainable: Use reclaimed barn wood for a rustic look with high stability.
- Premium: Incorporate brass hardware; the copper content provides natural antimicrobial properties.
- Recycled: Repurpose old leather belts for a high character, pre weathered aesthetic.
The Correction:
- The Gap: If your joint has a small gap, mix fine sawdust with wood glue to create a structural filler that matches the color perfectly.
- The Over-cut: If you sawed too deep, use a veneer shim to take up the space and restore the tension in the joint.
- The Leather Stain: If you get a water spot on the leather, dampen the entire surface evenly to blend the evaporation line.
Studio Organization: Store your materials in a temperature controlled environment. Wood should be stacked flat with stickers (small spacers) between layers to allow airflow, preventing the buildup of internal stresses that cause bowing.
THE FINAL REVEAL
There is nothing quite like the moment you wipe away the excess oil and see the grain "pop" for the first time. The finished piece is heavy, solid, and carries the energy of every focused hour you poured into it. It is a physical manifestation of your ability to take raw, chaotic elements and organize them into something beautiful and functional. When you run your hand over the burnished leather and feel the seamless transition to the wood, you are feeling the result of your own precision. This is why we do it. The shop did not just give me a new object; it gave me my focus back.
STUDIO QUESTIONS
How does working with my hands help stress?
It triggers proprioceptive input, which grounds the nervous system. Focusing on tactile tasks like sanding or carving reduces cortisol by shifting the brain from abstract "worry loops" into concrete, sensory problem solving and rhythmic, repetitive physical motion.
What is the most important tool for a beginner?
A high quality marking knife is essential. Unlike a pencil, a knife severs fibers, providing a physical track for saws and chisels to follow. This ensures mechanical accuracy and prevents the material from splintering during the initial shaping phases.
Can I do this project in a small apartment?
Yes, by using hand tools instead of power tools. Hand tools produce "chips" rather than fine airborne dust and operate silently. This allows for a clean, quiet workflow that respects your living space while still achieving professional grade results.
How do I know if my wood is dry enough?
Use a moisture meter to check for a reading between 6% and 8%. If the moisture content is too high, the wood will shrink and warp as it reaches equilibrium moisture content with your home, ruining your precision joints.

